What are membership rules in groups?
Membership rules define the conditions for automatically adding users to a group. These conditions are based on custom user fields, like role, location, or manager. When a user’s details match the rule criteria, they’ll be added or removed from the group automatically, helping you keep group membership up to date without the need for manual changes.
For example, you want to add your team members who work on the morning shift and on weekends to the maintenance team. Rather than manually adding them one by one, rule-based membership automatically detects members that meet the required user fields and adds them instantly. With this, you're able to save time and reduce admin work.
What you'll need
You can only have up to 15,000 users in a group with membership rules.
Create membership rules in a group
Click your organization name on the lower-left corner of the page and select Groups.
Click Create group on the upper-right corner of the page.
In the pop-up window, toggle "Create rules for easier group membership" on.
Enter the group name and set up rules. You can only have up to 5 rules per group.
Click Next.
A summary of users who match the rules will be displayed. Click Create group.
Converting an existing normal group to a group with membership rules, or vice versa, isn't currently supported.
Edit membership rules in a group
Click your organization name on the lower-left corner of the page and select Groups.
Click the group with membership rules you want to edit.
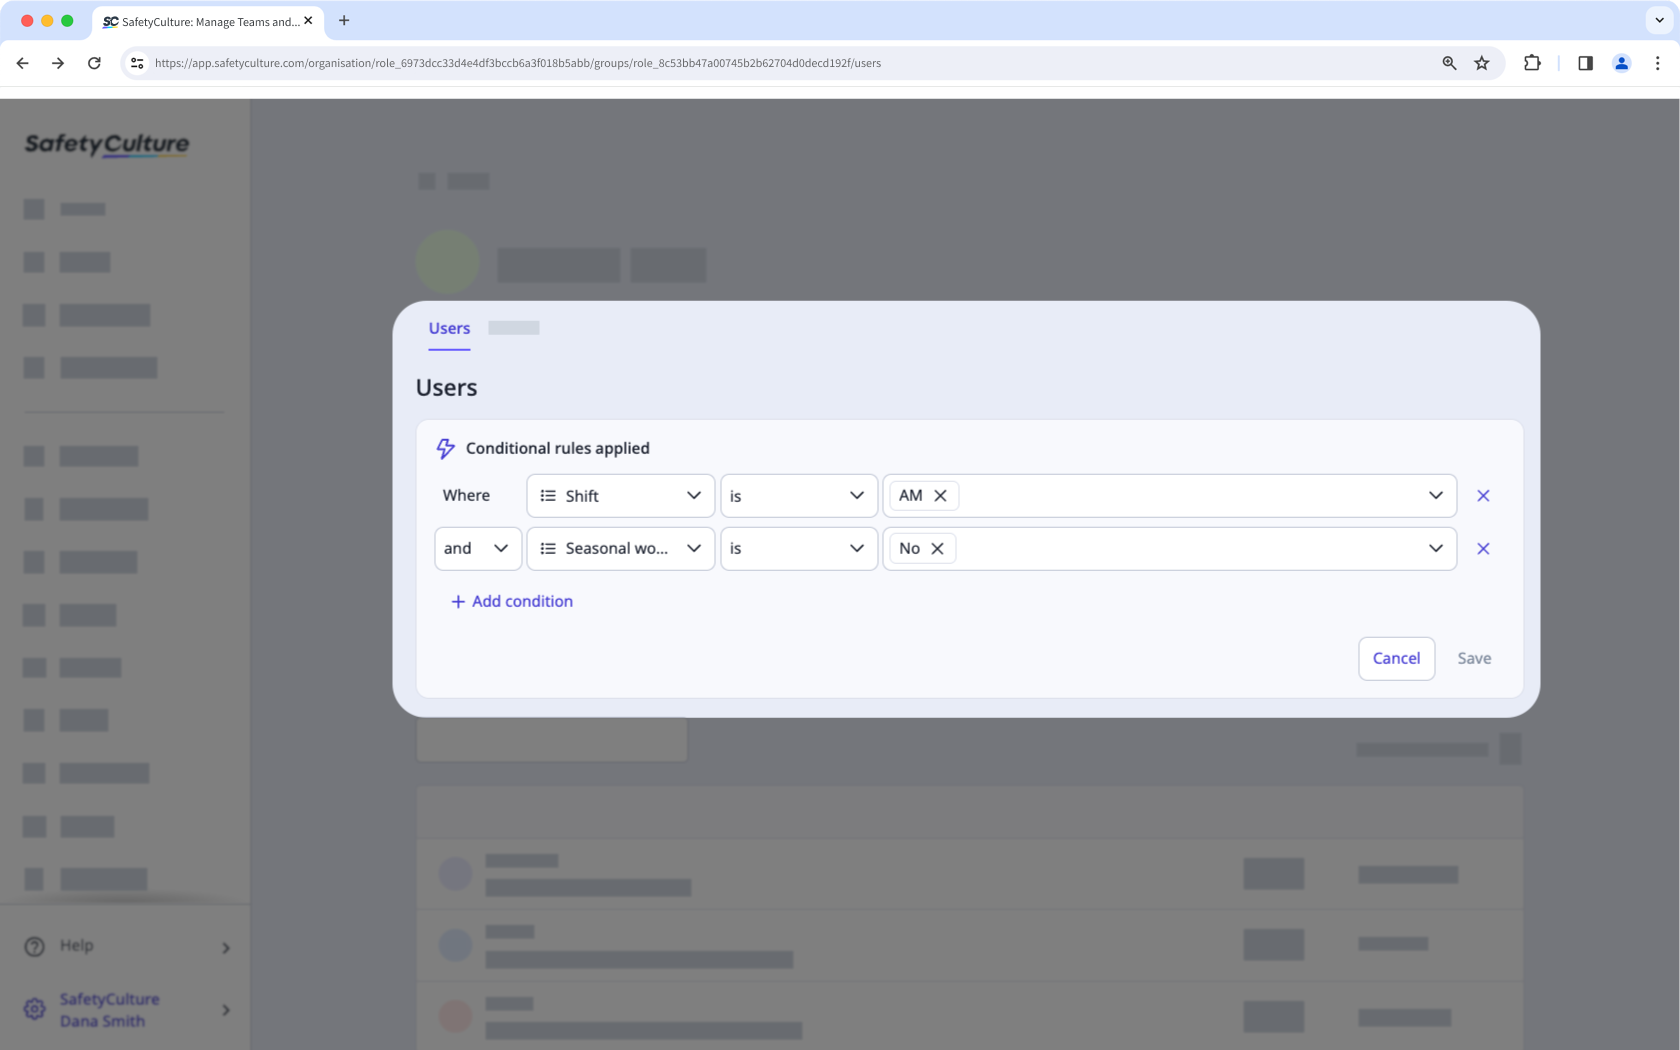
In the "Users" tab, click to add, edit, or delete rules.
Select Details to edit the following fields:
Group name: Click Edit in the "Name" section, enter the group name, and click Save and apply.
Group description: Click Edit in the "Description" section, enter the group description, and click Save and apply.