What are sensors?
Sensors in SafetyCulture automatically track conditions like temperature in fridges, cool rooms, and other critical areas. Instead of relying only on manual checks or paper logs, they send regular readings into SafetyCulture, so your team can see what is happening now, review trends over time, and keep clear records for audits. When you set up alerts, SafetyCulture notifies the right people if readings move outside the range you choose, helping protect stock and equipment day to day.
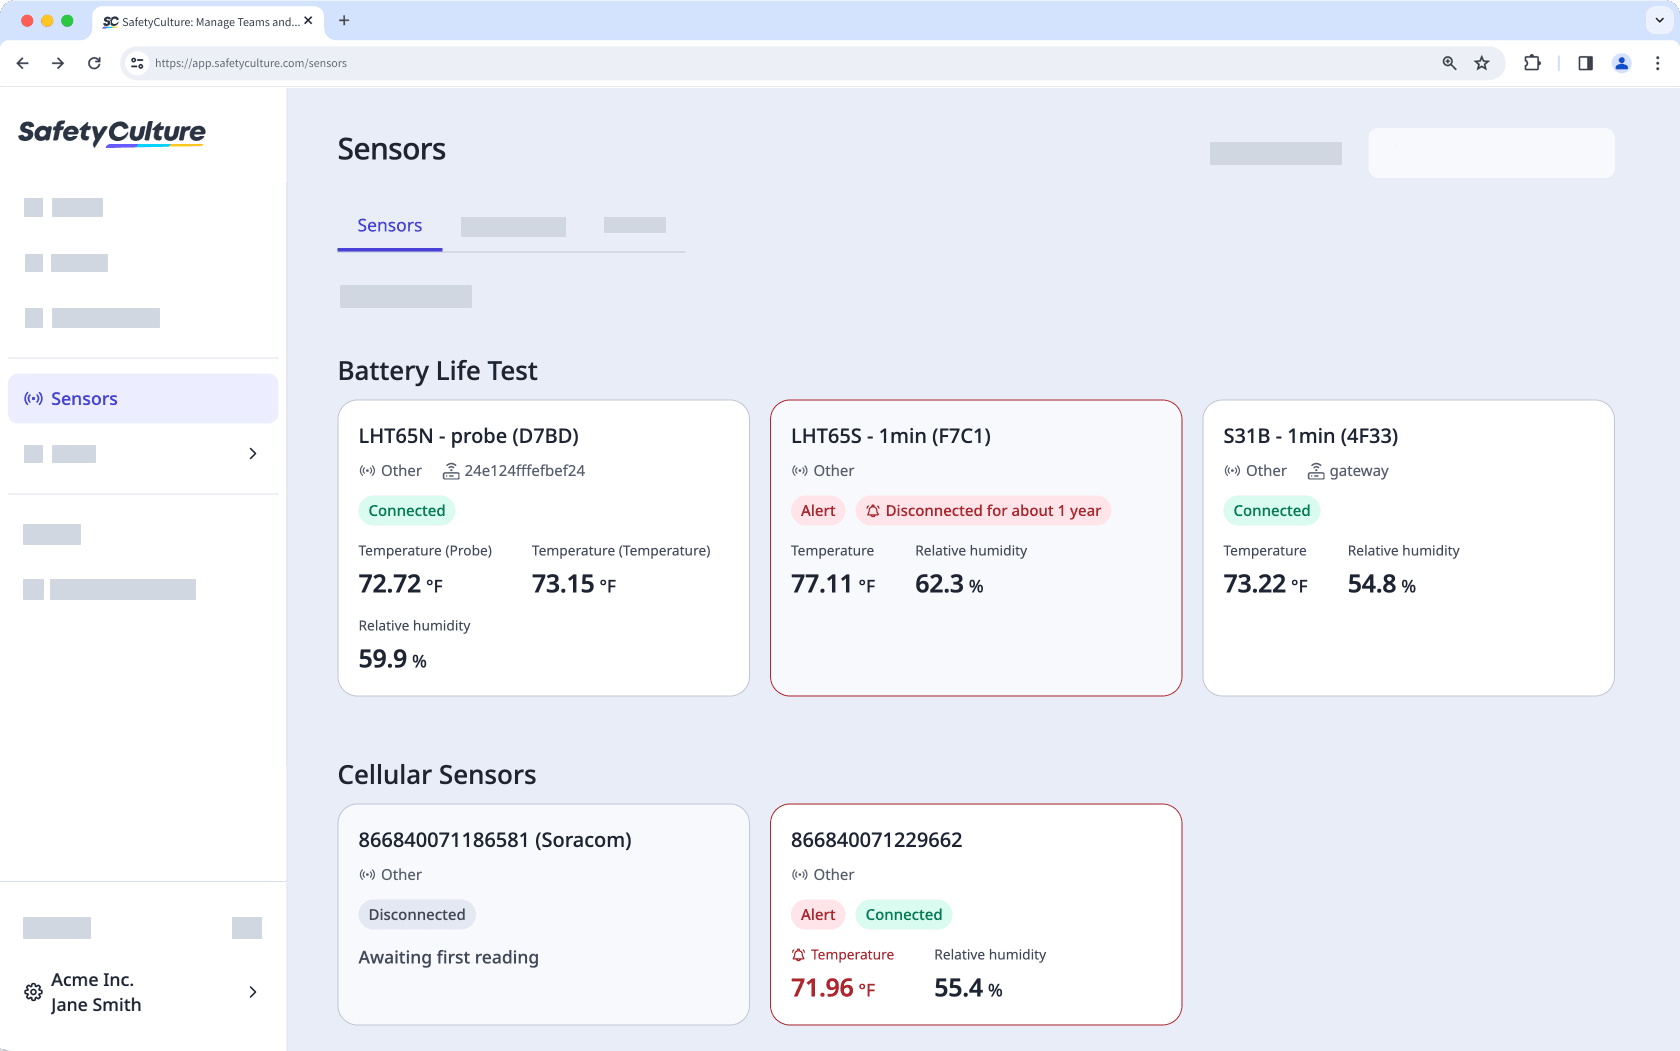
Each sensor connects to a nearby gateway, which forwards the data to SafetyCulture. Gateways act as the bridge between your on-site devices and your account that collects readings from multiple sensors within range, so you can monitor several locations from one place.
If you already use sensors with SafetyCulture and want to add more gateways or sensors, contact your customer success manager. For new purchases or questions about buying from third parties or us, get in touch with our product experts.
If you've purchased Monnit sensors directly from a third-party vendor, please get in touch to connect them to SafetyCulture.
Take note
We recommend that you set aside 10 to 15 minutes to complete the self-installation. Make sure you follow each step carefully, and if you get stuck at any time, review the troubleshooting section at the end of this guide.
If you're already tracking conditions and want to integrate with SafetyCulture, learn more about connecting existing sensor solutions.
SafetyCulture will prompt you to create or select a location for each sensor you add during setup. Keep in mind sensor locations are currently separate from the sites used in other areas of SafetyCulture, such as Inspections and Actions.
If you've already added a gateway for your sensors, skip to the "3. Add your sensor" section.
1. Add your gateway
Select Sensors in the sidebar or select it in More .
Click Add sensor or weather on the upper-right of the page.
Select Monnit under "Sensors purchased from SafetyCulture".
Click Gateway .
Click Get started .
Enter the gateway's "ID number" and "Security code (SC)". Both can be found at the top of the gateway, next to the QR code.
Click Next .
Connect your gateway to a power outlet and ensure the outlet is turned on.
Click Add gateway . It may take up to five minutes to add the gateway, during which you can click Skip to return to the Sensors dashboard. However, we recommend that you wait to ensure the gateway comes online.
Once the gateway is successfully added, you can click Add sensor to add a sensor or click Continue in background to return to the Sensors dashboard.
3. Place your gateway
Once your gateway is added to your account and appears in the Sensors list, decide where to place it in your facility. To help your sensors stay connected:
Place the gateway within approximately 10-20 m/30-65 ft of the sensors it will communicate with.
Position the gateway between chest and head height. It is not required to be mounted. However, if you choose to do so, ensure it's still within range of your sensors.
Avoid placing the gateway inside metal enclosures, behind thick walls, or near communication devices.
For example, if you are installing sensors inside a cool room, you can place the gateway in a nearby office or corridor within range of that room, with as few barriers as possible between the gateway and the sensors.
The gateway is not required to be mounted. However, if you choose to do so, please ensure it's still within range of your sensors.
If you've just added your gateway to your SafetyCulture account, skip to the Get started step.
3. Add your sensor
Select Sensors in the sidebar or select it in More .
Click Add sensor or weather on the upper-right of the page.
Select Monnit under "SafetyCulture Sensors."
Click Sensor .
Click Get started .
Enter the sensor's "ID number" and "Security code (SC)". Both can be found at the front of the sensor, next to the QR code.
Click Next .
Fill in the following fields:
Sensor name: We recommend that you name the sensor after the asset or area it will be monitoring.
Location name: Create a new or select an existing location name.
Sensor time zone: Select the time zone of the sensor location.
What are you monitoring: Select the most appropriate category for the type of asset the sensor will be monitoring.
Click Next .
Power your sensor on using the ON/OFF switch on the side of the sensor. If your sensor doesn't have a switch, insert the batteries to power it on. If the sensor switch was already in the ON position, switch the sensor off, then wait for thirty seconds before switching it back on.
Click Add sensor . It may take up to two minutes to add the sensor, during which you can click Skip this step to return to the Sensors dashboard. However, we recommend that you wait to ensure the sensor comes online.
Once the sensor is successfully added, you can click Add another sensor to continue adding sensors or click Done to return to the Sensors dashboard.
4. Install your sensor
After confirming that your sensor is added and sending readings in SafetyCulture, you can install it in its permanent location.
When you install the sensor:
Avoid placing it directly in the path of doors, vents, or fans that create sudden temperature or airflow changes.
Place it where it is unlikely to be bumped, knocked, or moved accidentally.
Use the mounting method that best suits your surface, such as the supplied tape or cable ties for smooth and dry areas. You can also install it with screws on rough or unstable surfaces if you prefer.
Where you place the sensor depends on what you are monitoring. For example, for a cool room, place the sensor near the center of the room, away from doors and direct airflow from evaporators or fans. Then, for a fridge or freezer, place the sensor on a shelf inside the unit, away from the door seal and vents.
If your sensor has an external probe, make sure the probe is not in contact with any surfaces at its installed area.
Sensor troubleshooting
Replace sensor batteries
Dismount the sensor.
Turn the sensor off.
Unscrew the battery cover.
Replace the batteries.
Screw the battery cover back on.
Switch the sensor back on.
Re-mount the sensor in its location.
If the guide still doesn't address your concerns, please contact our customer support team for assistance.