Manage course briefcases
Learn about course briefcases and how you can add or delete files from a briefcase via the web app to provide additional reference materials for your training courses.Course briefcase is no longer available to new users or to existing users who don’t have previously stored documents on both the web app and mobile app. Existing users who already use course briefcase will continue to have access to the feature.
You can link files to courses instead by adding them as a slide to allow users to view additional training files directly within a course.
What are course briefcases?
Course briefcases let you upload supporting files such as images, videos, and documents alongside a course to provide additional context for training. This is useful when you have reference materials that help users understand or apply what they’re learning, but don’t need to sit directly within a lesson. You can also set prerequisites so files stay locked until specific lessons are completed. This keeps courses focused and easy to follow while making sure users have access to the supporting information they need to complete their training.
Add a file to a course's briefcase
Select
 Training in the sidebar or select it in
  More.
More.If you're on the "Learn" page, click Content at the top of the page and select Courses.
Hover your cursor over the course and click View or Edit.
If you're viewing an existing published course, click
 Edit on the upper-right of the page.
Select Set up at the top of the page and select
 Briefcase on the left-hand side.
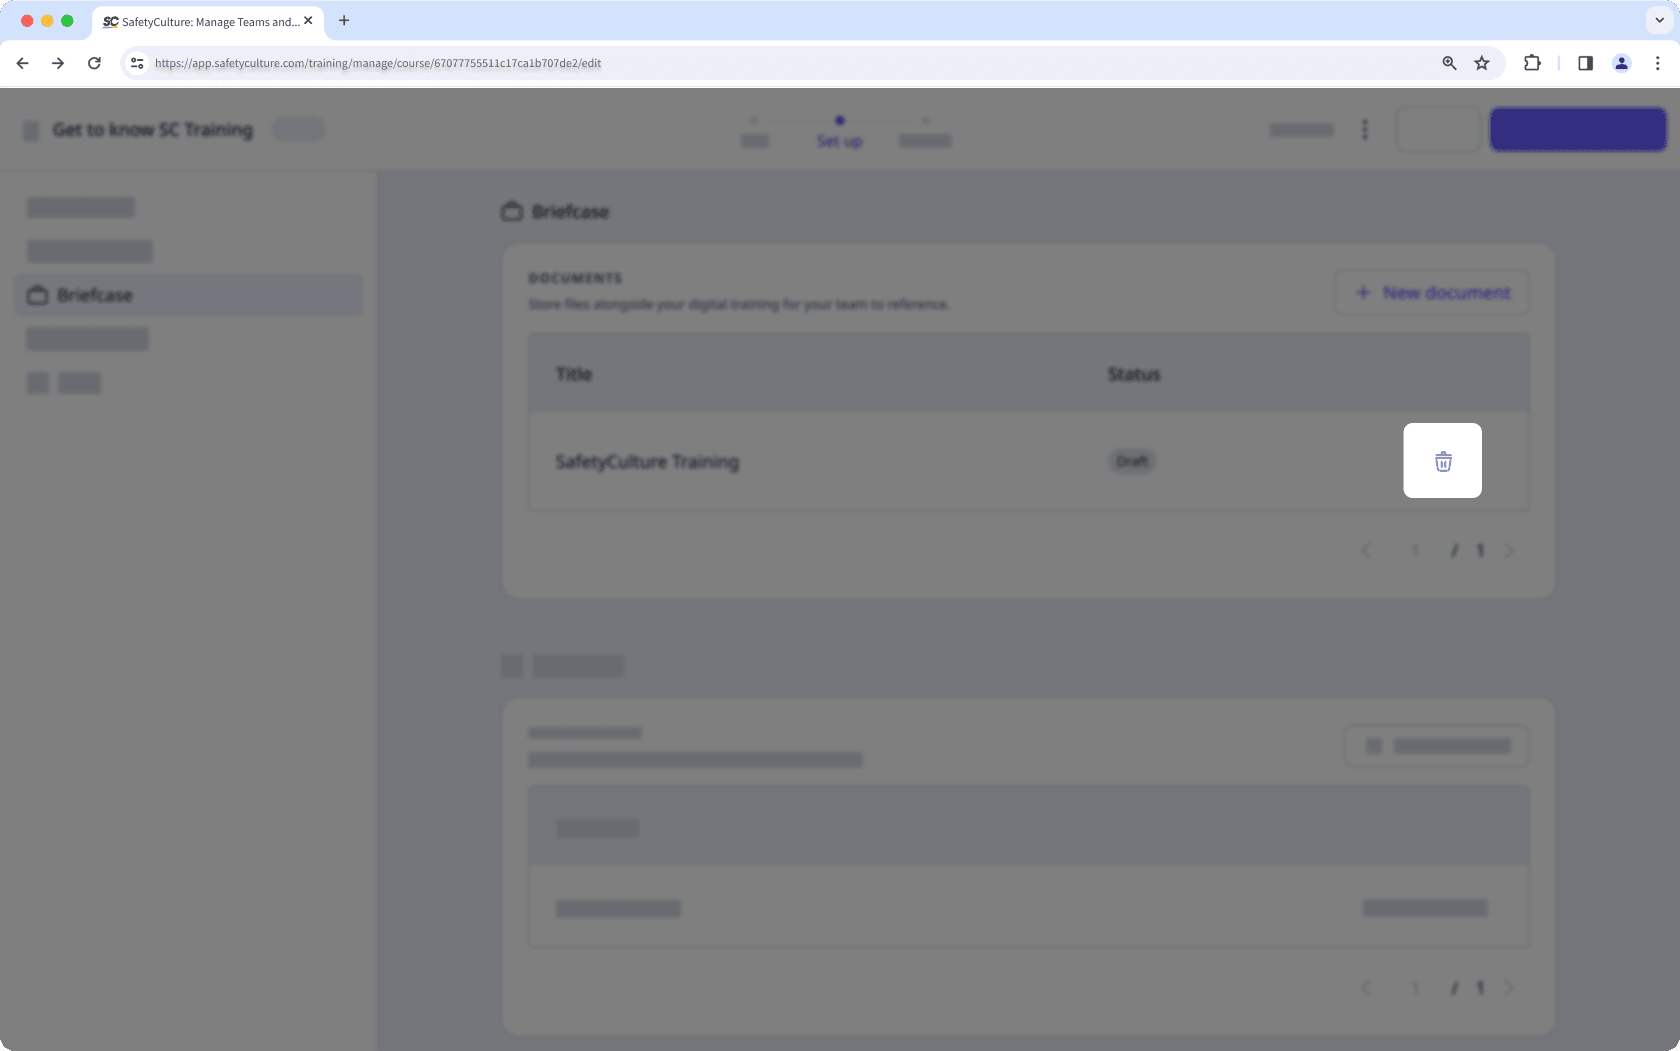
Click
 New document.
On this page, configure the following settings for the file:
Title (required): Enter a title for the file.
Description: Describe the purpose of the file.
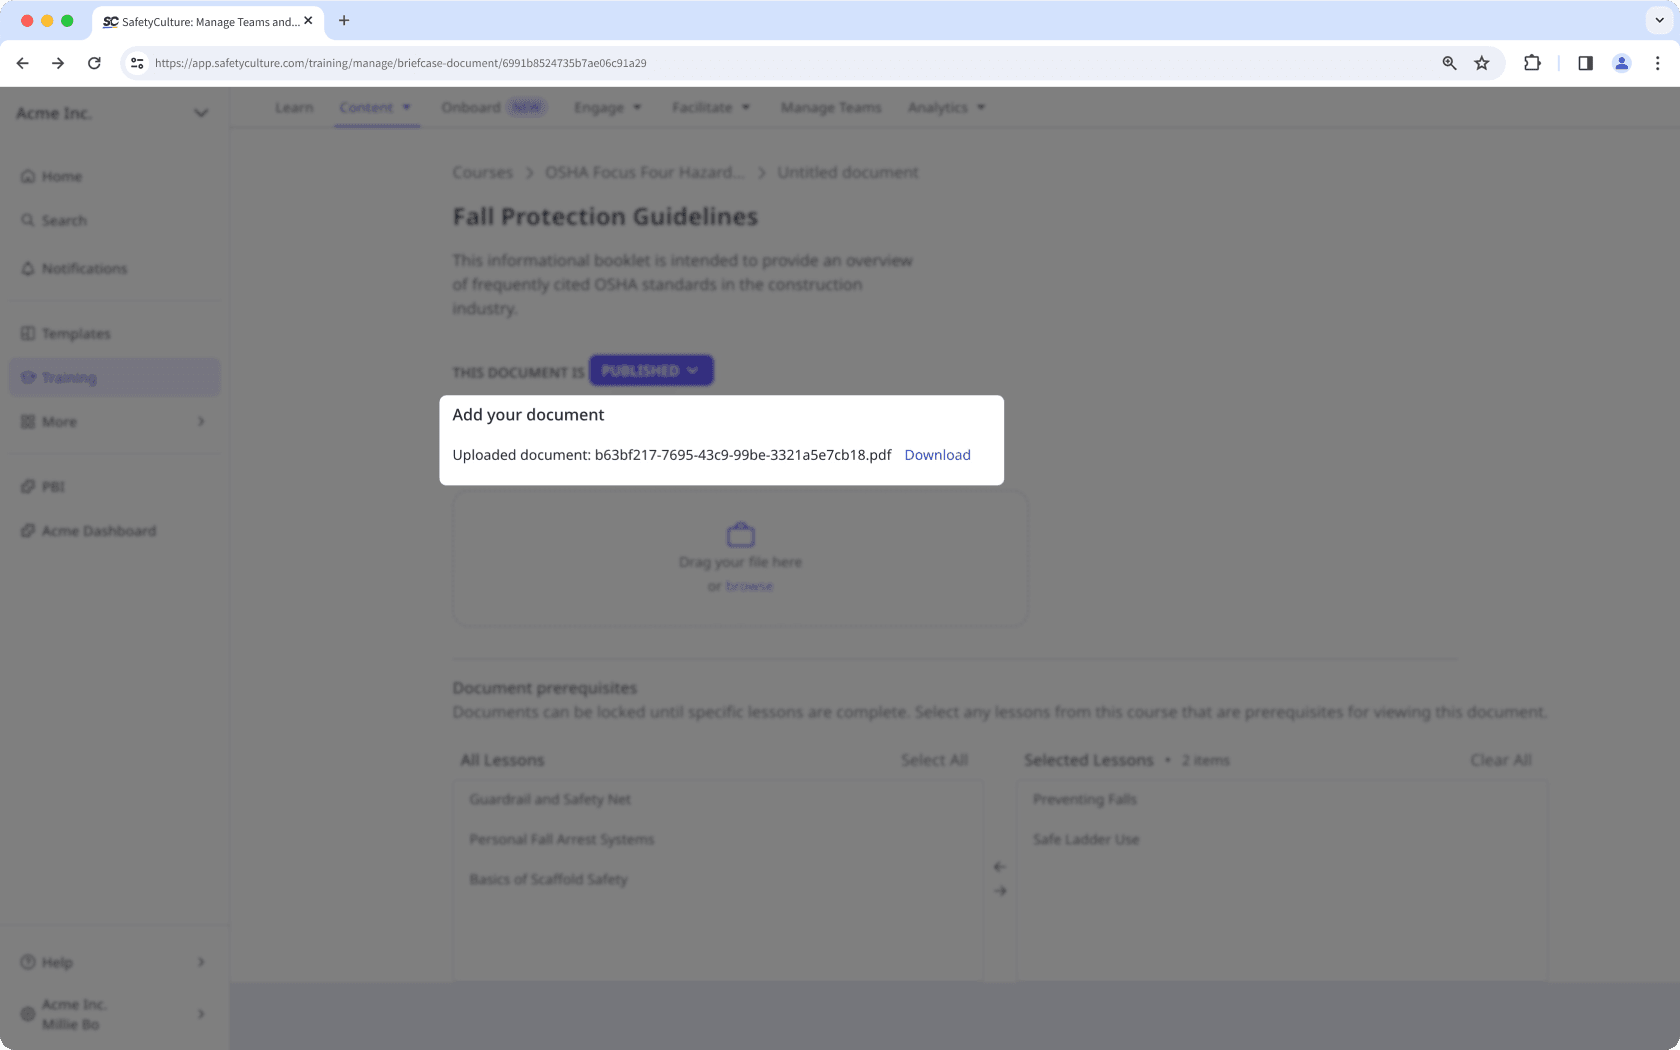
Add Your Document (required): Upload your file. You can upload a supported file of up to 60MB in size.
Document Prerequisites: Depending on the file's content, you can set it to be locked until selected lessons are completed in the course.
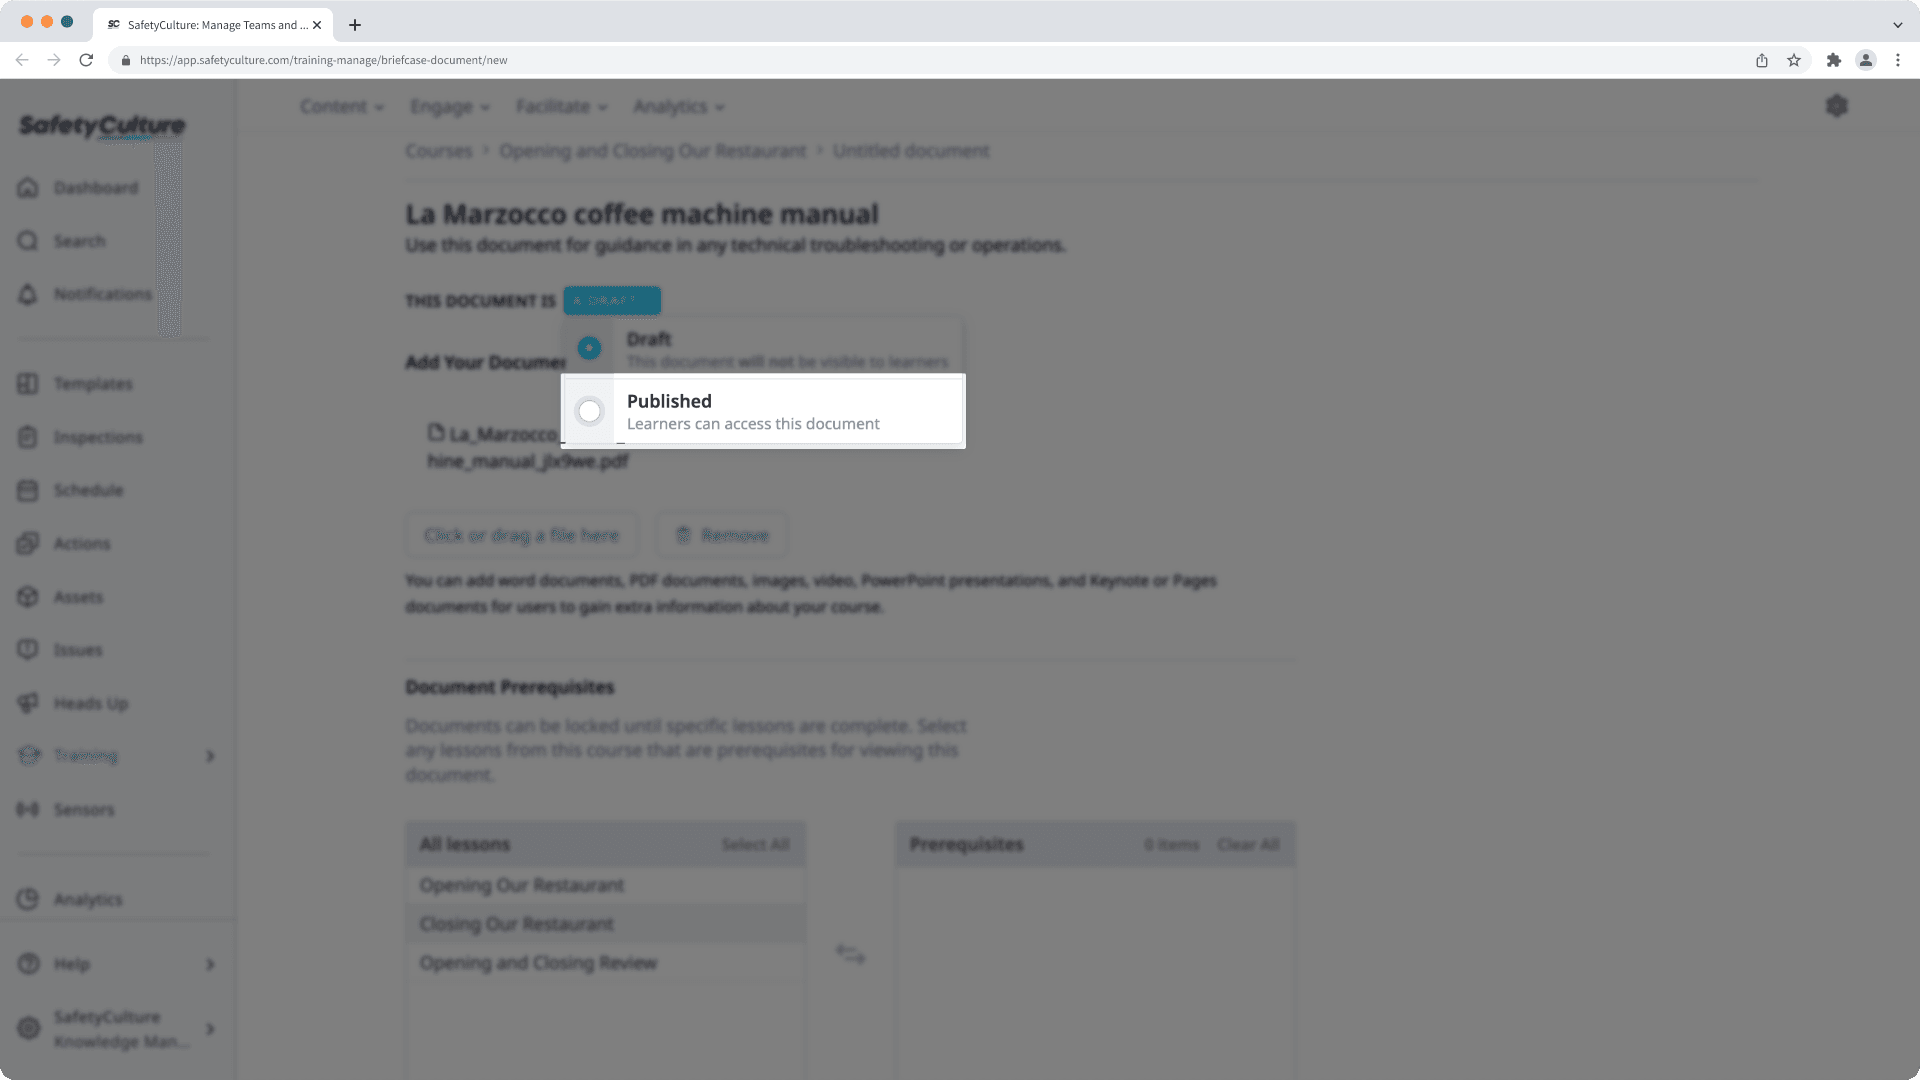
Once you're ready, click the "A DRAFT" dropdown menu and select Published.
Changes are saved automatically.
For users on the new translation experience, you need to upload all language versions in the same briefcase. For example, if you have a document for the English translation and your course has five other translations, you need to upload the different language versions of the same document. Be sure to label each version accordingly so users know which one to view.
Delete a file from a course's briefcase
Select
Training in the sidebar or select it in More.If you're on the "Learn" page, click Content at the top of the page and select Courses.
Hover your cursor over the course and click View or Edit.
If you're viewing an existing published course, click
Edit on the upper-right of the page.Select Set up at the top of the page and select
Briefcase on the left-hand side.Click
 on the file's right-hand side.
In the pop-up window, click Delete.
Frequently asked questions
Download the documents from the course briefcase in your course. Then, add a new file slide to upload the files. Once uploaded, you can manage the files from Documents while keeping them accessible within the course.
Was this page helpful?
Thank you for letting us know.