- Using SafetyCulture
- Actions
- Manage action labels
Manage action labels
Learn how to manage action labels via the web app.What are action labels?
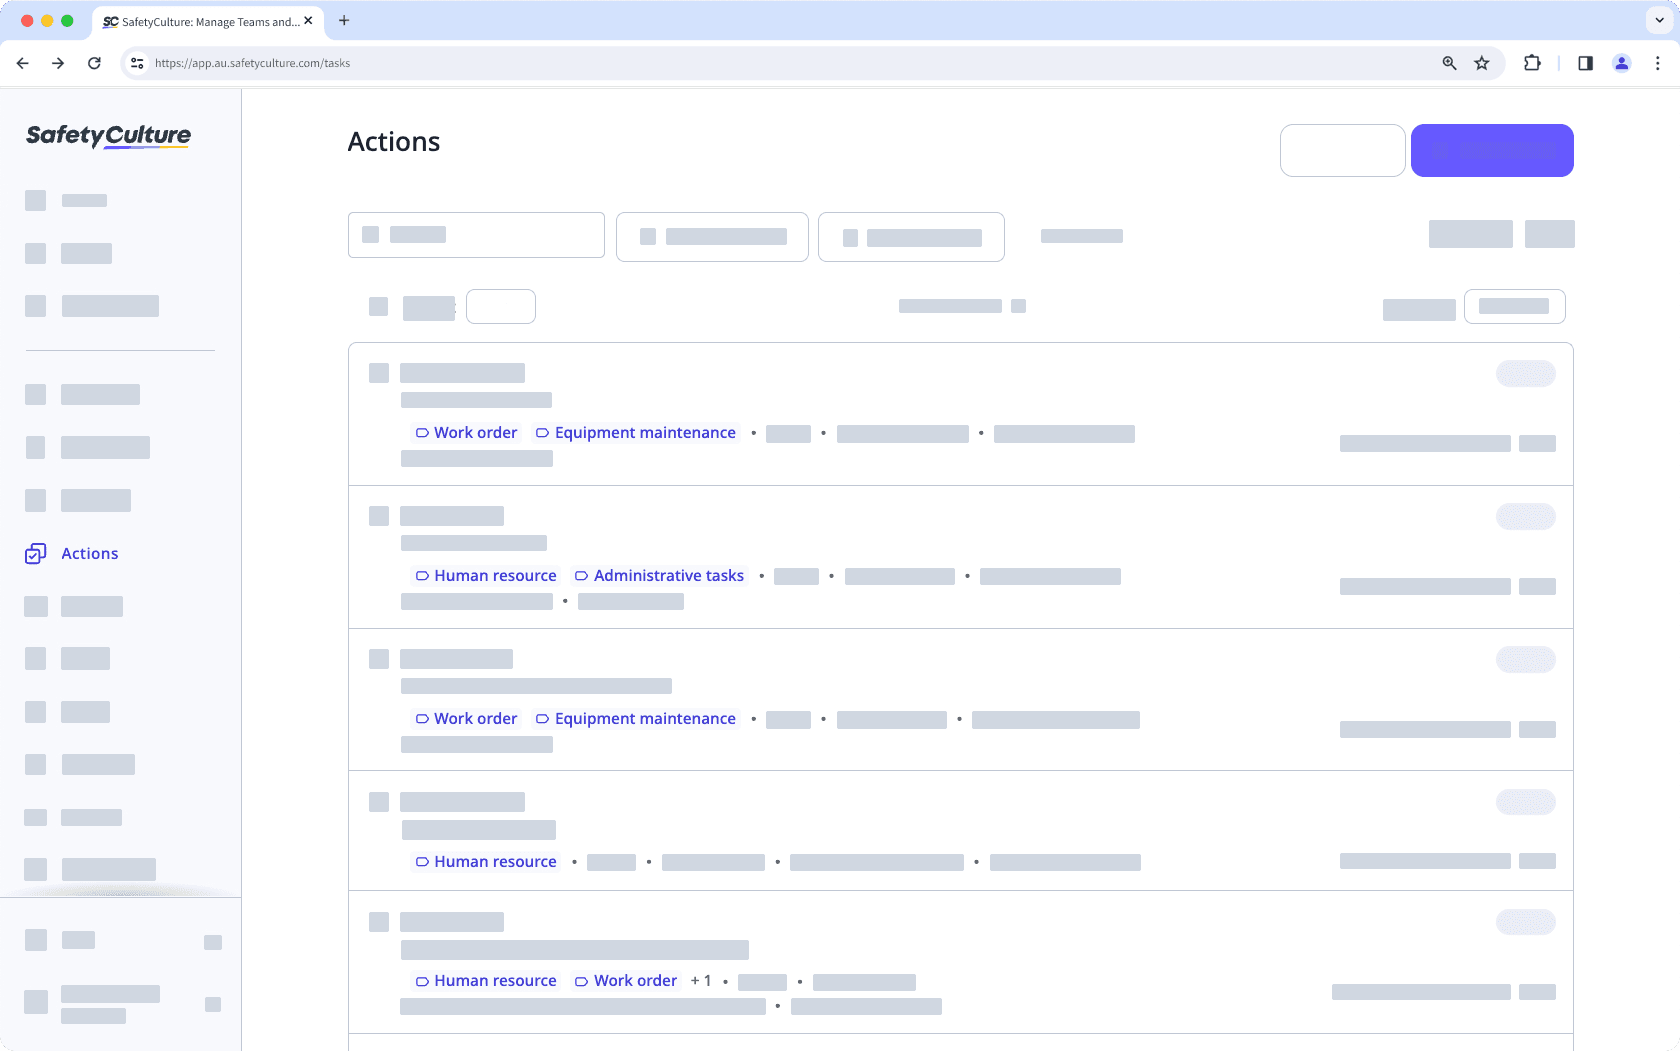
Action labels are a feature that can be used to organize related actions in a way that makes it easier to identify them quickly. By assigning labels to actions, you can group them together based on their similarities, such as their priority level, the team member responsible for completing them, or the project they are associated with. This can help you to better manage your actions and ensure that nothing falls through the cracks.

Each organization can only have up to 100 labels and each label can only have up to 100 characters.
Create an action label
Select
Actions from the menu on the left-hand side.
Click
Settings on the top of the page.
Scroll down to the "Labels" section and click
Create label.
If there are multiple labels, scroll down to the bottom of the page and click
Create label.
Create the label accordingly and click Save.
Deleting an action label doesn't affect the actions it's been added to.
Delete an action label
Select
Actions from the menu on the left-hand side.
Click
Settings on the top of the page.
Scroll down to the "Labels" section and locate the label you want to delete.
Click
to delete the label.
Click Delete in the pop-up window.
Was this page helpful?
Thank you for letting us know.