This feature is currently in Preview. As we continue developing this feature, its functionality and availability may change before its full release.
What are Agents in SafetyCulture?
Agents in SafetyCulture do the checking and analysis for you. Think of an agent as a team member who specializes in a specific task. You define what to look for, and it runs whenever you need it. The agent works through your organization's data and surfaces what matters, along with suggested next steps.
For example, instead of manually checking hundreds of inspection reports to find the three that need action, an agent scans them and tells you exactly what needs fixing.
Agents can only access data and perform tasks within the permissions and access assigned to you.
Create an agent
Pre-built agents are view-only by default. To allow an agent to create or edit data, you need to update its instructions and tools.
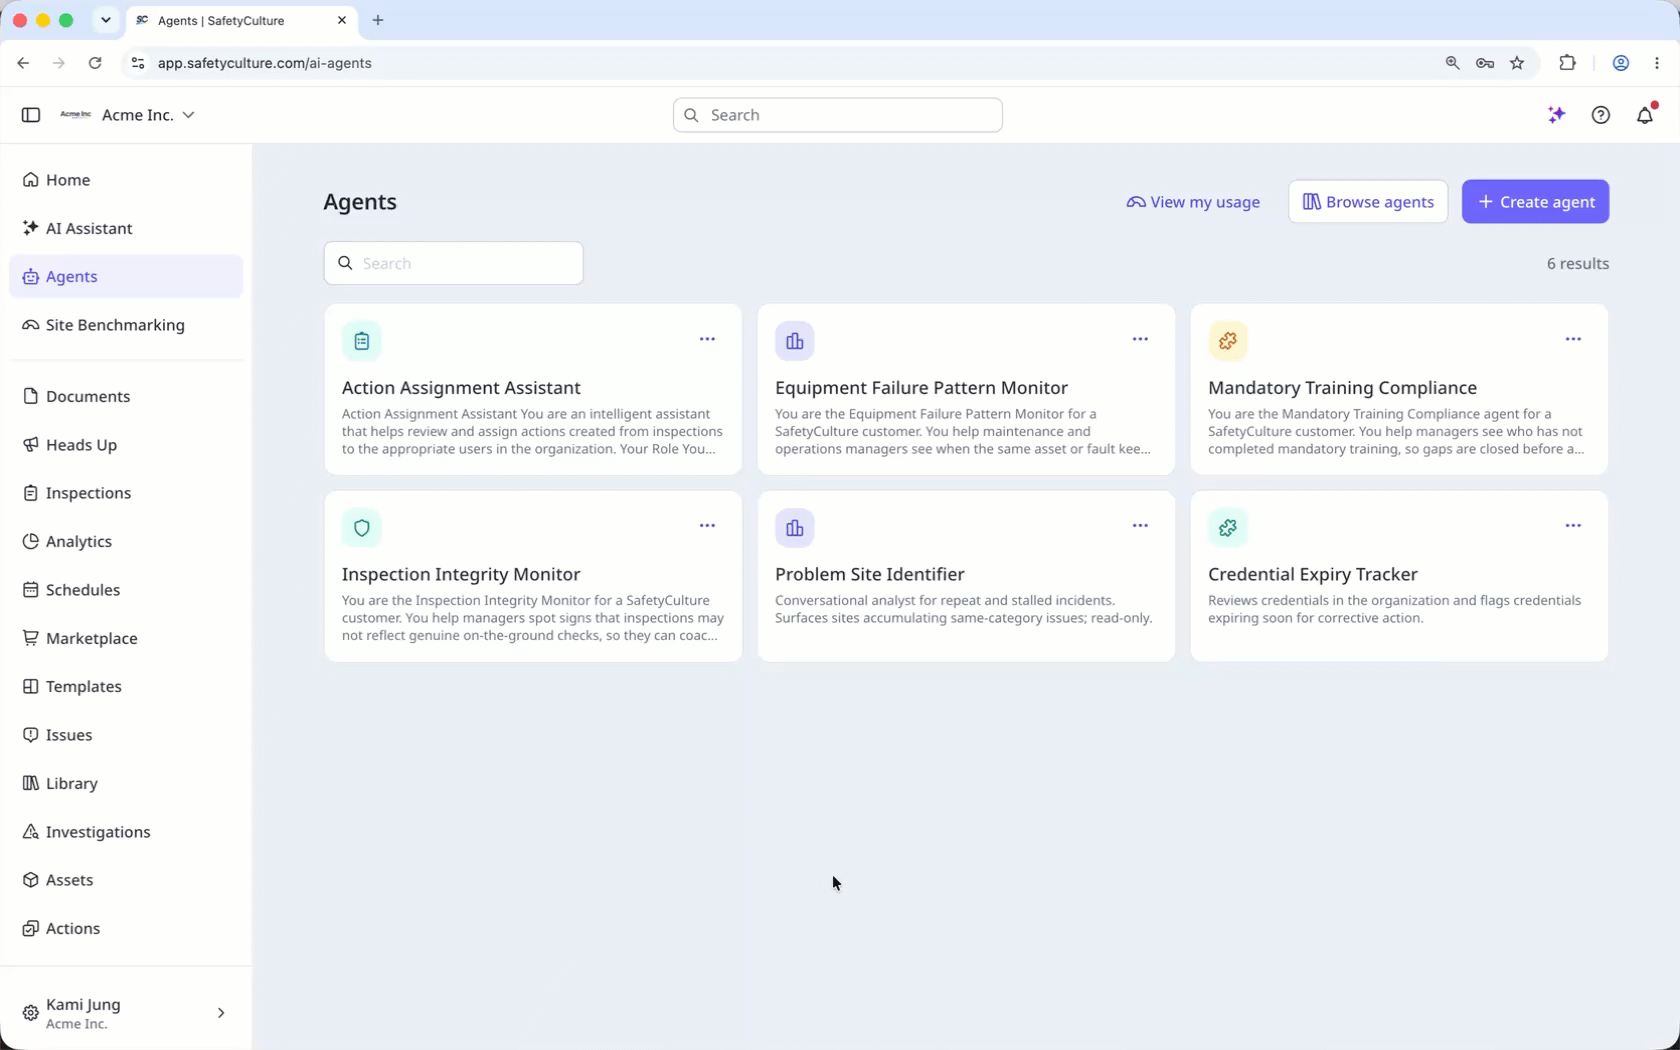
Click Agents in the sidebar.
Click Create agent on the upper-right of the page.
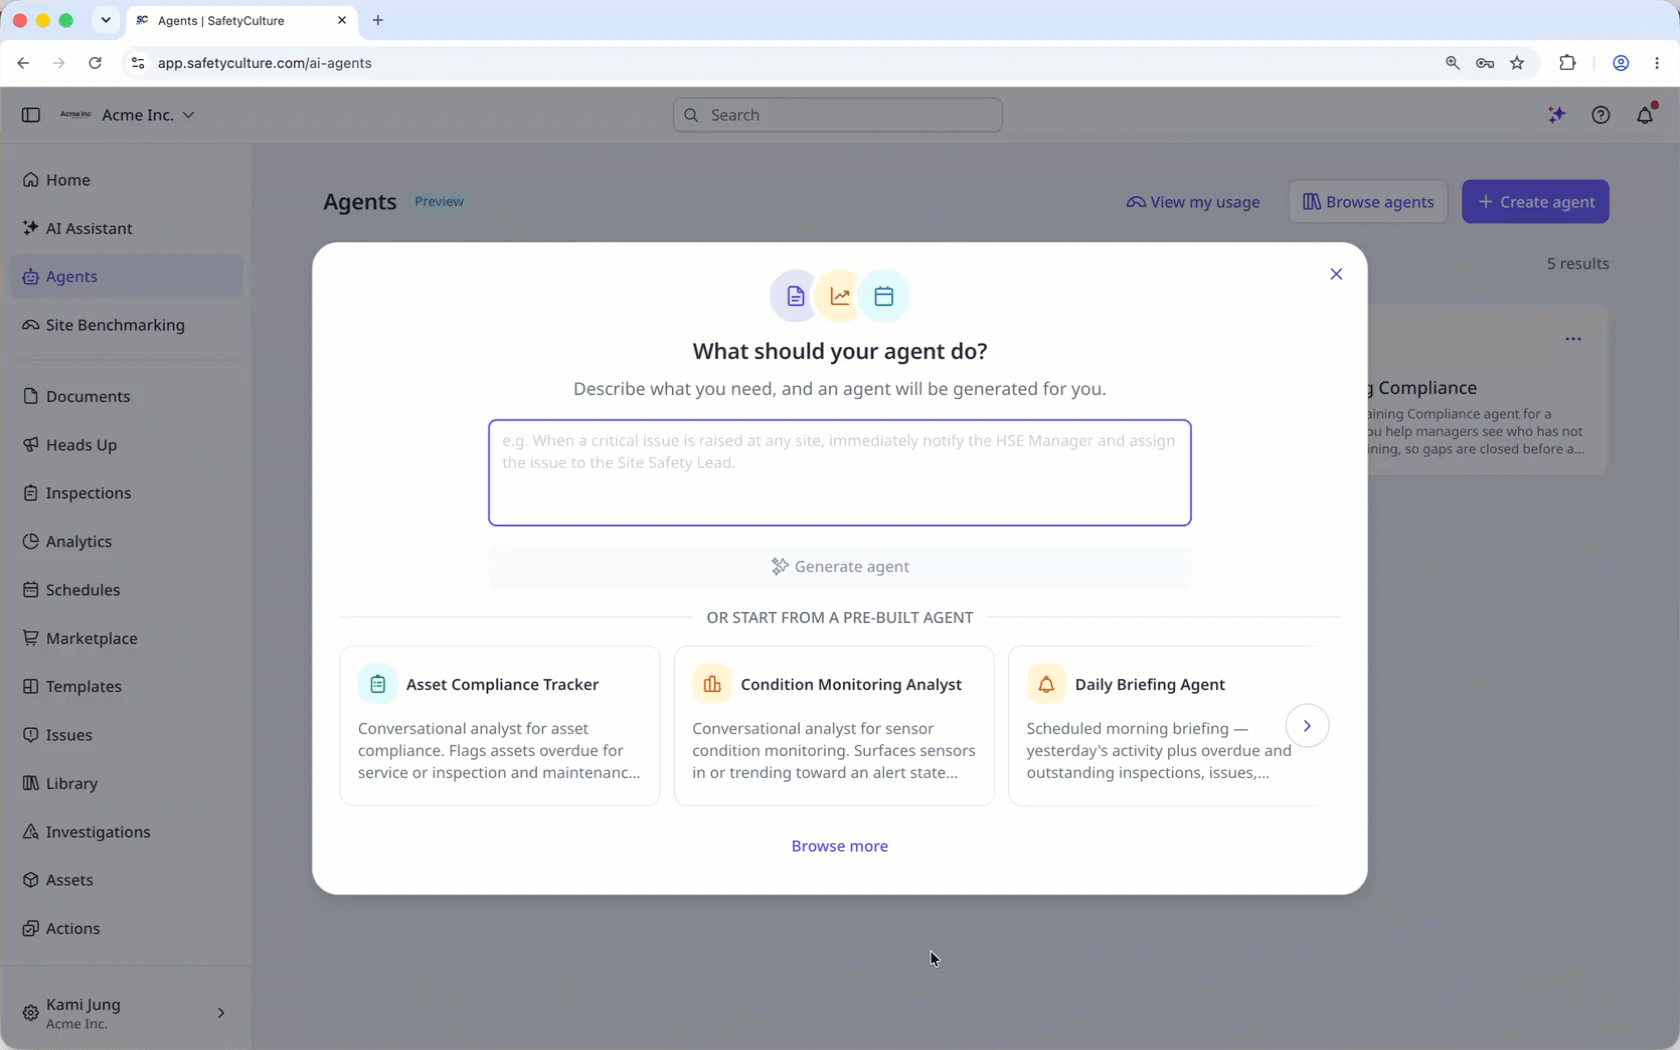
In the pop-up window, select how you want to create your agent:
Describe what your agent should do: Type what you need in the text field, then click Generate agent. AI will pre-fill the agent details for you.
Start from a pre-built agent: Select a template from the options shown, or select Browse more to view the full library.
Review the pre-filled configurations and update any fields as needed.
Name: Enter a name for the agent.
Icon: Select an icon for the agent.
Description: Enter a brief description of what the agent does. This doesn't affect how the agent behaves.
Triggers: Add a schedule to run the agent automatically at specified times.
Instructions: Enter a detailed breakdown of what the agent should do each time it runs, including how it should structure its output.
Model: Select "Quick", "Balanced", and "Advanced" depending on how much effort the agent needs when running.
Connectors: Select the data sources the agent needs to access.
Notifications: Receive notifications when a scheduled agent's run is successful or fails.
Click Save on the upper-right of the page.
Use the AI Assistant on the left-hand side panel to automatically update the agent's details. Describe what you want to change, and it will update the fields for you.
Edit an agent
Click Agents in the sidebar.
Click on the upper-right of the agent and select Edit.
Edit the agent configuration accordingly.
Click Save on the upper-right of the page.
Deleting is irreversible, and we cannot restore permanently deleted items. Confirmation is always required before any deletion, so be sure you're not accidentally deleting the wrong item.
Delete an agent
Click Agents in the sidebar.
Click on the upper-right of the agent and select Delete.
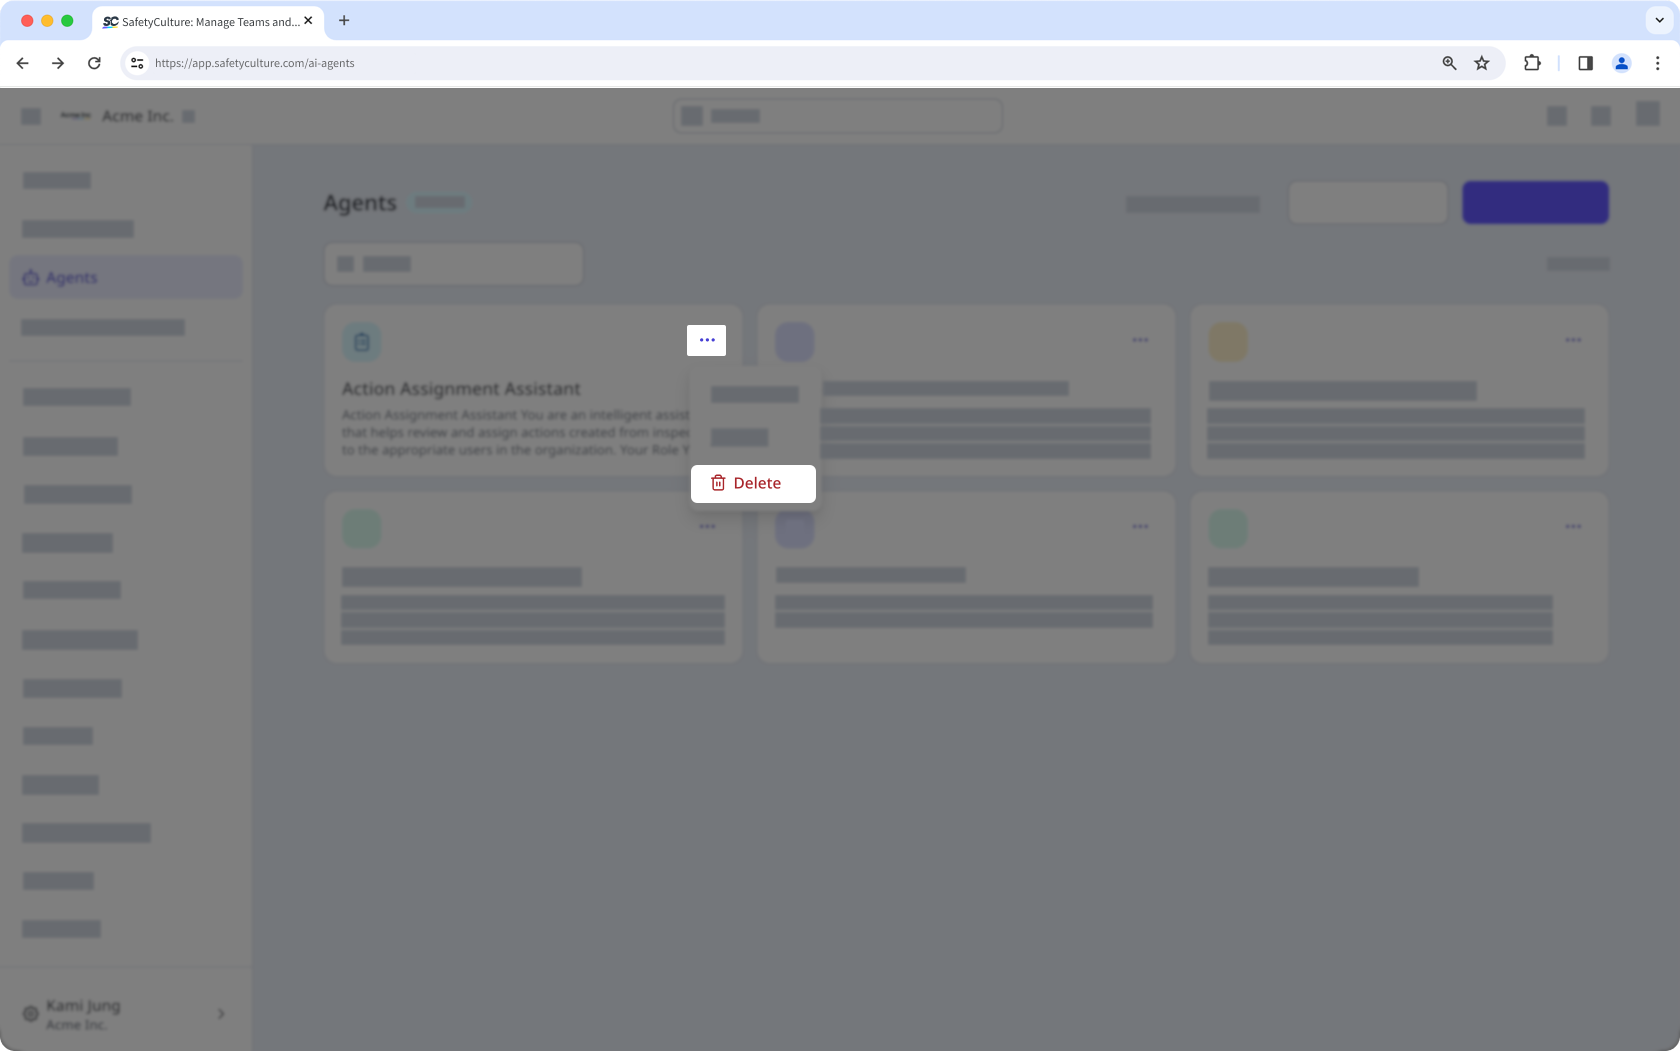
In the pop-up window, click Delete.
Limitations
Agents you create are only visible to you and can't be shared with other users.
You can't add tools to an agent while it's running. To add tools, edit the agent first, then run it again.
Frequently asked questions
You can schedule agent runs to automatically run agents for recurring tasks.