¿Qué son los casos en los informes de la OSHA?
En los informes de la OSHA, un caso se refiere a cualquier lesión o enfermedad laboral registrable que ocurra dentro de un establecimiento. Cada caso recoge información detallada sobre el incidente, el empleado afectado y el resultado, como días de baja o restricciones en la actividad laboral. Registrar los casos con precisión es esencial para completar los formularios de la OSHA 300, 300A y 301, y garantizar el cumplimiento de los requisitos federales.

Lo que necesitarás
Crear un caso
Select Investigaciones in the sidebar or select it in Más.
Select OSHA at the top of the page.
Select an establishment.
Click Crear caso on the upper-right of the page.
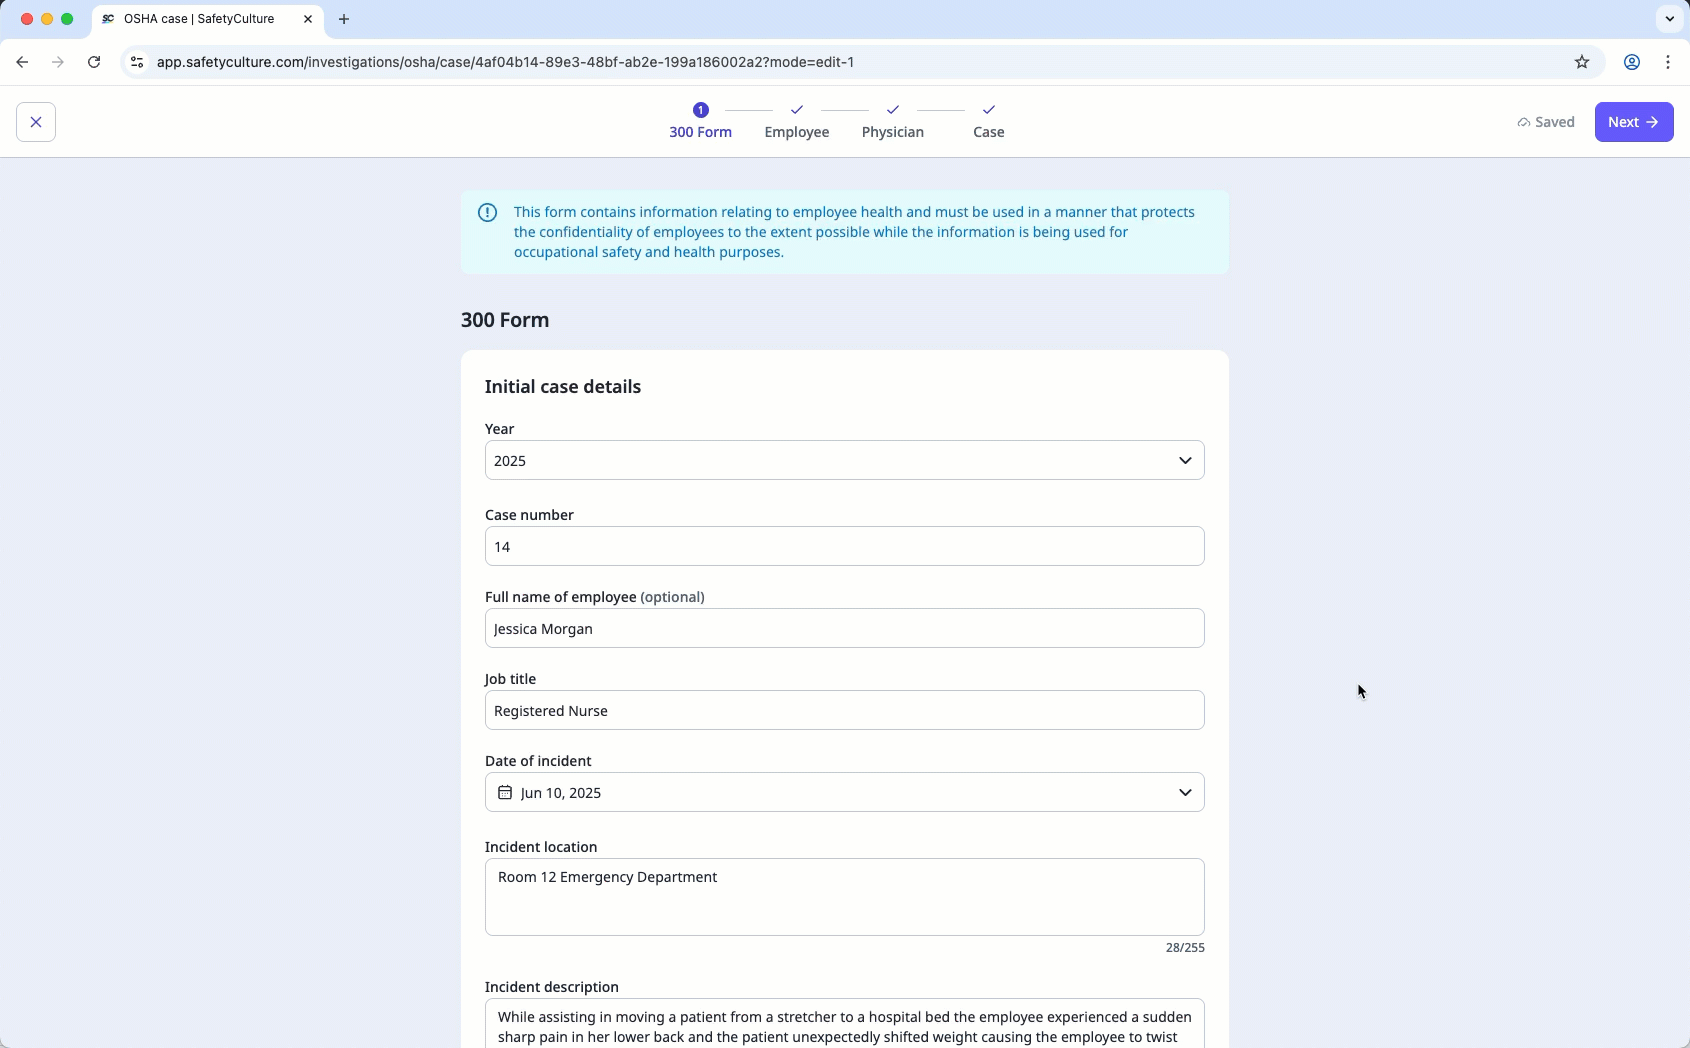
In the "300 Form" page, enter the following initial case details:
Establishment: Select the establishment name.
Year: Select the filing year in which the reported incidents occurred.
Case number: Enter the unique identifier automatically assigned to each recorded incident case.
Full name of employee: Enter the full name of the employee involved in the incident.
Job title: Enter the job title of the employee involved in the incident.
Date of incident: Enter the date when the injury or illness occurred.
Incident location: Enter the specific area or location where the incident took place.
Incident description: Enter a brief description of what happened during the incidents.
Type of incident: Select the nature of the injury or illness.
Incident outcome: Select the outcome of the incident, whether it resulted in death, days away from work, job transfer, or restricted work activity.
Click Siguiente on the upper-right of the page.
In the "Employee" page, enter the details of the employee involved in the incident, including their address, date of birth, hire date, and sex.
Click Siguiente on the upper-right of the page.
In the "Physician" page, enter the physician's details if applicable, including the facility name and address.
Click Siguiente on the upper-right of the page.
In the "Case" page, enter any additional details related to the incident.
Click Hecho on the upper-right of the page.
Editar un caso
Seleccione Investigaciones en la barra lateral o selecciónelo en Más.
Seleccione OSHA en la parte superior de la página.
Seleccione un establecimiento.
Seleccione un caso.
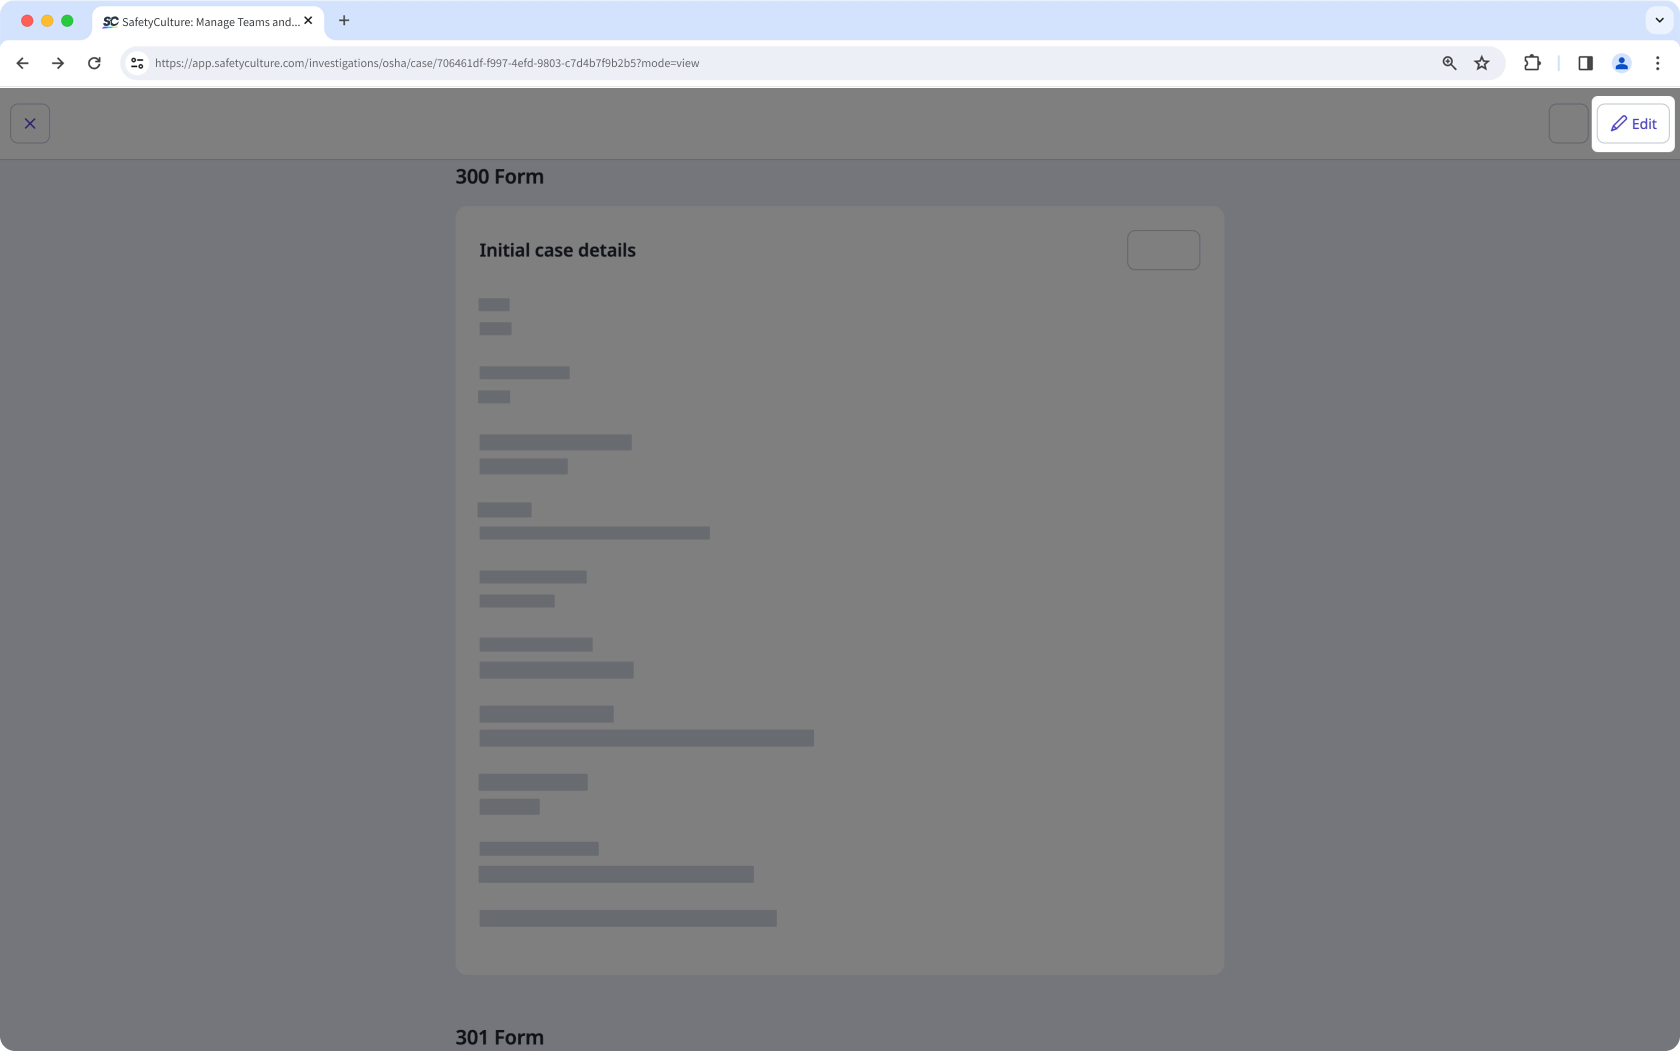
Haga clic en Editar en la esquina superior derecha de la página. También puede hacer clic en Editar en cada sección.
Actualice los datos del caso según corresponda.
Haga clic en Hecho en la parte superior derecha de la página.
La eliminación es irreversible y no podemos restaurar elementos eliminados permanentemente. Siempre se requiere confirmación antes de cualquier eliminación, así que asegúrese de no eliminar accidentalmente el elemento equivocado.
Eliminar un caso
Seleccione Investigaciones en la barra lateral o selecciónelo en Más.
Seleccione OSHA en la parte superior de la página.
Seleccione un establecimiento.
Seleccione un caso.
Haga clic en en la parte superior derecha de la página y seleccione Eliminar caso.
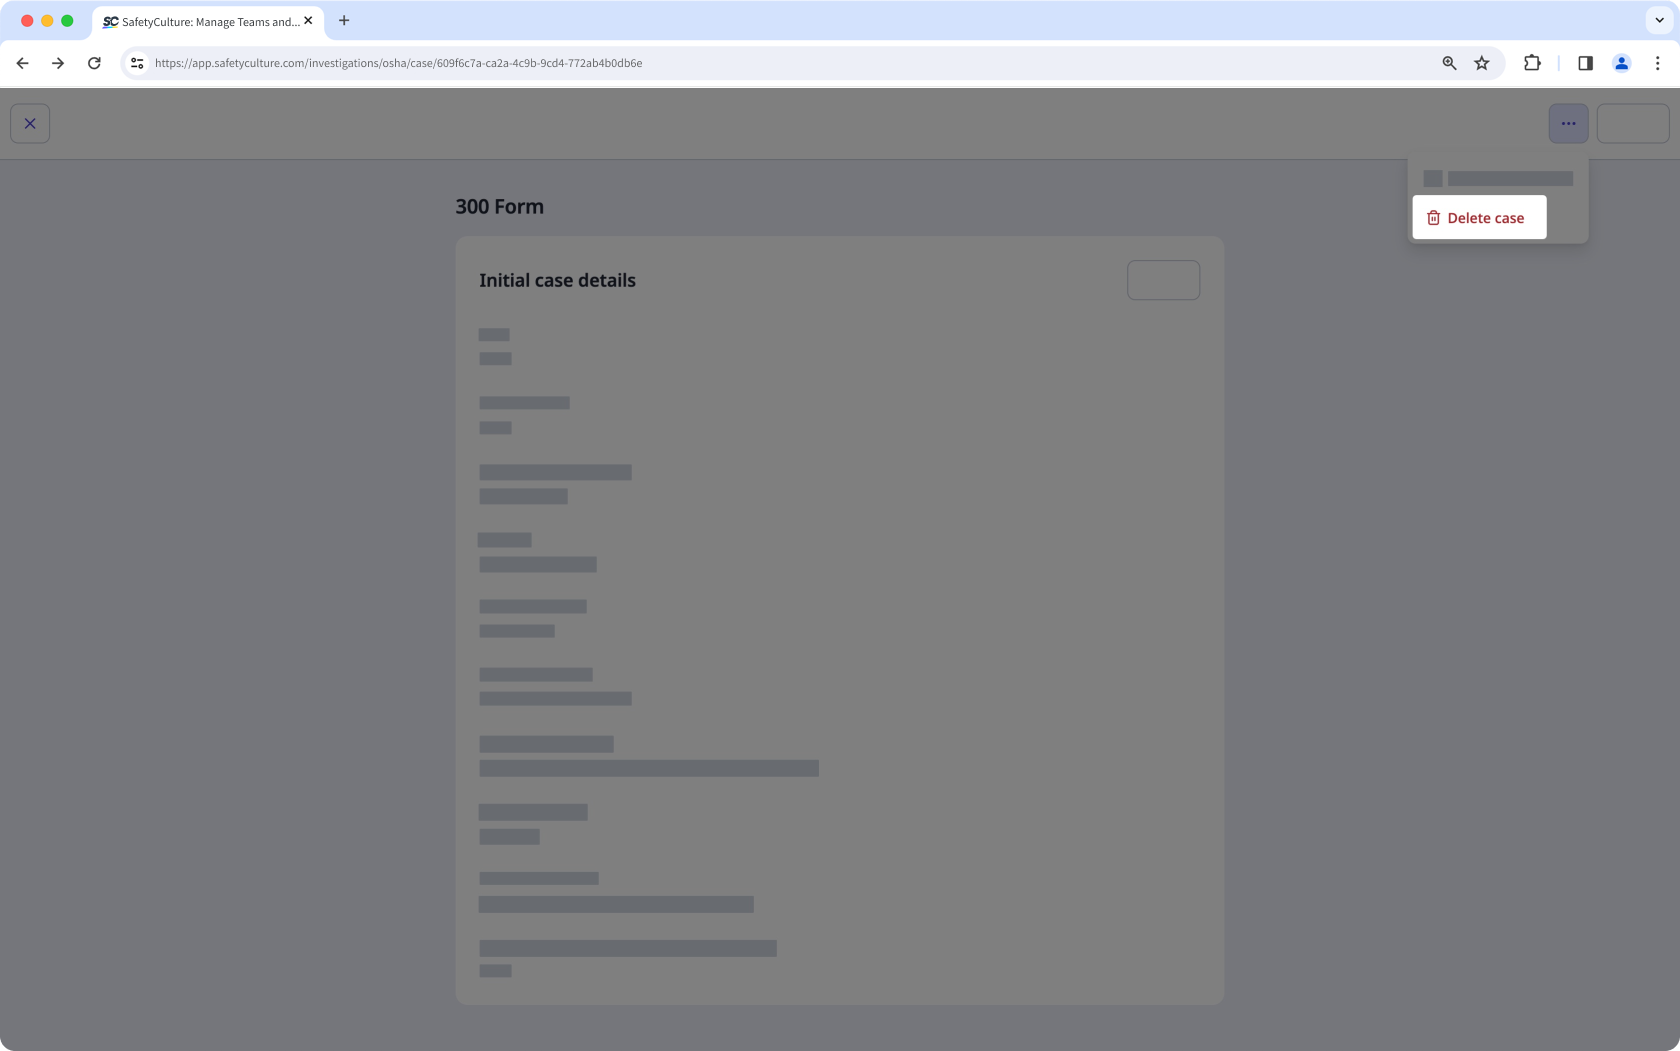
En la ventana emergente, haga clic en Eliminar.