What are investigation statuses?
Investigation statuses help you organize and track investigations based on their current stage. They represent the different stages an investigation typically goes through, such as gathering evidence, analyzing the root cause, remediating, and closing the investigation. You can customize these statuses to align with your team’s incident management workflow. From the investigations dashboard, you can also view all active investigations at a glance and update their statuses to reflect their current progress.
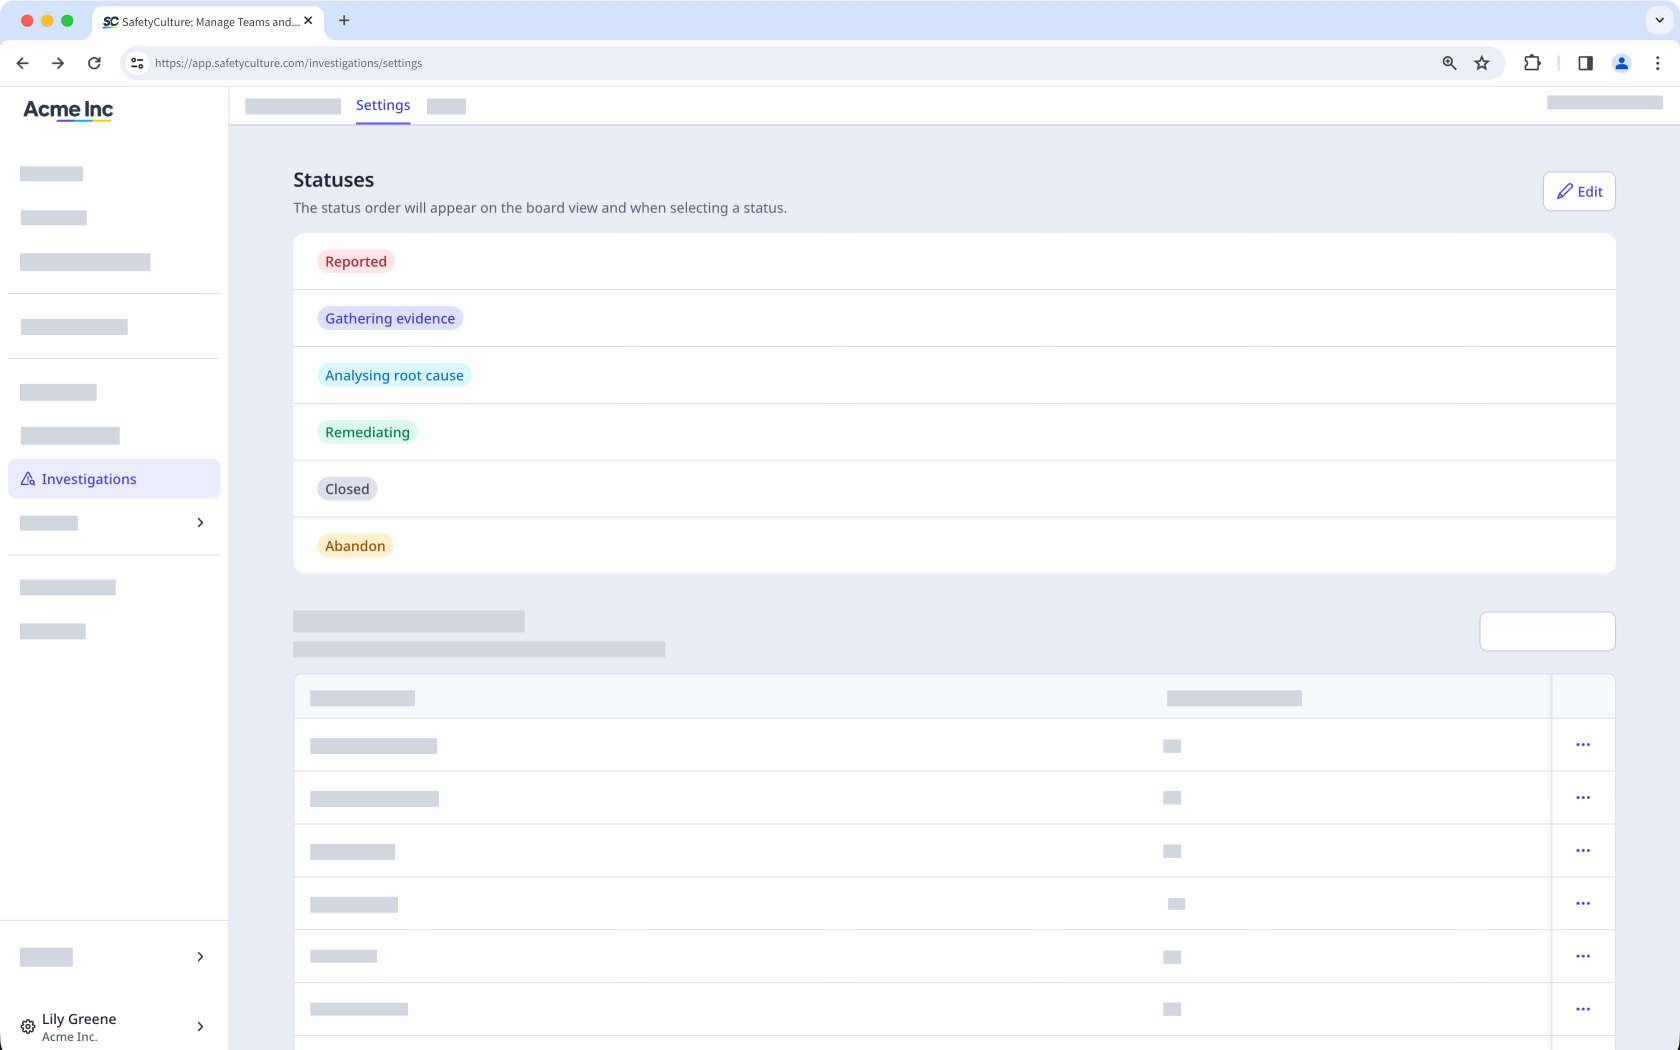
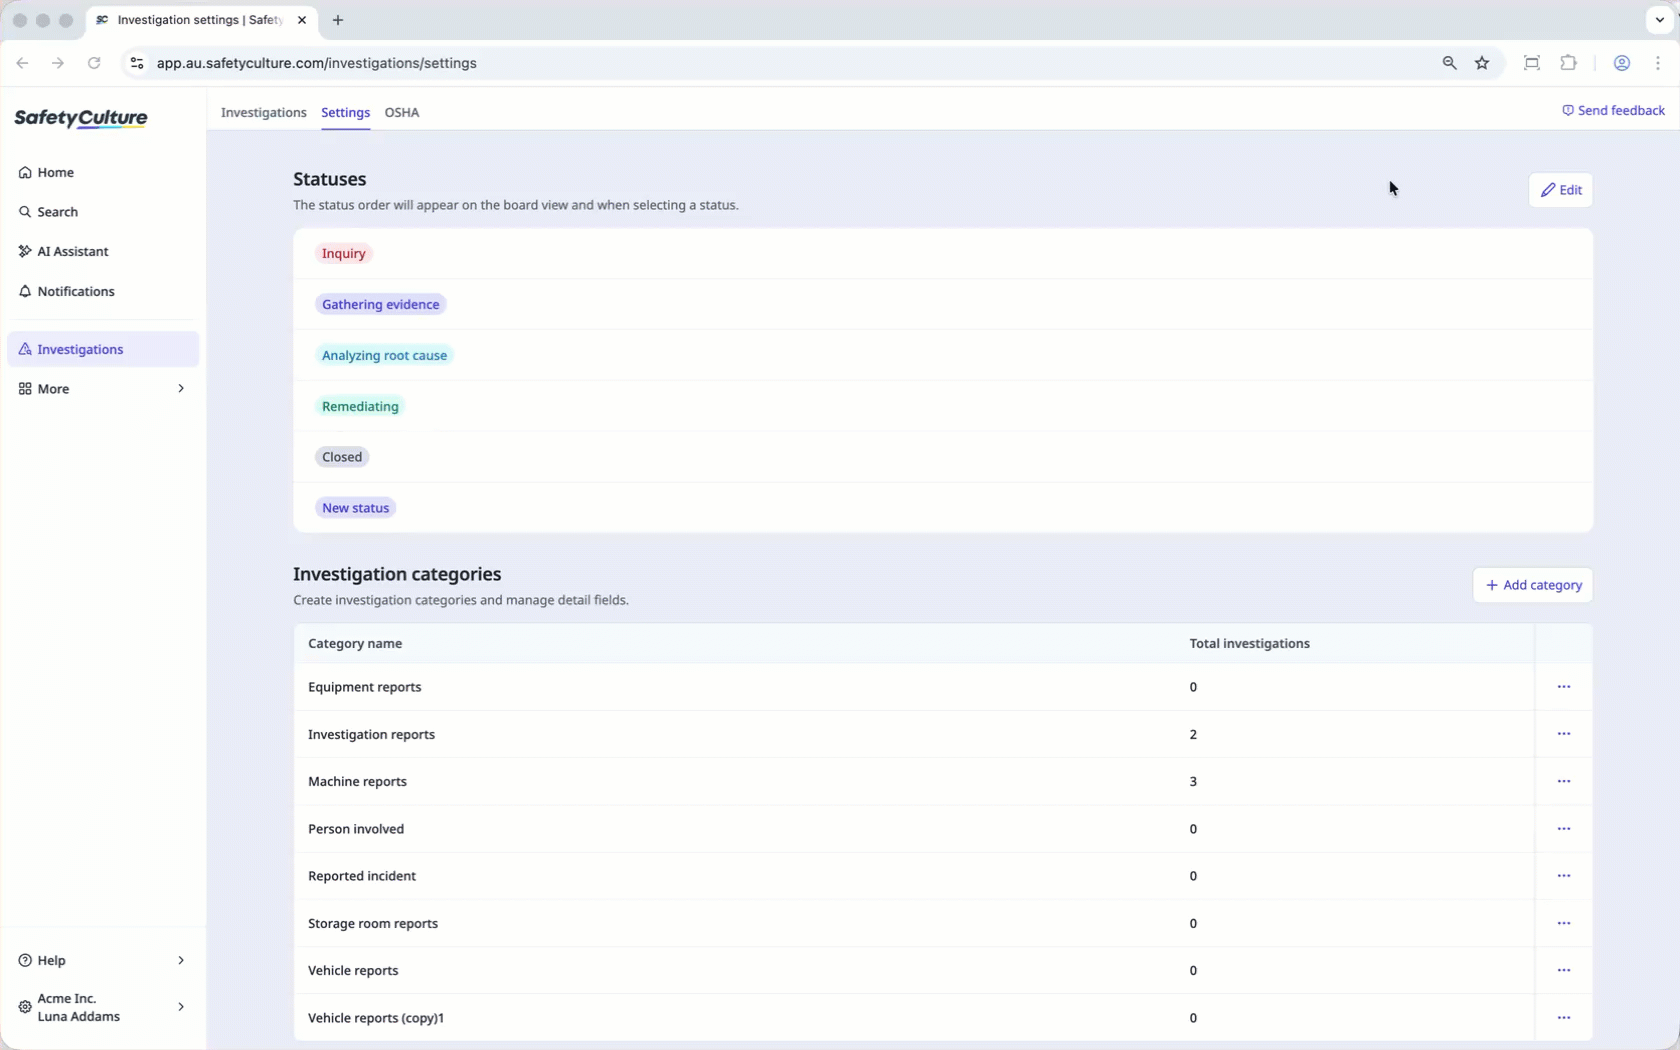
If you're on Free Plan, your investigations have these default statuses: Gathering evidence, Analysing root cause, Remediating, and Closed.
What you'll need
Create a custom investigation status
Select Investigations in the sidebar or select it in More.
Select Settings at the top of the page.
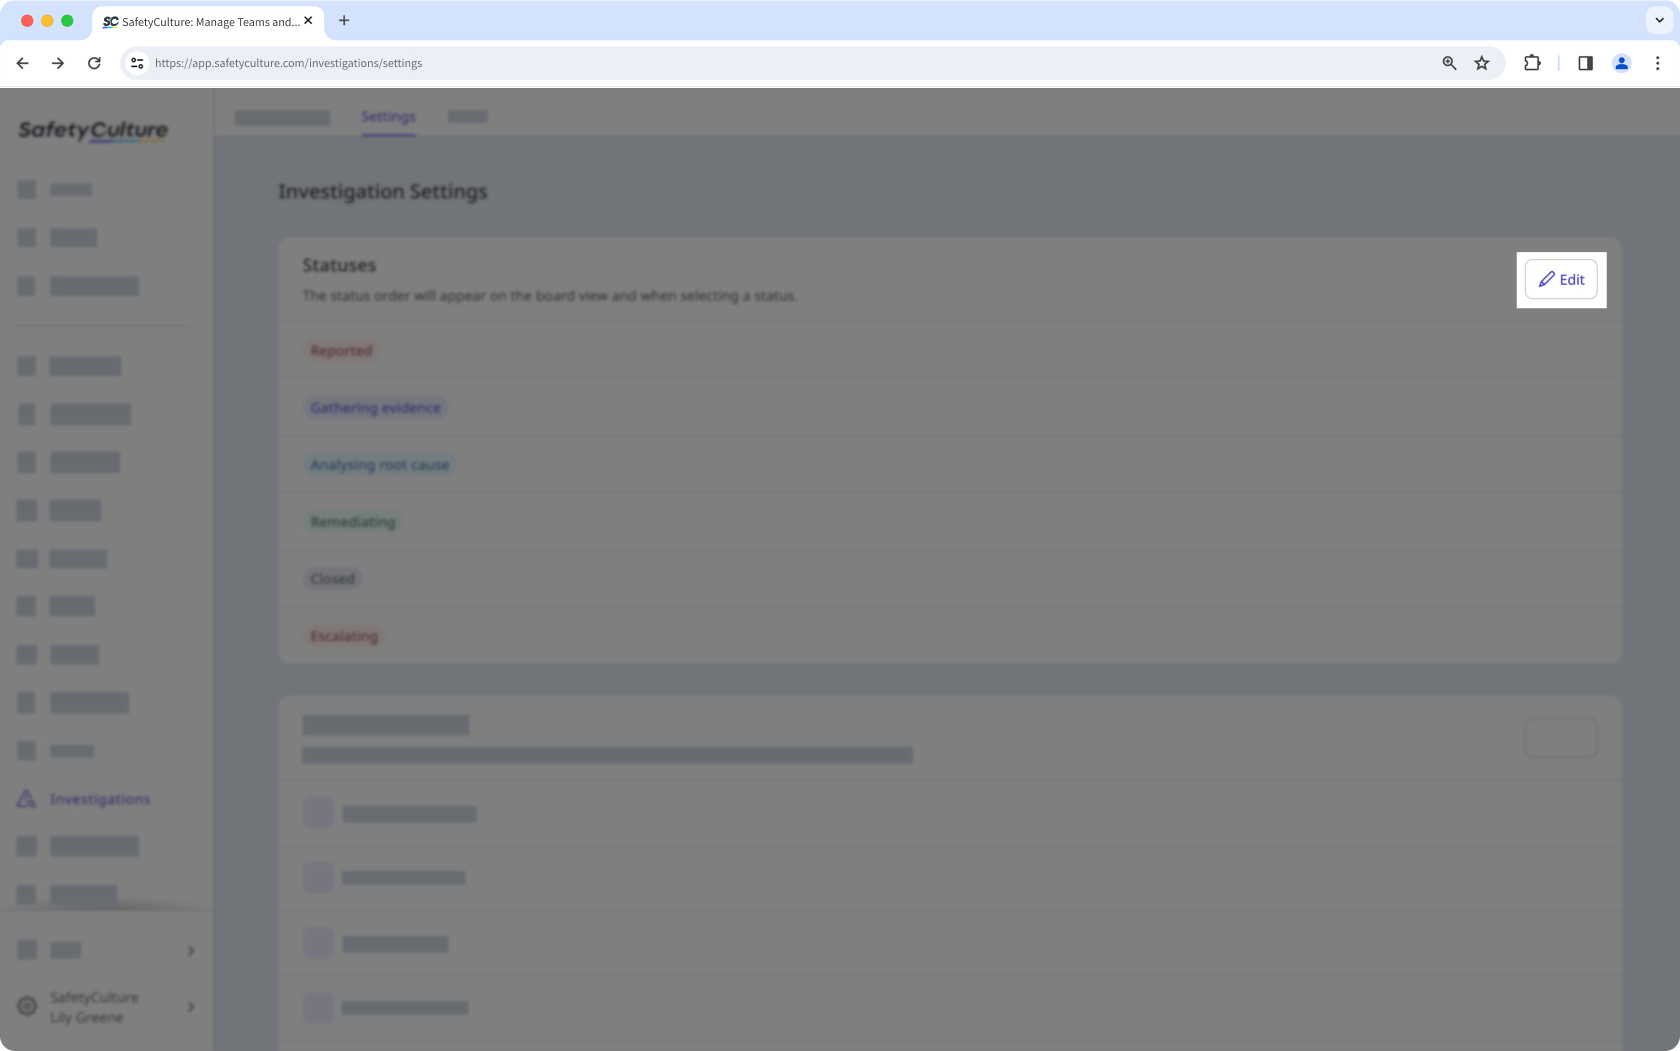
In the "Statuses" section, click Edit.
Click Add status at the bottom of the page, then enter a name for the new status. You can also select a color for the status.
Click Save.
You can create up to 10 custom statuses to use in your investigations.
Edit a custom investigation status
Select Investigations in the sidebar or select it in More.
Select Settings at the top of the page.
In the "Statuses" section, click Edit.
Edit the name and color of the status accordingly.
Click Save.
Reorder a custom investigation status
Select Investigations in the sidebar or select it in More.
Select Settings at the top of the page.
In the "Statuses" section, click Edit.
Click on the right-hand side of the status and select Move down or Move down. You can also click and hold
 on the left-hand side of the status to reorder them accordingly.
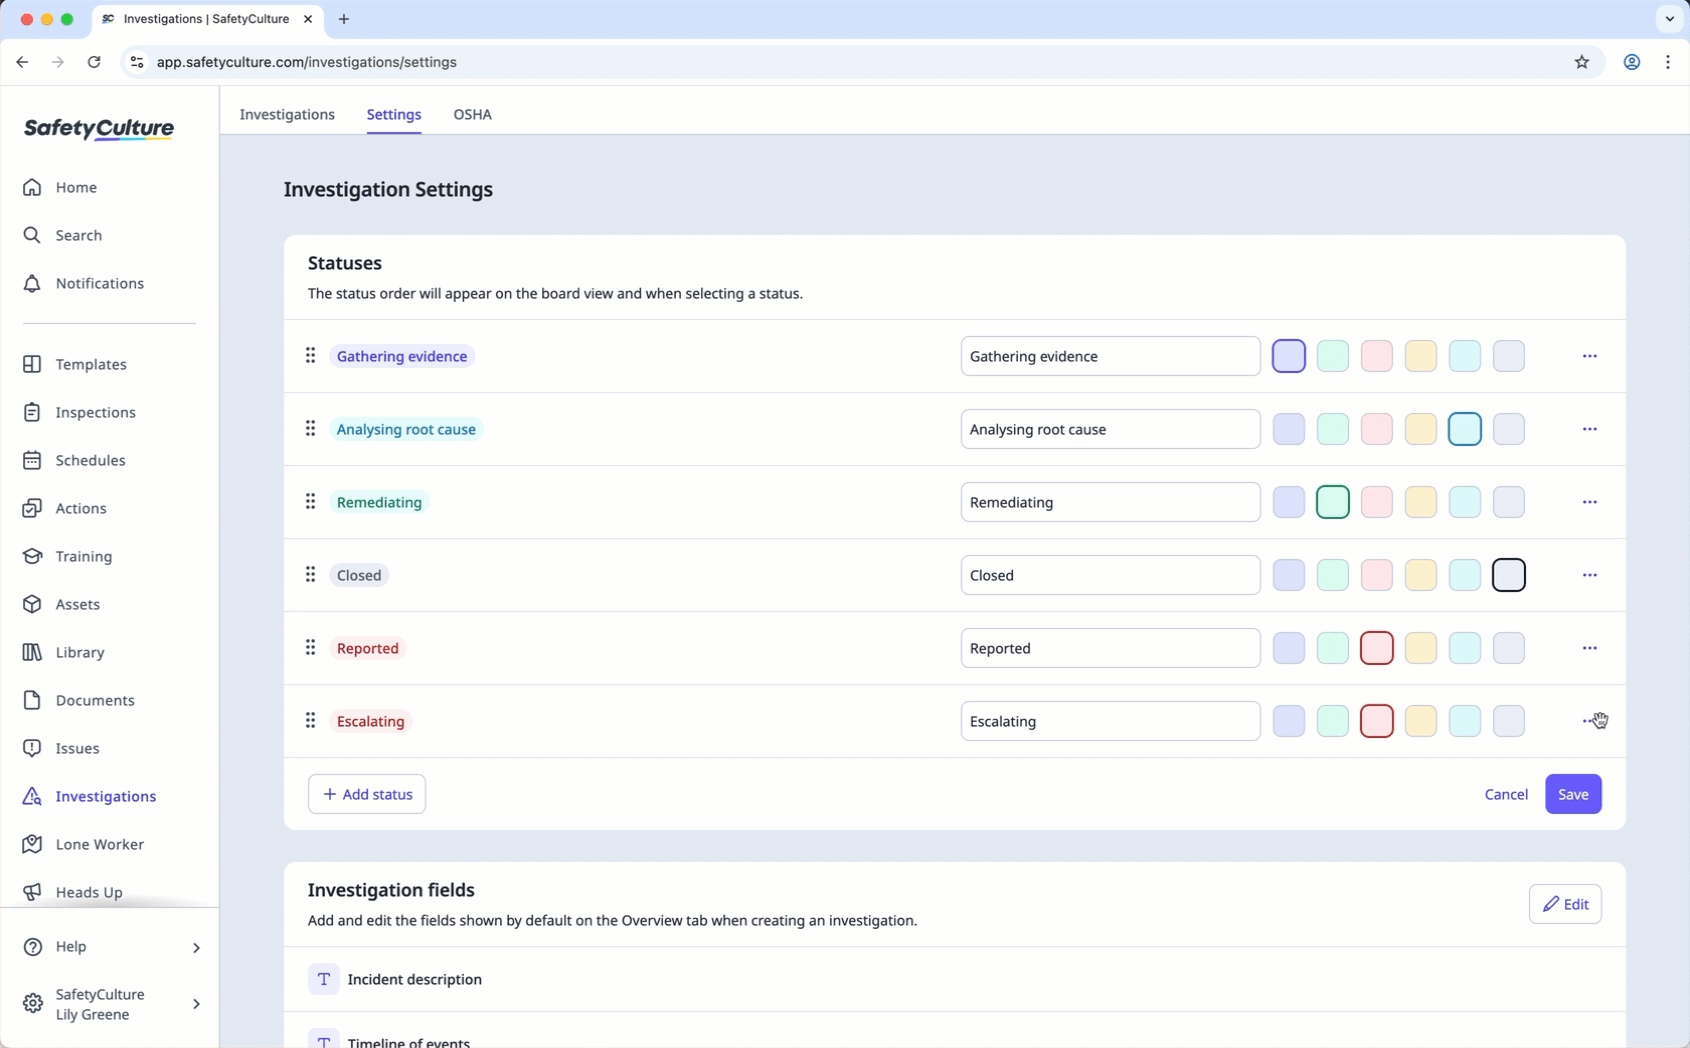
Click Save.
If you delete a status with associated investigations, you'll need to reassign those investigations to a different status first.
Delete a custom investigation status
Select Investigations in the sidebar or select it in More.
Select Settings at the top of the page.
In the "Statuses" section, click Edit.
Click on the right-hand side of the status and select Delete.
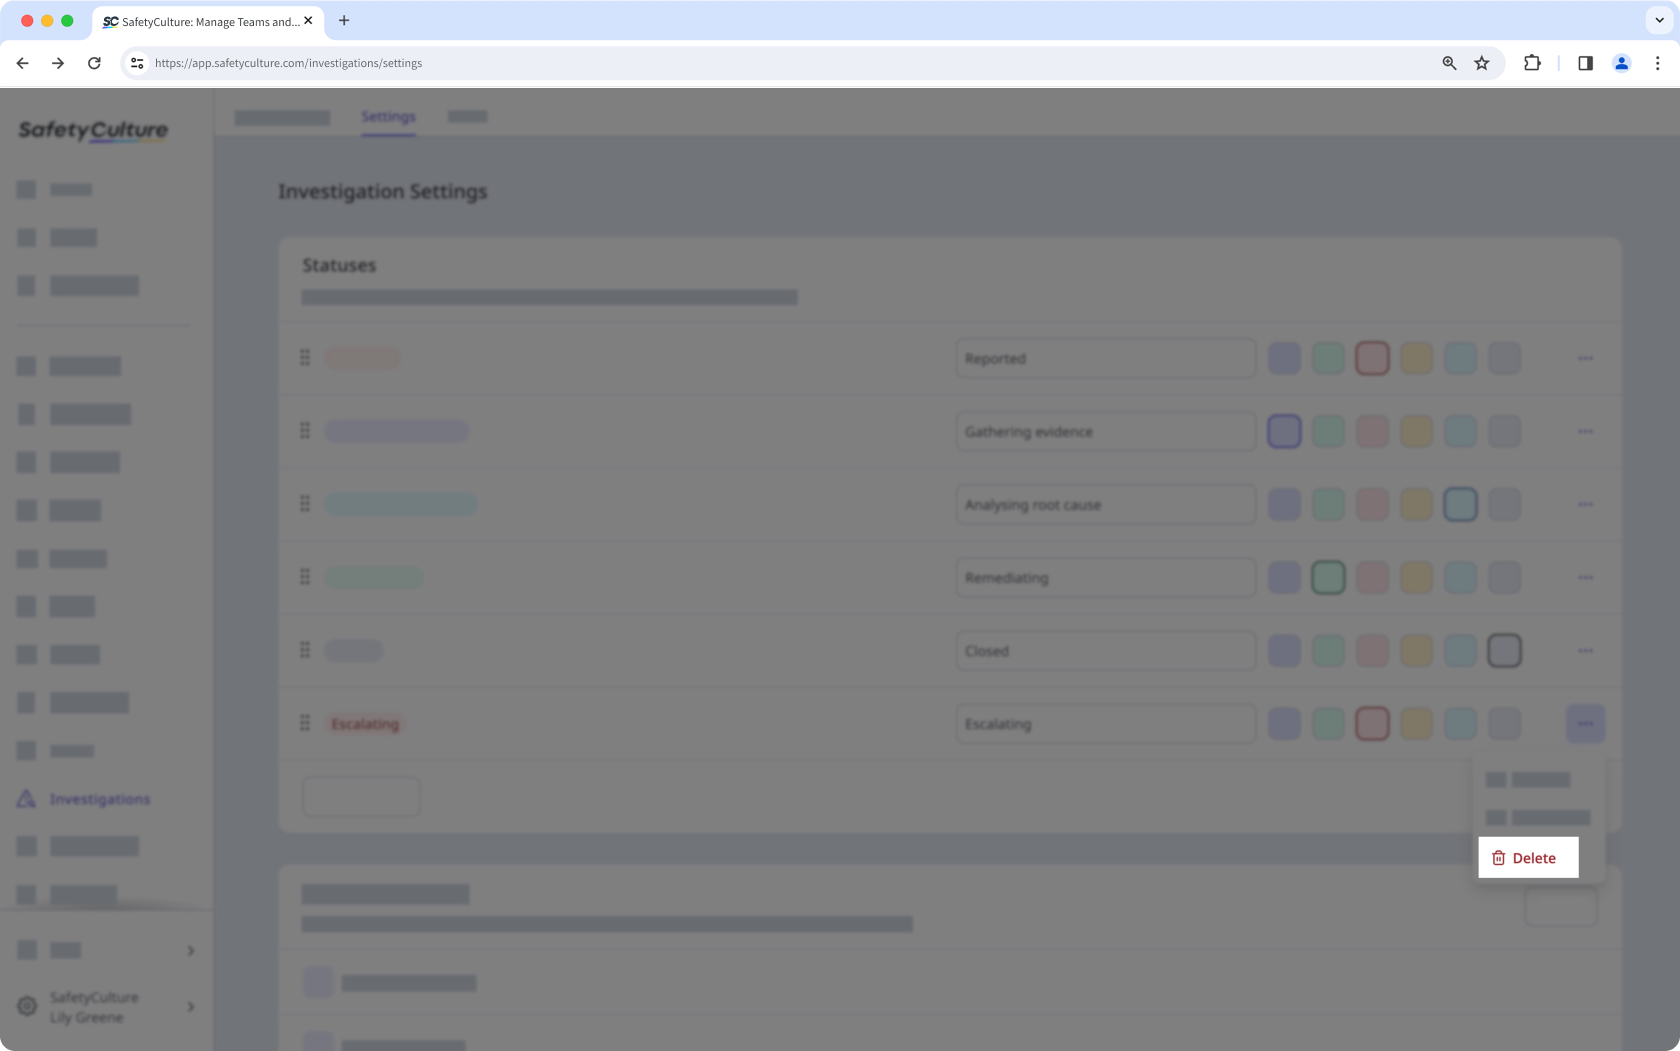
Click Save.