What does it mean to edit user details?
Editing user details means updating the values stored in user fields for one or more users. You can update an individual user's details from their profile, or edit multiple users at once using bulk editing in the web app and via CSV or Excel.
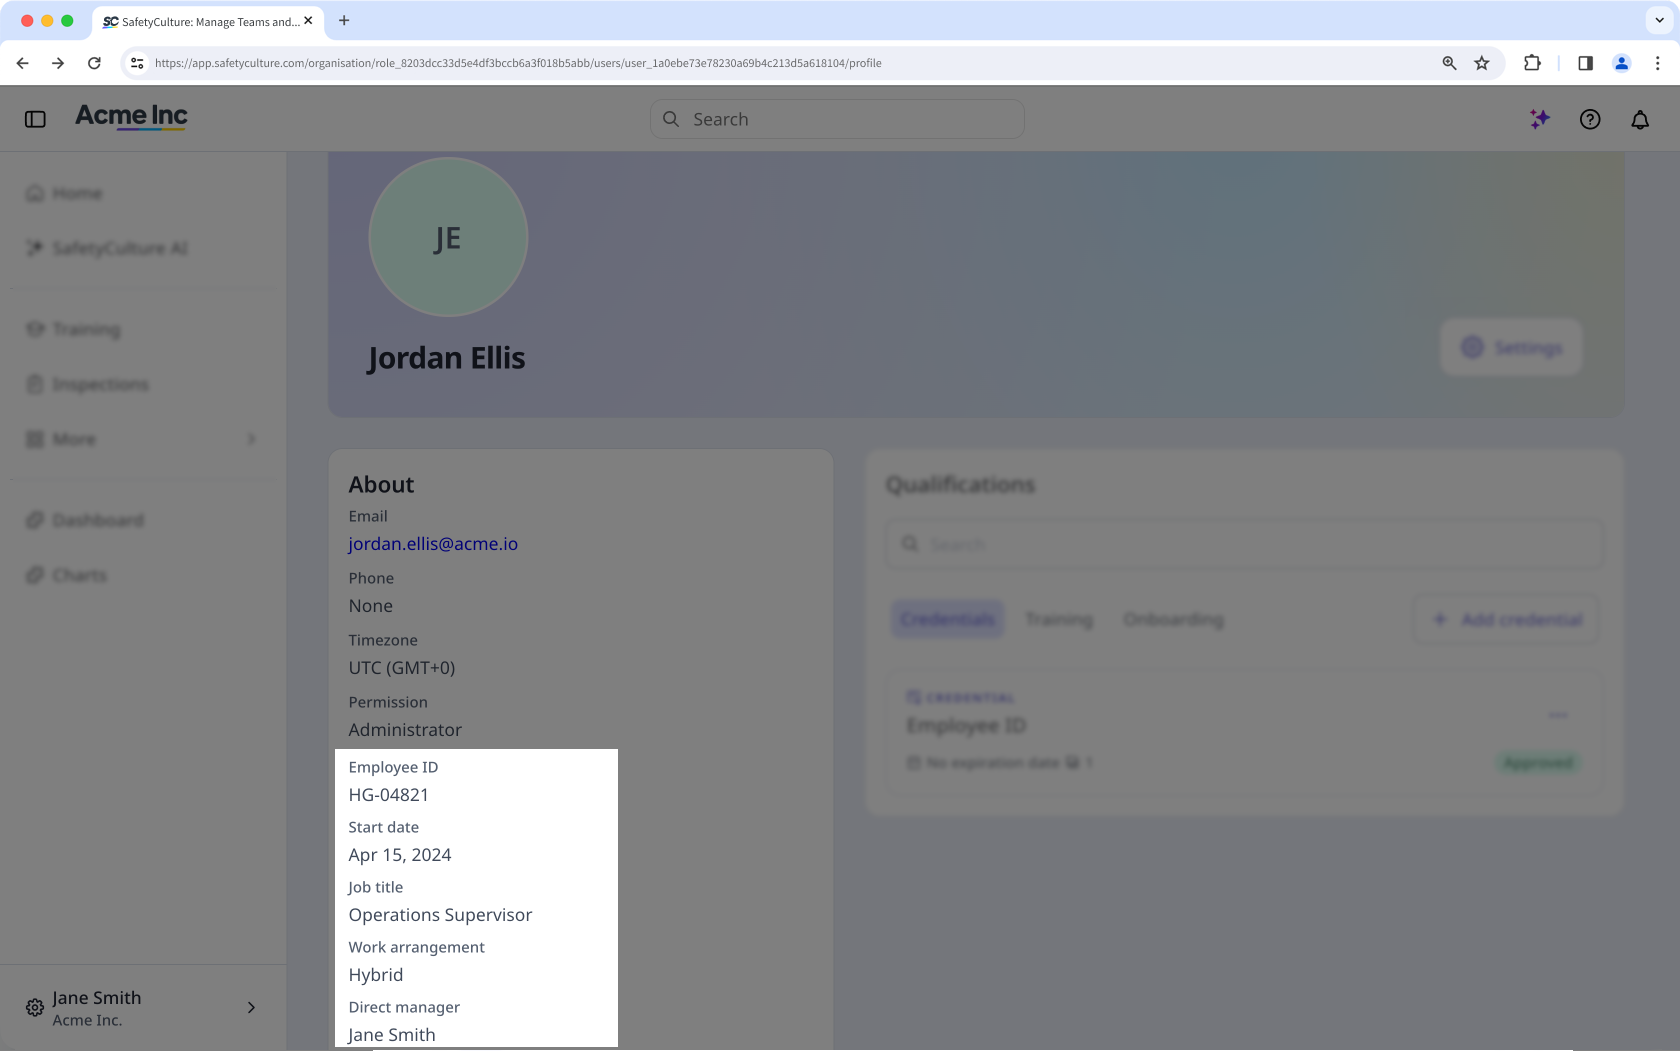
System fields such as job title, department, and cost center are available in every organization by default. You can also update any custom fields in your organization. Fields that use the multi select type can hold more than one value per user, such as multiple sites or roles.
Keeping your users' details up to date makes it easier to filter your team, support HR integrations, and ensure you're always working with accurate information.
You can only update details with user fields in bulk. However, bulk updates for fields like name and email are currently unsupported.
Edit a user's details
Click your organization name on the lower-left corner of the page and select Users.
Click the user's name.
Click Settings on the upper-right of the page.
Click Edit in the "Details" section.
Update the details in the user fields accordingly.
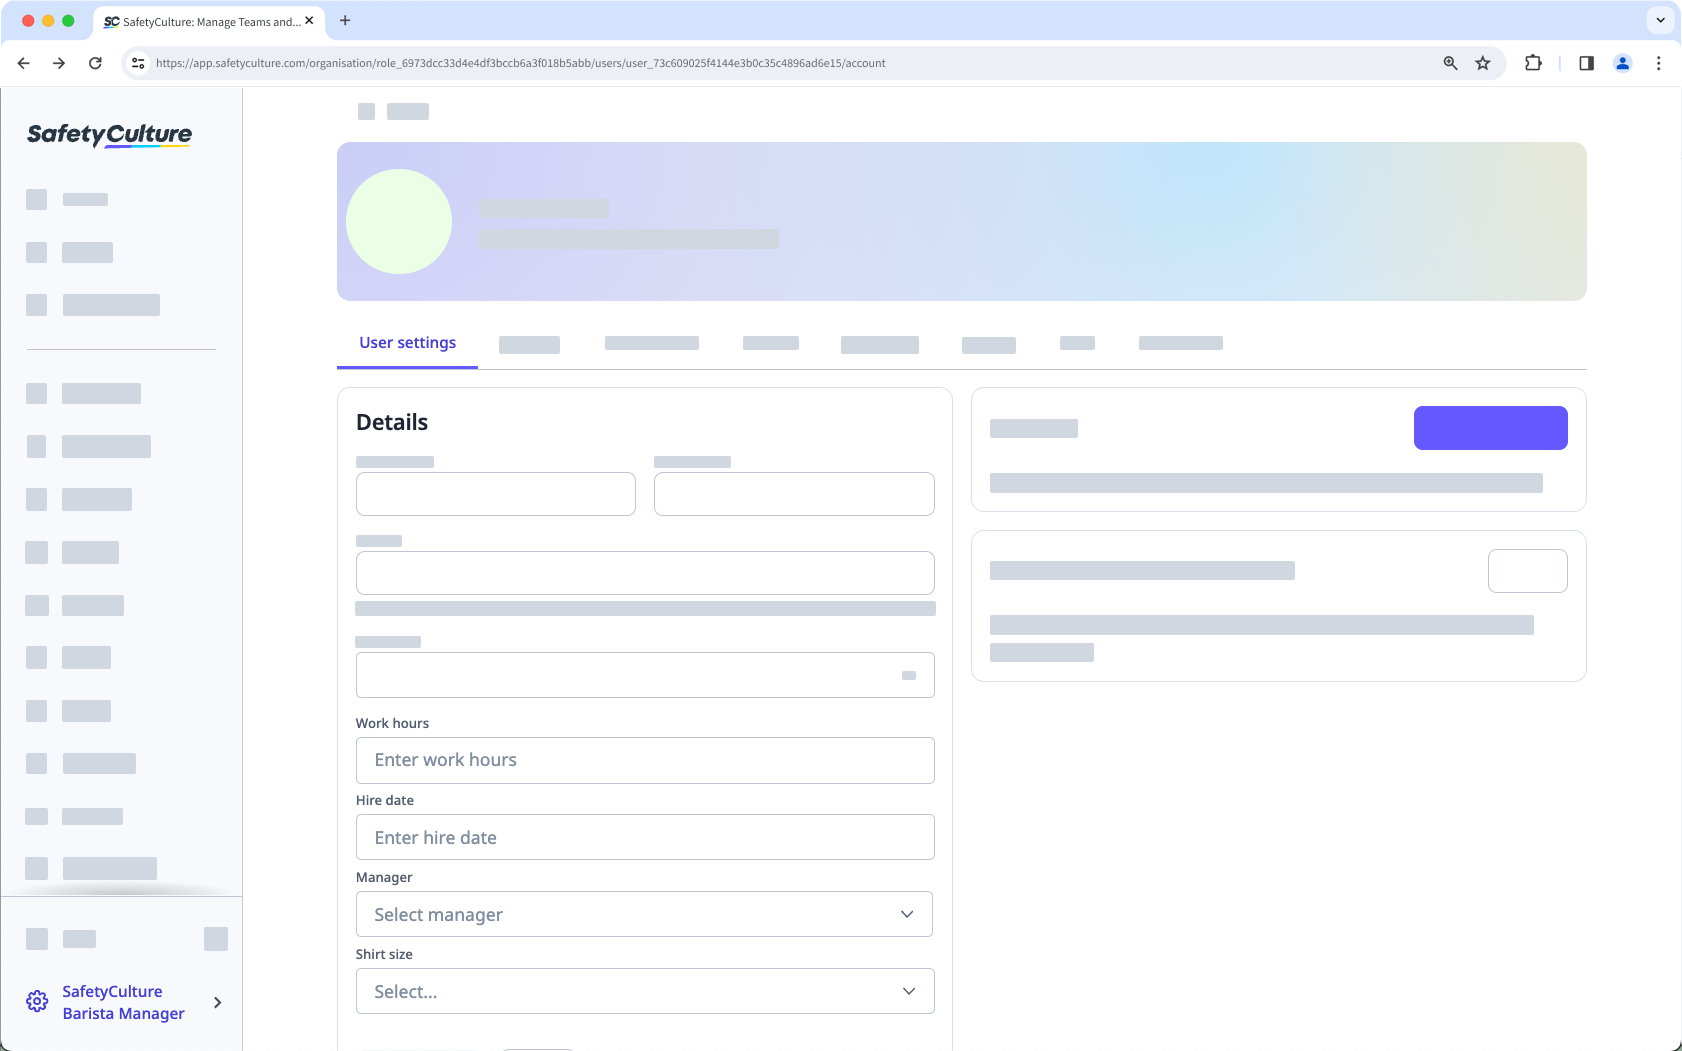
Click Save changes.
You can also manage custom fields, user settings, and details such as names, permission sets, and more, in bulk using CSV or Excel to ensure your team's information is up to date.
Adding new options for single and multi select user fields is not supported. You can only add existing options to the CSV file.
Bulk edit user details
Click your organization name on the lower-left corner of the page and select Users.
Check the boxes on the left-hand side of the users' names.
At the bottom of the page, click Edit fields and select the user field.
In the pop-up window, update the user details accordingly.
Click Update.