What are invite links?
Invite links allow organizations to onboard members at scale by automatically assigning users to specific groups, sites, and permissions sets. These unique links include customizable expiration dates and usage limits, ensuring admins maintain security and control without the need for manual setup. By streamlining the invitation process, teams can gain platform access quickly while ensuring they always have the right permissions when they join.
For example, you might set up a link for your inspection team that automatically adds them as a member of a site, and another for contractors that expires after a week. This helps everyone get the right access from the start and reduces the effort needed to manage users across your organization.

If your organization doesn't have available seats when a user is added, SafetyCulture will either purchase a seat automatically or block the user from being added.
Automatic seat expansion is currently in Early Access. If a seat is purchased, your billing administrator will receive an email, and your next invoice will include a prorated charge.
Create an invite link
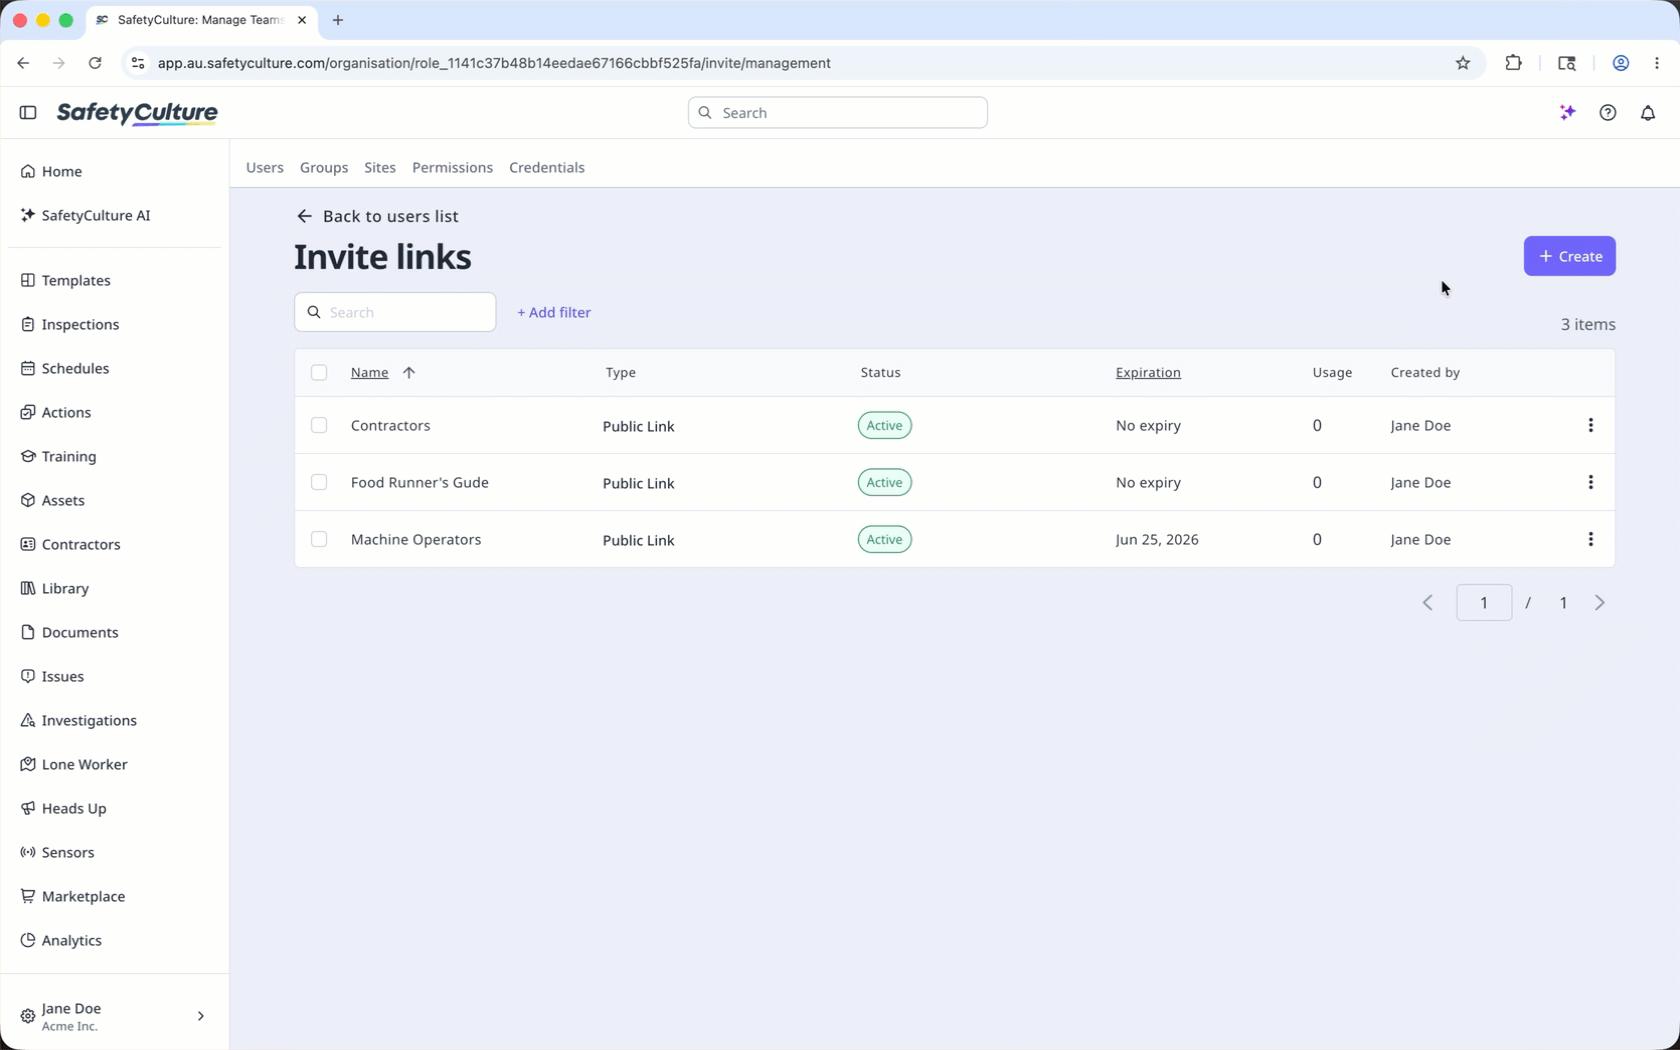
Click your organization name on the lower-left corner of the page and select Users.
Click Manage invites on the upper-right corner of the page, then click Create.
Enter the invite name and choose a seat type.
Configure the invite link accordingly.
Link password: Turn the setting on to set a password users must enter before they can access the link. If you share the link's QR code, also share the password with your team members separately.
Expiration: Turn the setting on to set a date when the invite link will expire. If you set an expiration date, remember to renew the link before it expires.
Invite limit: Turn the setting on to set the number of users that can access the invite link to join the organization.
Permission set: The permission set you want to assign a user.
Groups: The groups you want to add a user to.
Sites: The sites or levels you want to add a user to.
Click Create.
Click an invite link to view the users who have joined your organization through that specific link.
Edit an invite link
Click your organization name on the lower-left corner of the page and select Users.
Click Manage invites on the upper-right corner of the page.
Click the invite link.
Click Settings on the upper-right of the side panel.
Click Edit in the "Details" section.
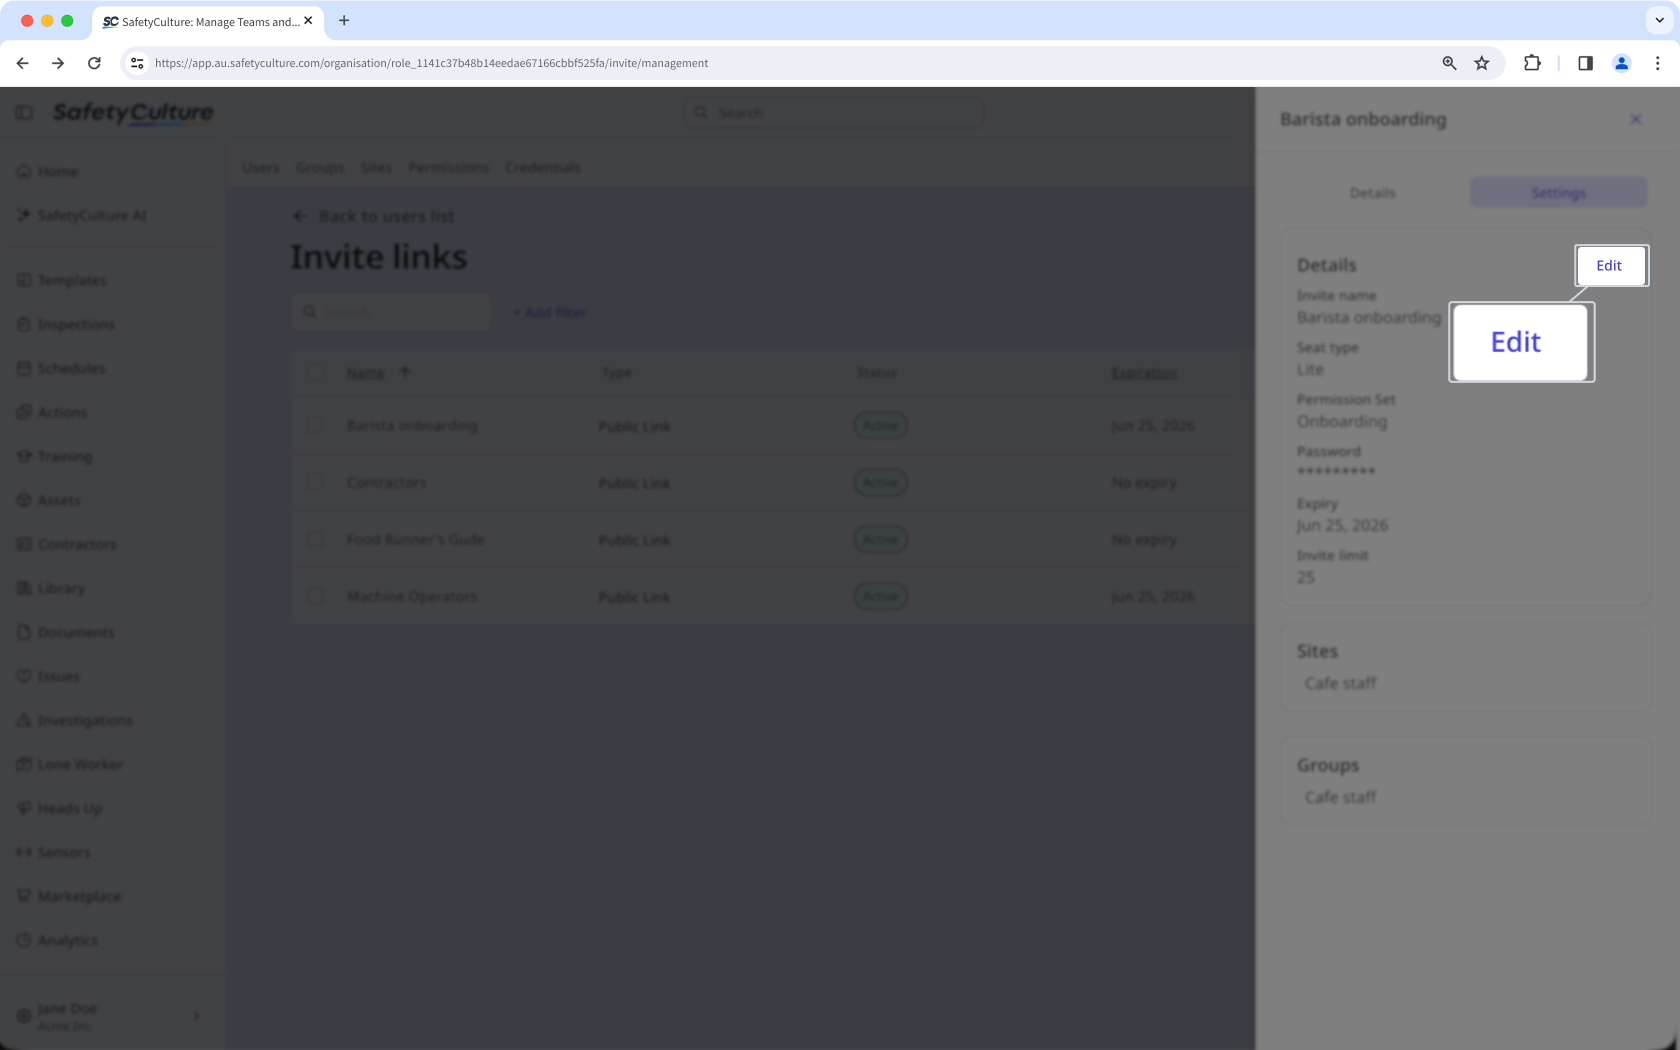
Edit the fields accordingly.
Click Save.
Deactivate an invite link
Click your organization name on the lower-left corner of the page and select Users.
Click Manage invites on the upper-right corner of the page.
Click on the invite link’s right-hand side and select Deactivate.
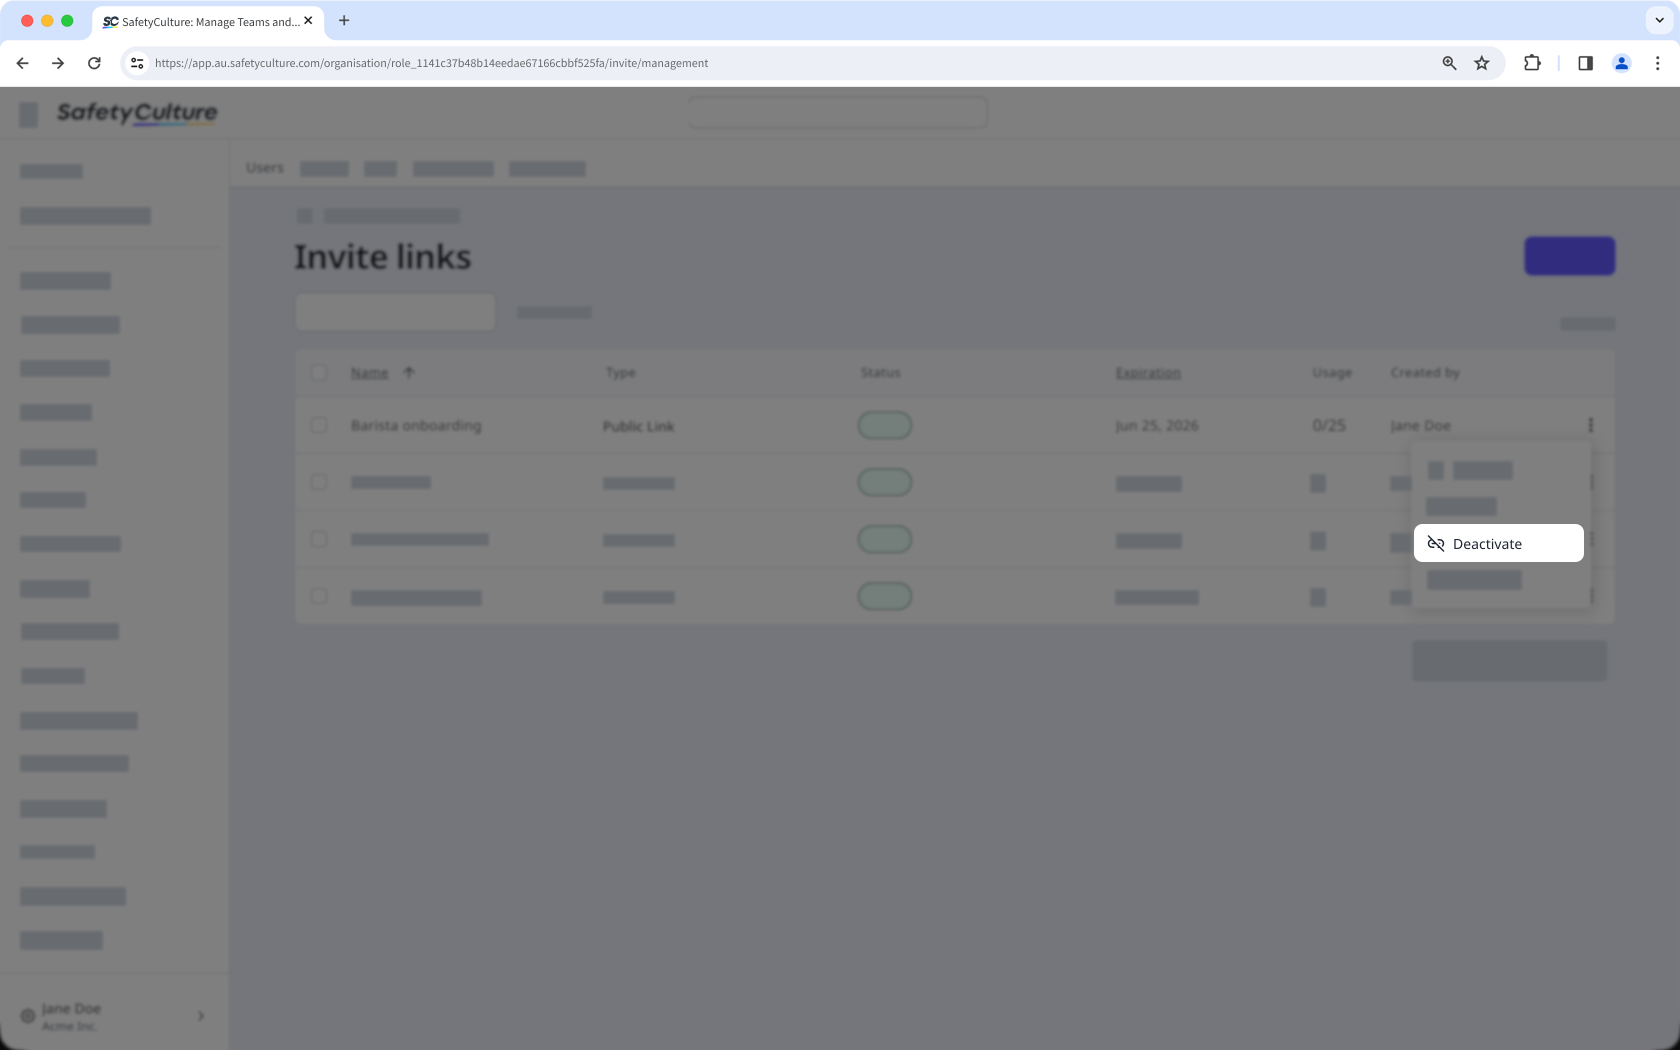
In the pop-up window, click on Deactivate.
Delete an invite link
Click your organization name on the lower-left corner of the page and select Users.
Click Manage invites on the upper-right corner of the page.
Click on the invite link’s right-hand side and select Delete.
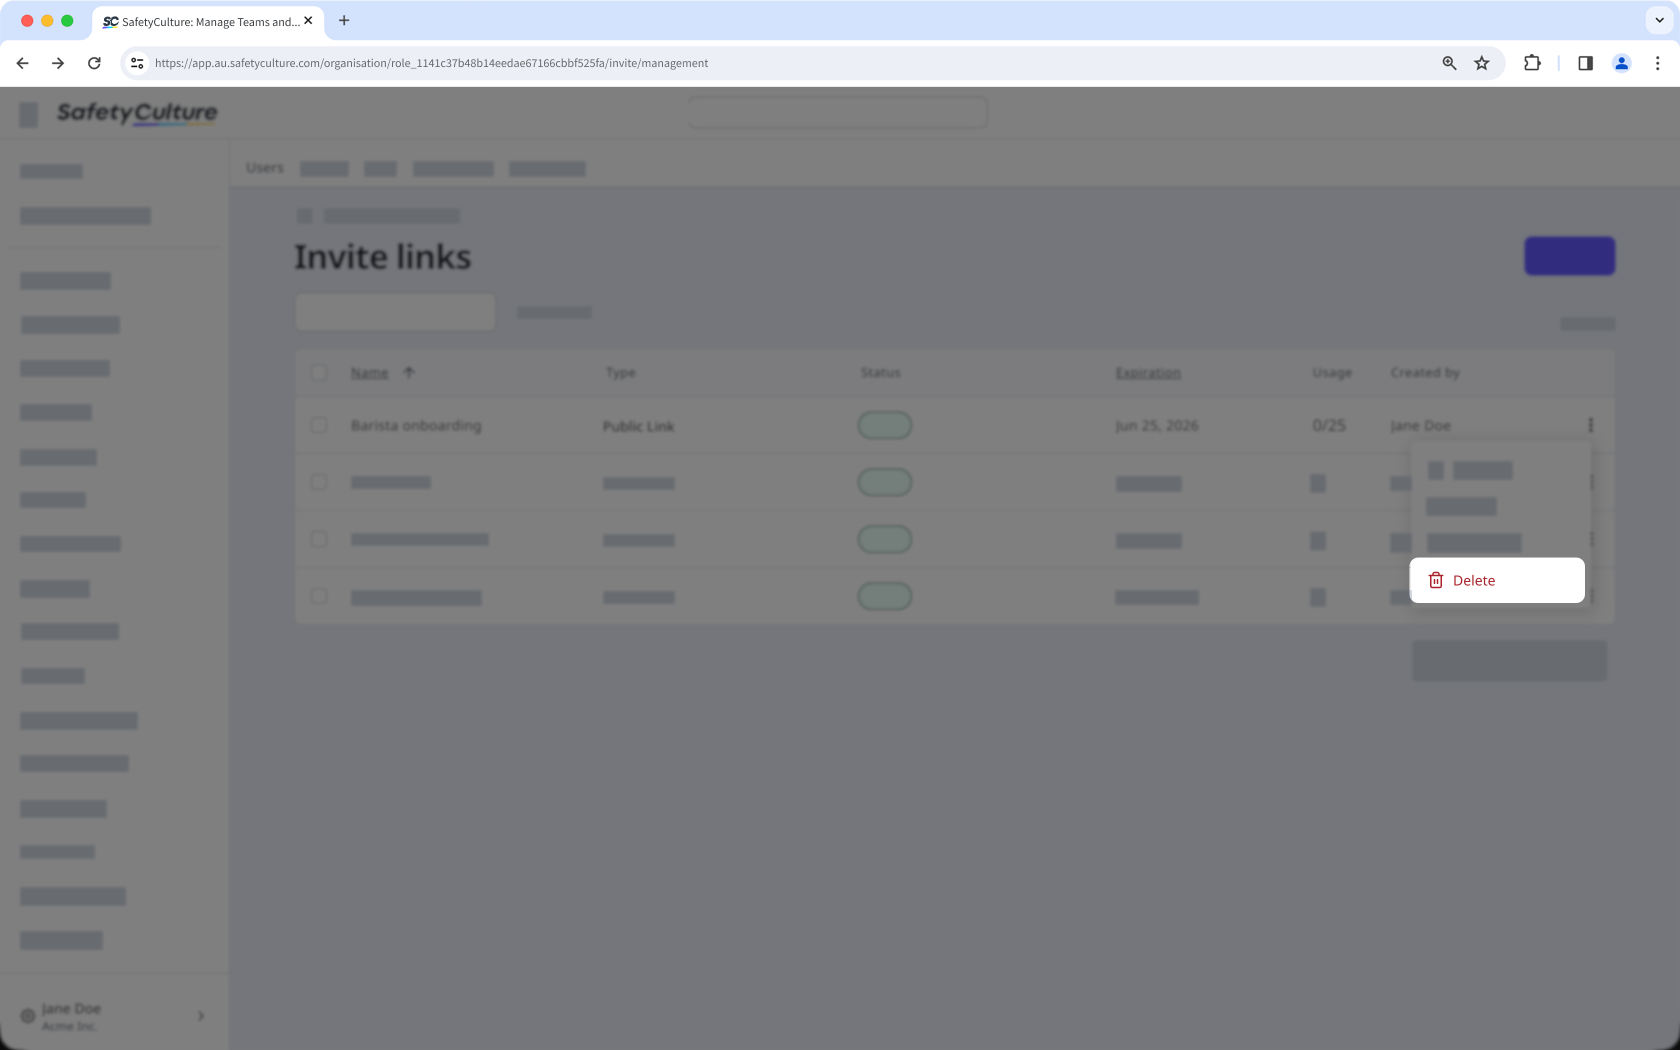
In the pop-up window, click on Delete.
Bulk edit invite links
Click your organization name on the lower-left corner of the page and select Users.
Click Manage invites on the upper-right corner of the page.
Check the boxes on the left-hand side of the invite links you want to edit.
At the bottom of the page, click Edit and update one of the following options for the users:

Renew: Select a new expiration date for the invite links and click Renew.
Deactivate: Click Deactivate to deactivate the links.
Reactivate: Click Reactivate to reactivate the links.
Update invite limit: Enter the number of users that can access the invite link to join the organization and click Update.
Delete: Click Delete to delete the links.