- Using SafetyCulture
- Documents
- Manage file labels
Manage file labels
Learn how to manage file labels via the web app.What are labels in Documents?
Labels in Documents help your team stay organized by categorizing your files, making them easier to find. You can use labels to sort, filter, and group files by project, department, status, or other criteria that fit your team's workflow. This keeps document management simple and ensures you can quickly access the files you need.
Use sites for “where this file is used” and labels for “what this file is about,” such as equipment type, department, or document status.
Create a file label
Select
 Documents in the sidebar or select it in
  More.
More.Click
 Settings on the upper-right of the page.
Click
 Add label.
In the pop-up window, enter the label name and click Create.
Each organization can only have up to 50 labels.
Rename a file label
Select
Documents in the sidebar or select it in More.Click
Settings on the upper-right of the page.Click
 on the label's right-hand side and select
  Rename label.

In the pop-up window, enter the label name and click Rename.
Delete a file label
Select
Documents in the sidebar or select it in More.Click
Settings on the upper-right of the page.Click
at the right-hand side of the label and select  Delete label.
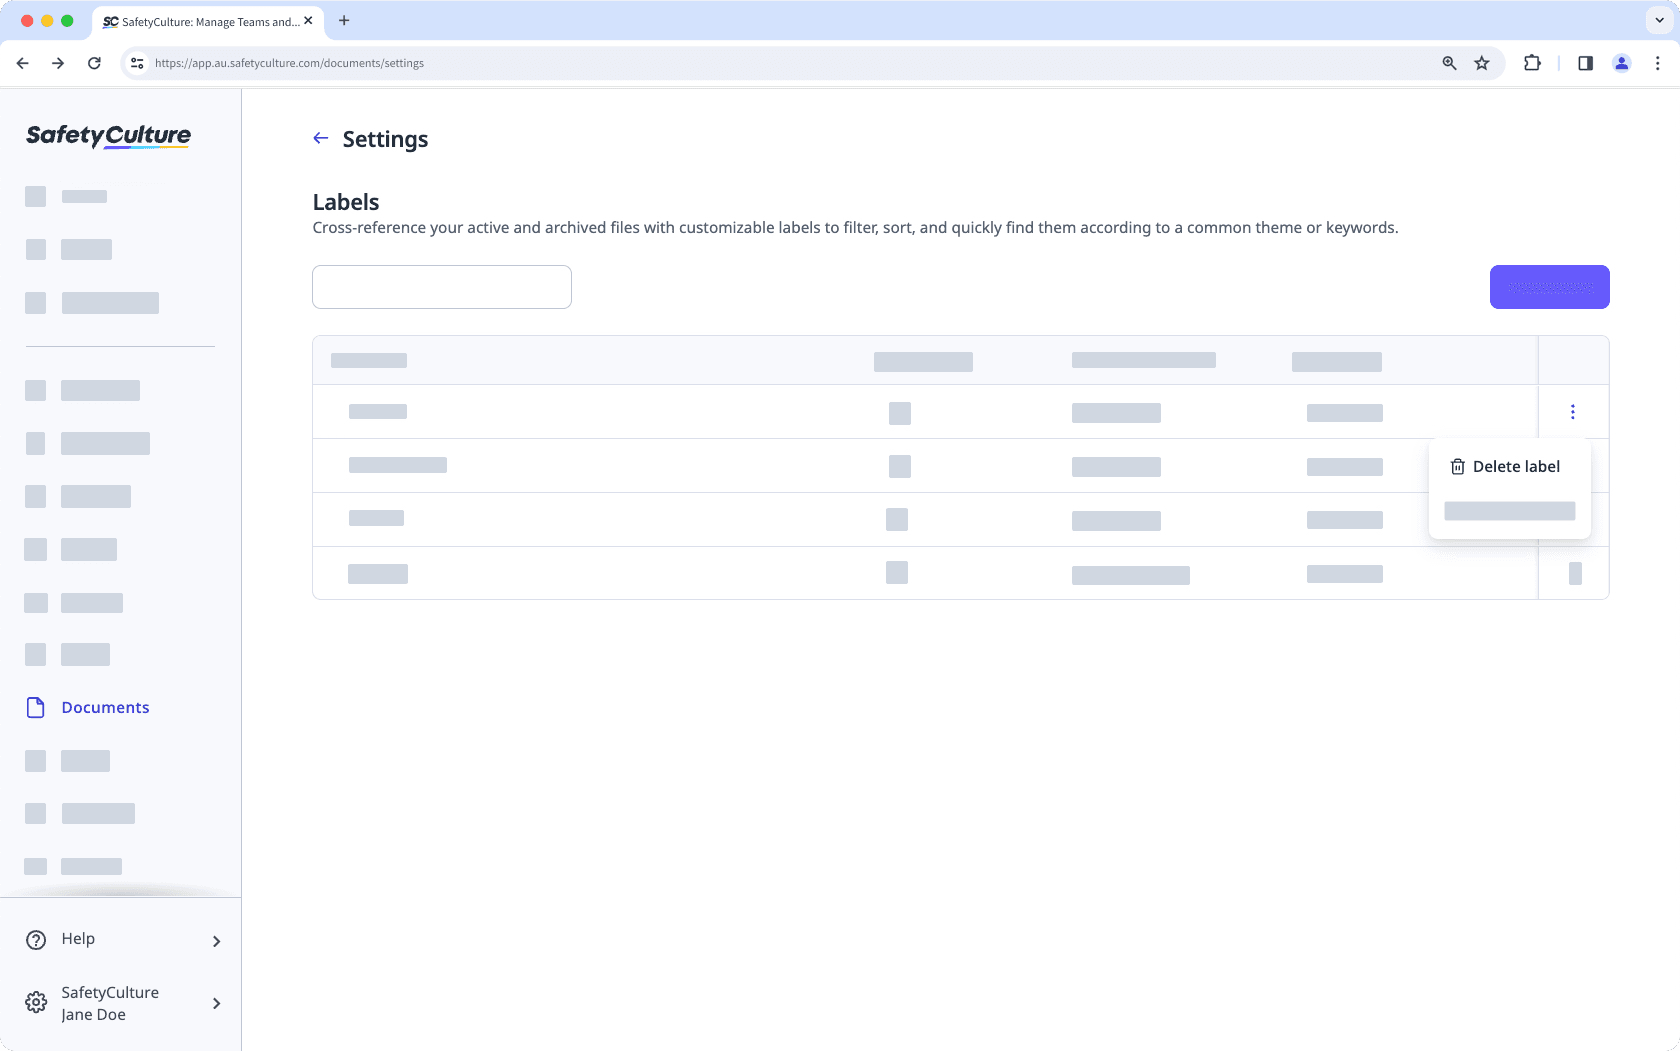
In the pop-up window, click Delete.
Deleting a file label will remove it from all the files it’s been added to.
Was this page helpful?
Thank you for letting us know.