Was sind Sensoren?
Sensoren in SafetyCulture überwachen automatisch Bedingungen wie die Temperatur in Kühlschränken, Kühlräumen und anderen kritischen Bereichen. Anstatt sich nur auf manuelle Kontrollen oder Papierprotokolle zu verlassen, senden sie regelmäßige Messwerte an SafetyCulture, so dass Ihr Team sehen kann, was gerade passiert, Trends im Laufe der Zeit überprüfen und klare Aufzeichnungen für Audits führen kann. Wenn Sie Warnmeldungen einrichten, benachrichtigt SafetyCulture die richtigen Personen, wenn sich die Messwerte außerhalb des von Ihnen gewählten Bereichs bewegen, und hilft so, Lagerbestände und Ausrüstung Tag für Tag zu schützen.
Jeder Sensor ist mit einem nahe gelegenen Gateway verbunden, das die Daten an SafetyCulture weiterleitet. Gateways fungieren als Brücke zwischen Ihren Geräten vor Ort und Ihrem Konto, das Messwerte von mehreren Sensoren in Reichweite sammelt, sodass Sie mehrere Standorte von einem Ort aus überwachen können.
Wenn Sie bereits Sensoren mit SafetyCulture verwenden und weitere Gateways oder Sensoren hinzufügen möchten, wenden Sie sich bitte an Ihren Customer Success Manager. Bei Neukäufen oder Fragen zum Kauf bei Drittanbietern oder bei uns, nehmen Sie Kontakt mit unseren Produktexperten auf.
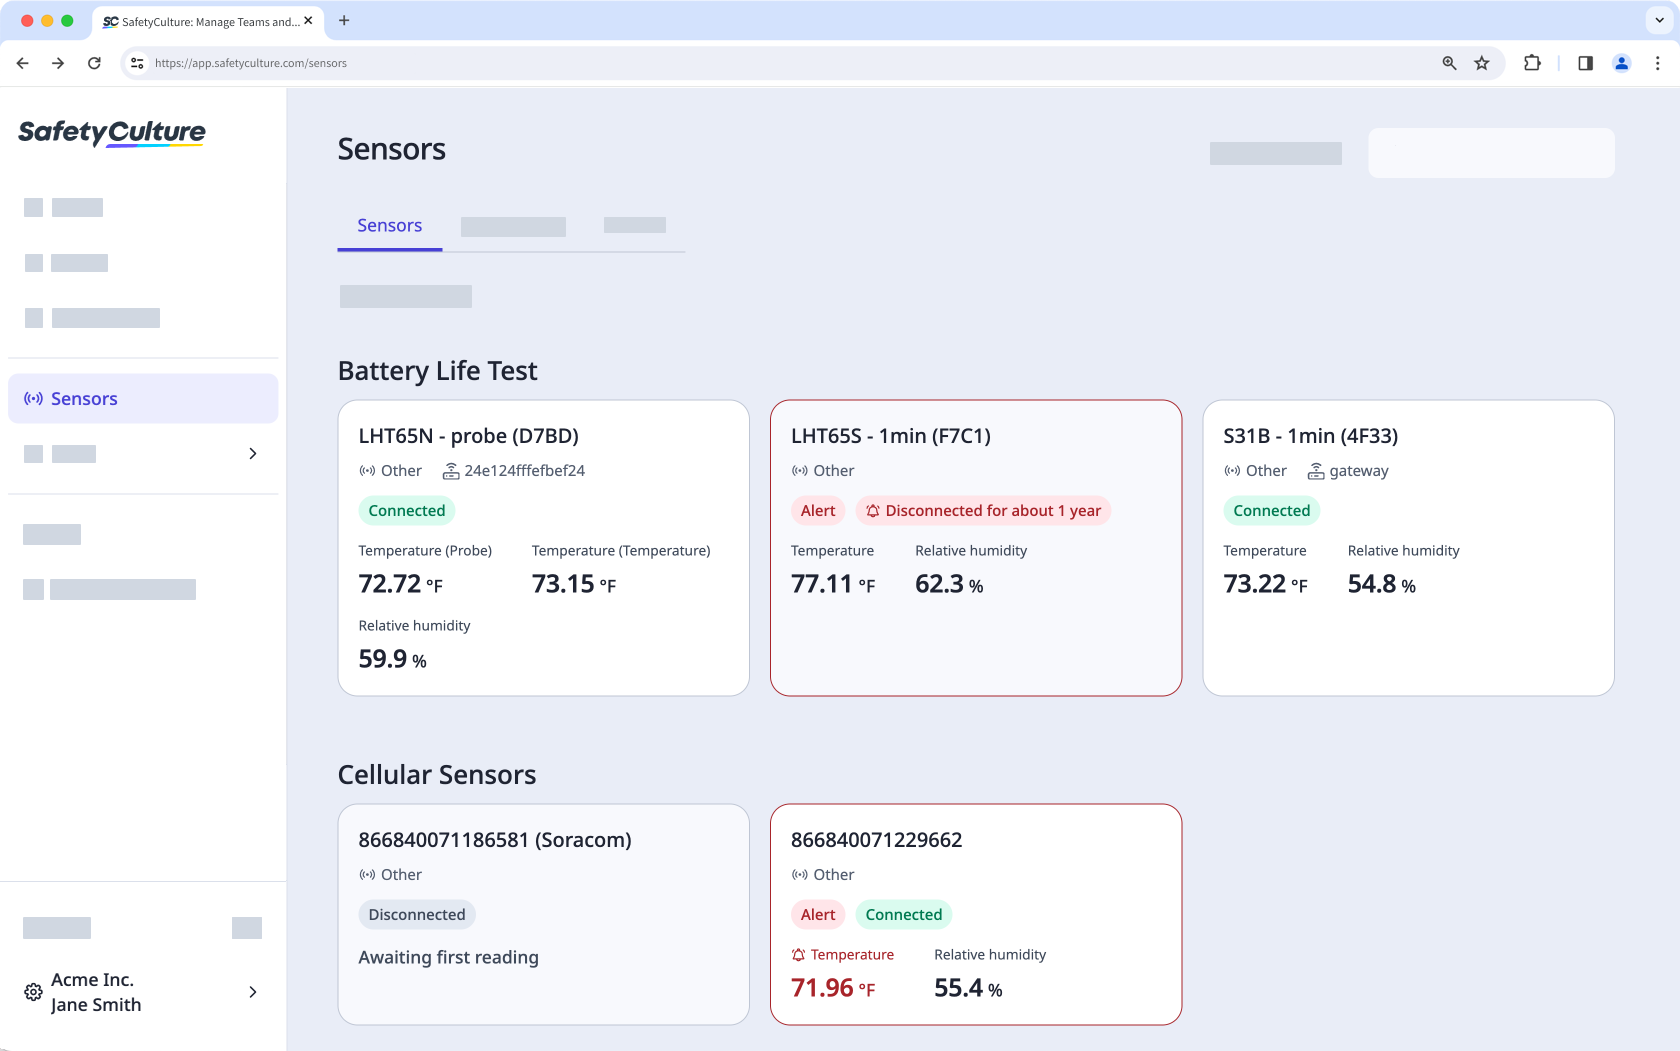
Die Sensoren laden alle 10 Minuten einen Messwert hoch und Sie erhalten Messwerte, bis das Gerät offline ist. Damit der Sensor in der App als offline registriert wird, muss das Gerät 60 Minuten lang offline sein.