- Administration
- User management
- Manage user fields
Manage user fields
Learn how to create and manage user fields in your organization via the web app to streamline user information for your team members.What are user fields?
User fields allow you to capture and store additional information about the people in your organization. You can use them to record attributes like job titles, departments, locations, or employment type, which gives you a richer and more accurate picture of your team. Beyond storing information, user fields power other parts of the platform. They can be used to drive rule-based group and site memberships and support HR system integrations.
Every SafetyCulture organization includes a set of pre-defined system fields. You can also create custom fields to capture user details specific to your organization's needs.
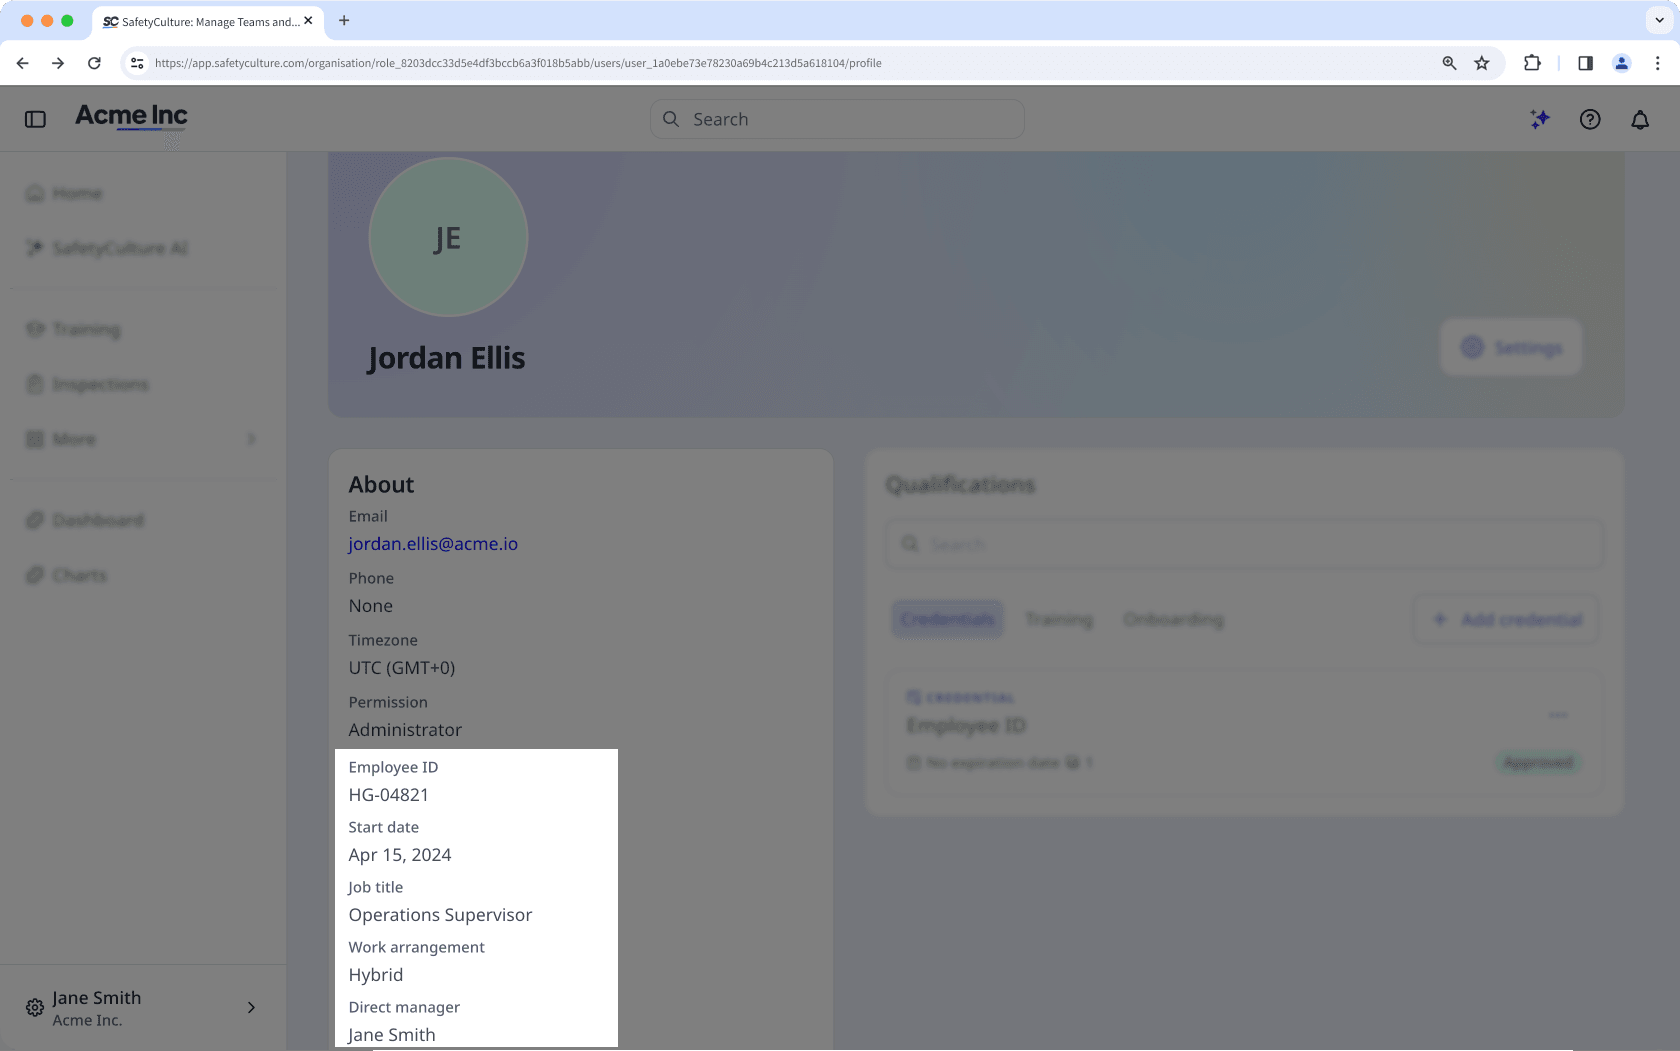
User fields
There are two types of user fields: system fields and custom fields. Both appear together in your organization's user field list and can be displayed on user profiles.
System fields
System fields are pre-defined fields available in every SafetyCulture organization. These cover standard workforce attributes and are ready to use. You cannot create, rename, archive, or delete them. However, you can add or edit options to system fields that have single select and multi select data types.
Field name | Data type | Description |
|---|---|---|
External ID | Text | A unique identifier for the user sourced from an external HR system. Used for user matching during HR integration imports. |
Employee ID | Text | The organization's internal employee number. |
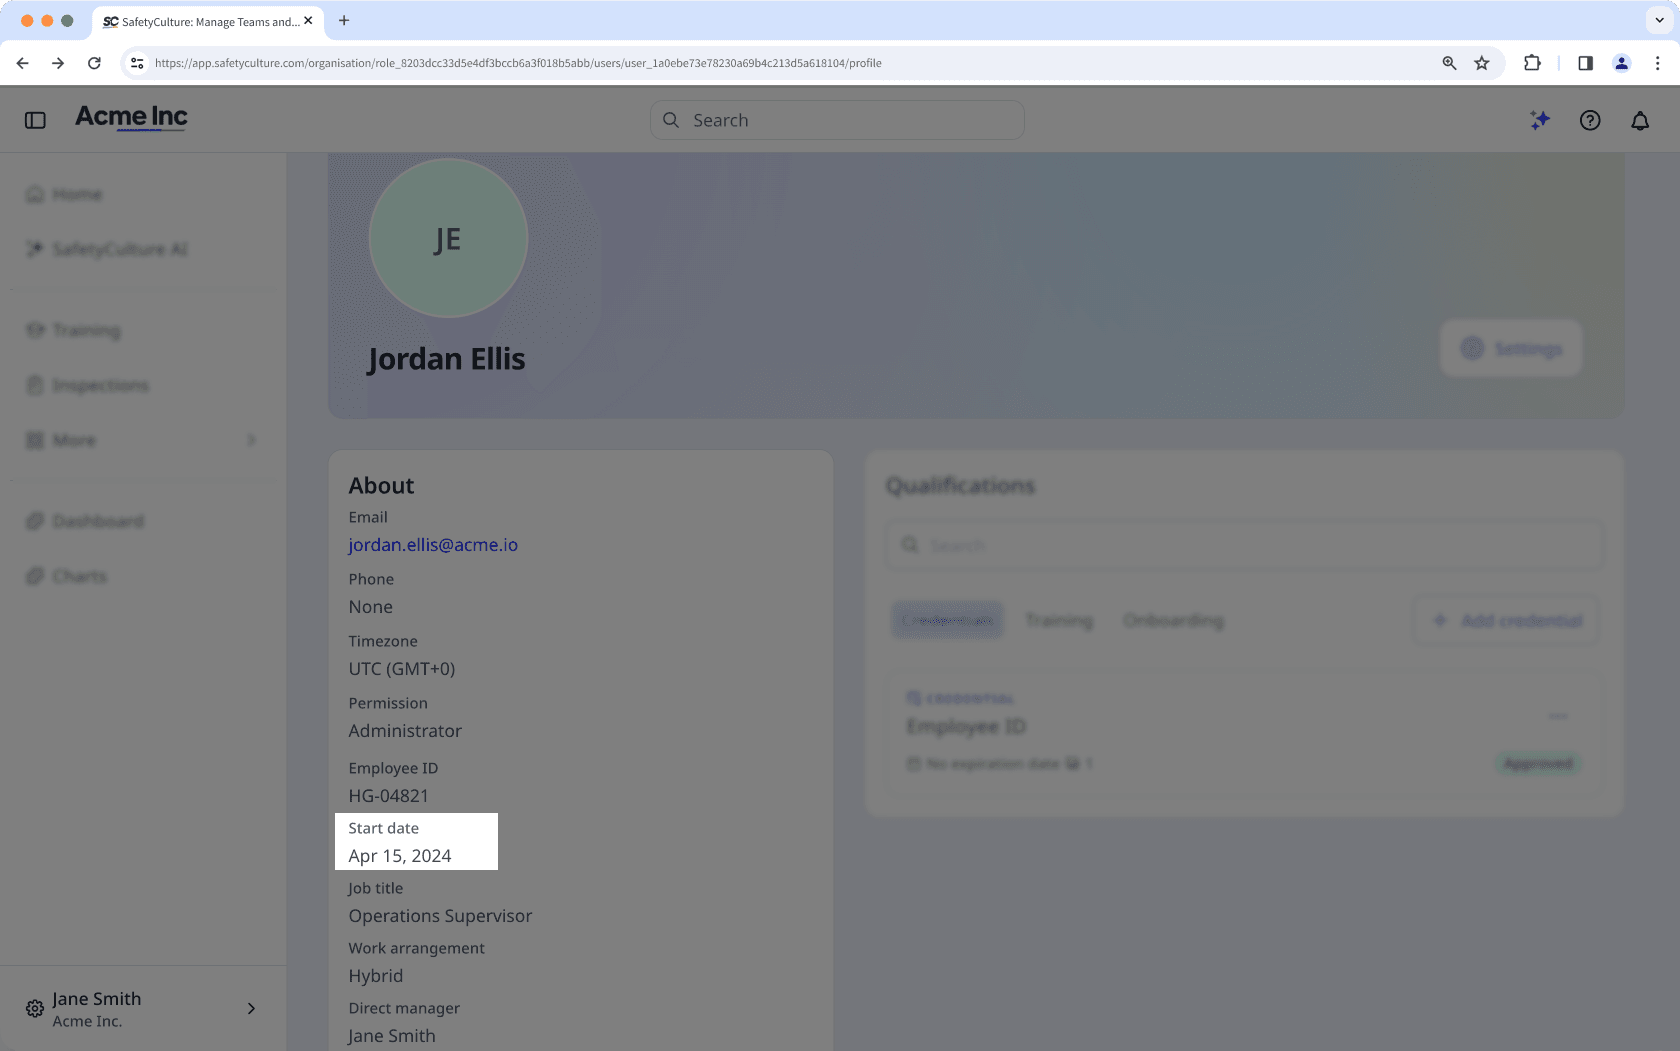
Start date | Date | The date the employee started with the organization. |
Employee type | Single select | The nature of the employment arrangement. For example, Full-time, Part-time, or Contractor. |
Job title | Text | The user's role or position title within the organization. |
Locations | Multi select | The work locations where the user is based. |
Teams | Multi select | The teams the user belongs to in the organization. |
Cost center | Multi select | The cost centers the user is assigned to for financial reporting purposes. |
Department | Multi select | The departments the user belongs to. |
Business unit | Multi select | The business units or divisions the user is part of. |
External groups | Multi select | Groups assigned to the user from an external HR system, used for access and membership management. |
Entities | Multi select | The legal entity or entities the user is associated with. |
Custom fields
Custom fields are fields you create to capture information specific to your organization. You can configure the name, description, data type, and display settings for each field, and update them at any time.
A few things to note about custom fields:
Custom fields cannot share a name with a system field.
You can create up to 2,000 custom fields in an organization.
Editing the data type of an existing custom field is currently unsupported.
If your organization has custom fields with the same name as system fields, you may see an error when managing your organization's user list. Migrate your custom fields to resolve assignment rules, data type incompatibilities, and bulk upload errors.
Data type options
The Text data type stores free-form alphanumeric input. Use this for identifiers, reference numbers, or short descriptive values. For example, your team's Employee IDs.
The Date data type stores a single date value selected from a date picker. Use this for date-based information, such as a user's start date or a compliance deadline.
The User data type stores a reference to an active user in your organization. Only one user can be selected at a time. Use this to record relationships between people, such as a direct manager or an assigned mentor for a trainee.
The Single select data type stores one value chosen from a list of options. Use this when only one answer is valid at a time. For example, for the "Employee type" user field, you can add options such as "On-site", "Hybrid", and "Full time," and select only one option for the user. You can add up to 1,000 options per field.
The Multi select data type stores one or more values chosen from a list of options. Use this when a user can have multiple valid values simultaneously. For example, a user can be in several teams. You can add up to 1,000 options per field.
Create a custom user field
Click your organization name on the lower-left corner of the page and select Users.
Click
 on the upper-right corner of the page and select
  Manage user fields.
Click
 Add field.
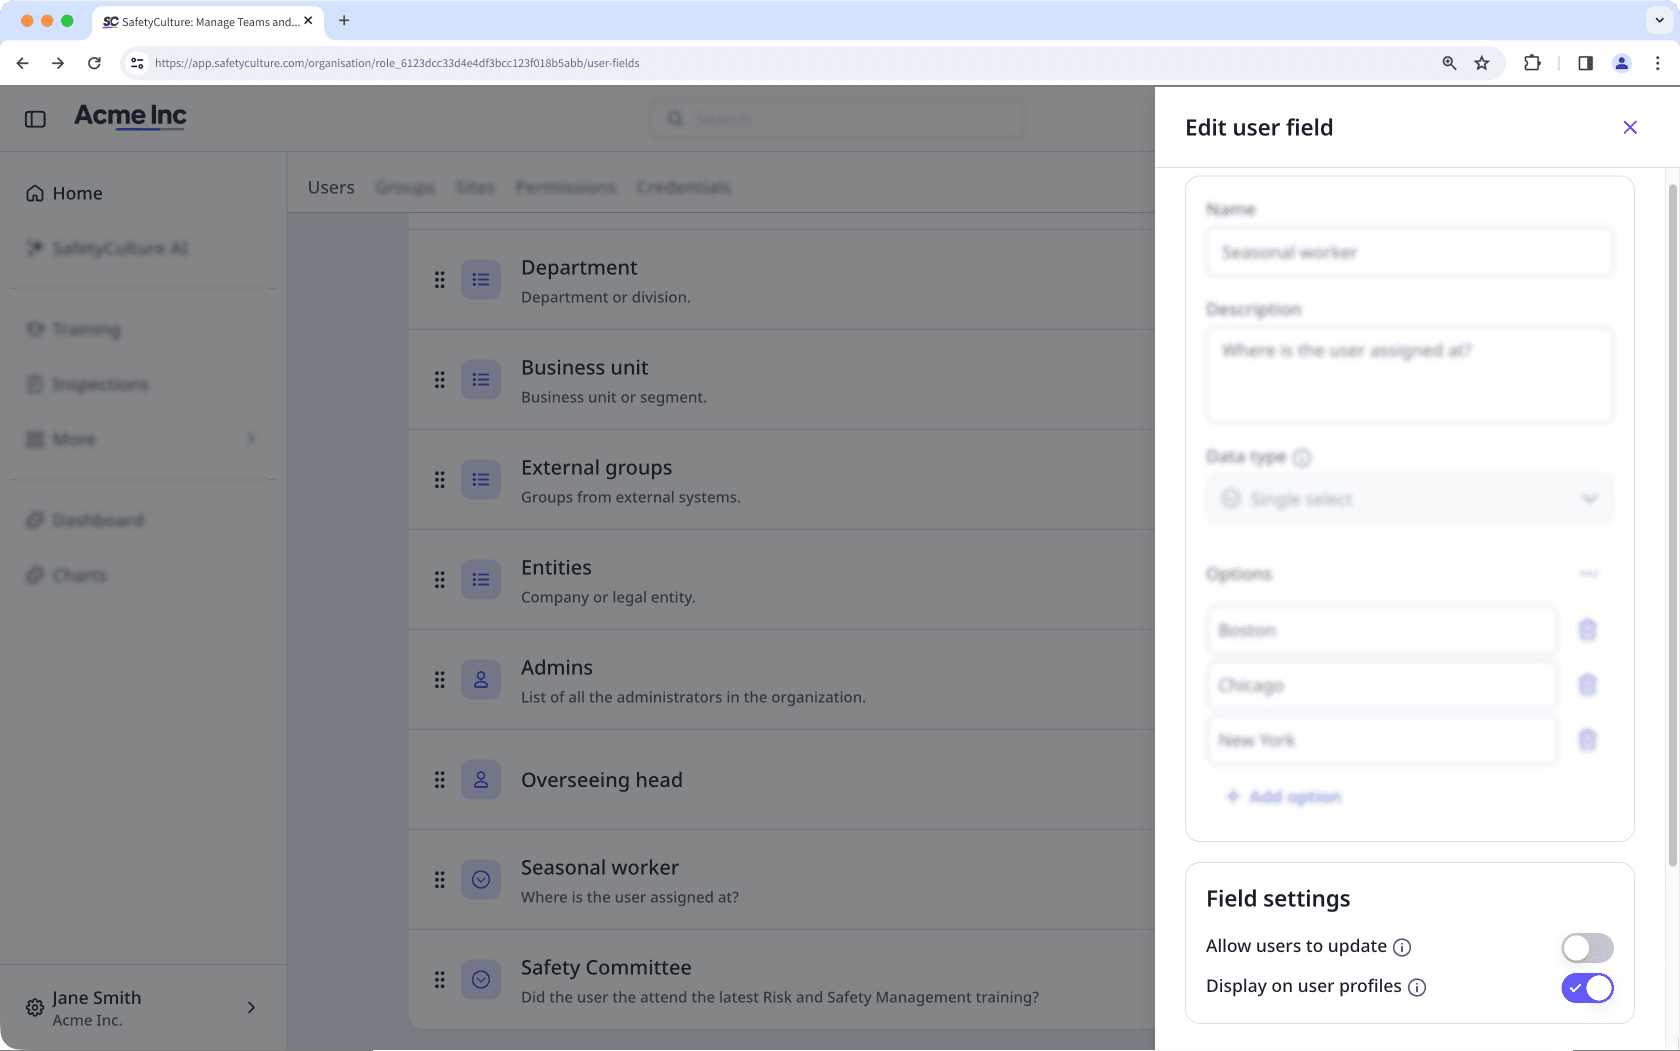
In the side panel, enter a name and description for the field, then select a data type.
Turn the following field settings on as needed:
Allow users to update: The option to allow users to edit their details for the field. Anyone with "Platform management: Users" permission will be able to update a user's details.
Display on user profiles: The option to show or hide a field from a user's profile.
Click Create.
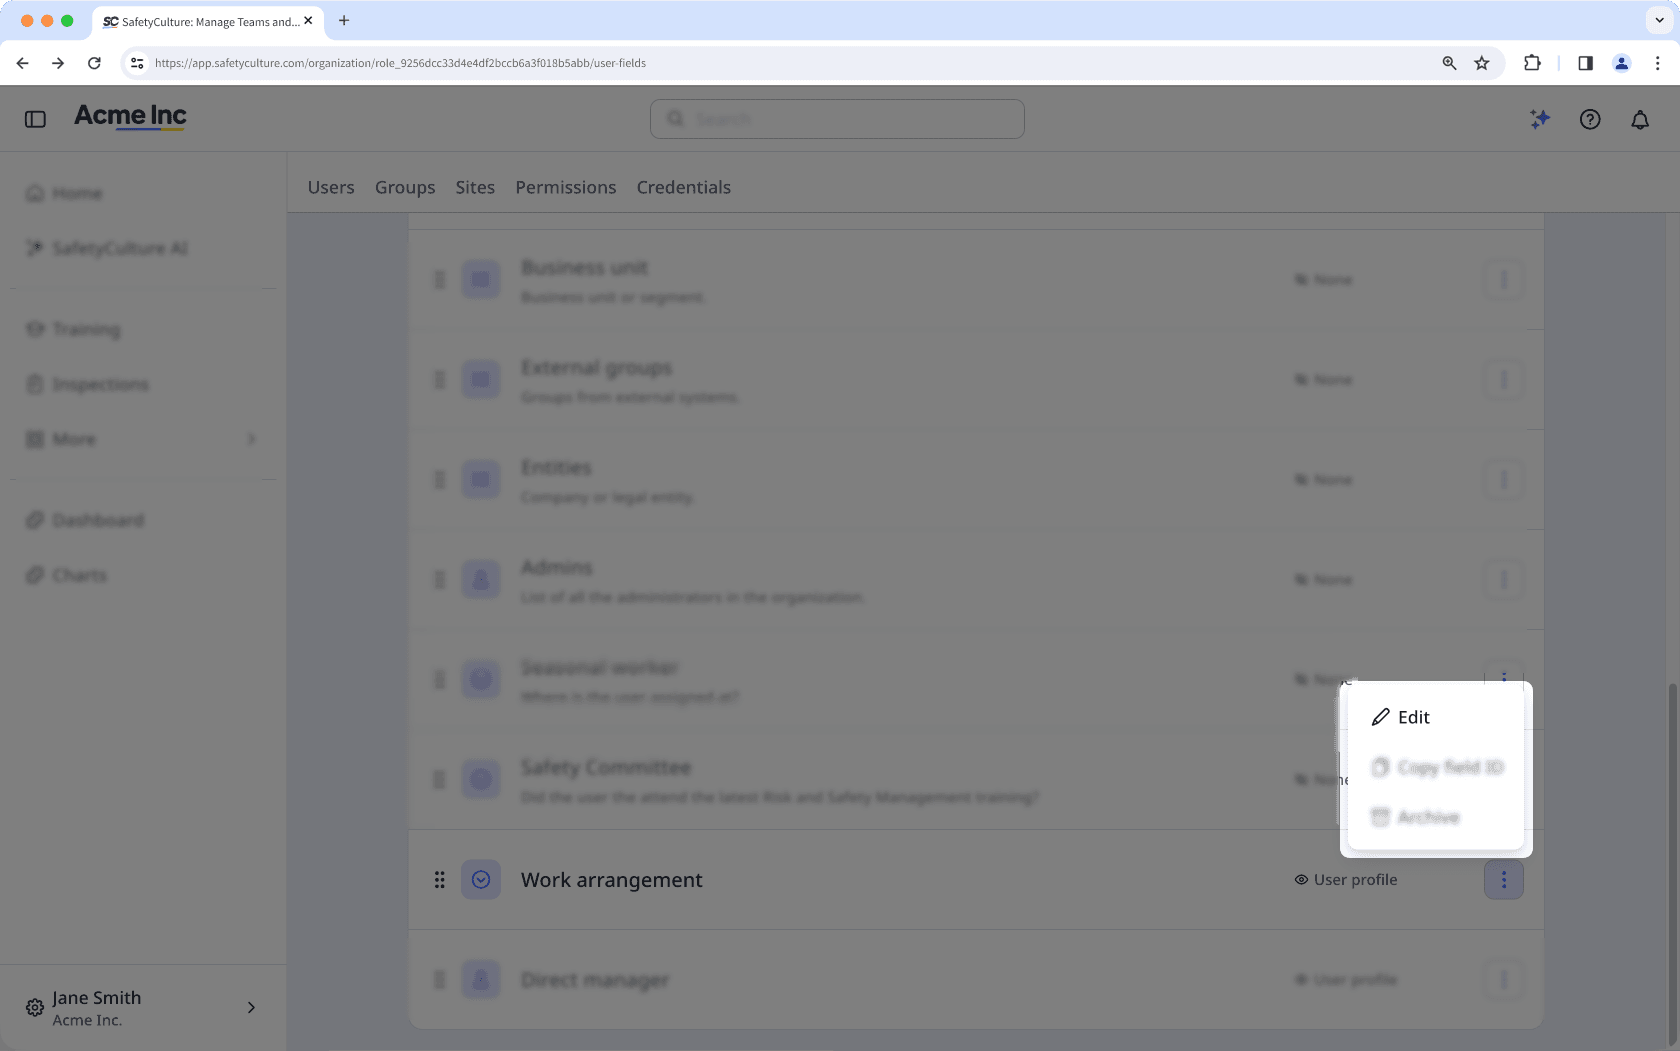
Edit a custom user field
Click your organization name on the lower-left corner of the page and select Users.
Click
on the upper-right corner of the page and select Manage user fields.Click
on the user field's right-hand side, then select  Edit.
Edit.
In the side panel, update the name or description as needed.
For Single select and Multi select data types, you can manage the options.
To add an option, click
Add option and enter a value.To delete an option, click
 Delete next to the option you want to remove.
In the "Field settings" section, turn the settings on or off:
Allow users to update: Controls whether users can edit their own value for this field.
Display on user profiles: Controls whether this field is visible on user profiles.
Click Save.
Deleting options from single and multi select user fields converts any groups with membership rules into normal groups, even if the deleted options aren't used in those membership rules.
Reorder user fields
Click your organization name on the lower-left corner of the page and select Users.
Click
on the upper-right corner of the page and select Manage user fields.Click
 to drag and drop the field to the order you prefer it to appear on the user profile. Changes are saved automatically.
Show or hide fields on the user profile
Click your organization name on the lower-left corner of the page and select Users.
Click
on the upper-right corner of the page and select Manage user fields.Click
on the user field's right-hand side, then select Edit.In the side panel, go to the Field settings section, and turn Display on user profiles setting on or off as needed.
Click Save.
Was this page helpful?
Thank you for letting us know.