What are cases in OSHA reporting?
In OSHA reporting, a case refers to any recordable workplace injury or illness that occurs within an establishment. Each case captures detailed information about the incident, the affected employee, and the outcome, such as days away from work or restricted work activity. Recording cases accurately is essential for completing OSHA Forms 300, 300A, and 301 and ensuring compliance with federal requirements.

What you'll need
Create a case
Select Investigations in the sidebar or select it in More.
Select OSHA at the top of the page.
Select an establishment.
Click Create case on the upper-right of the page.
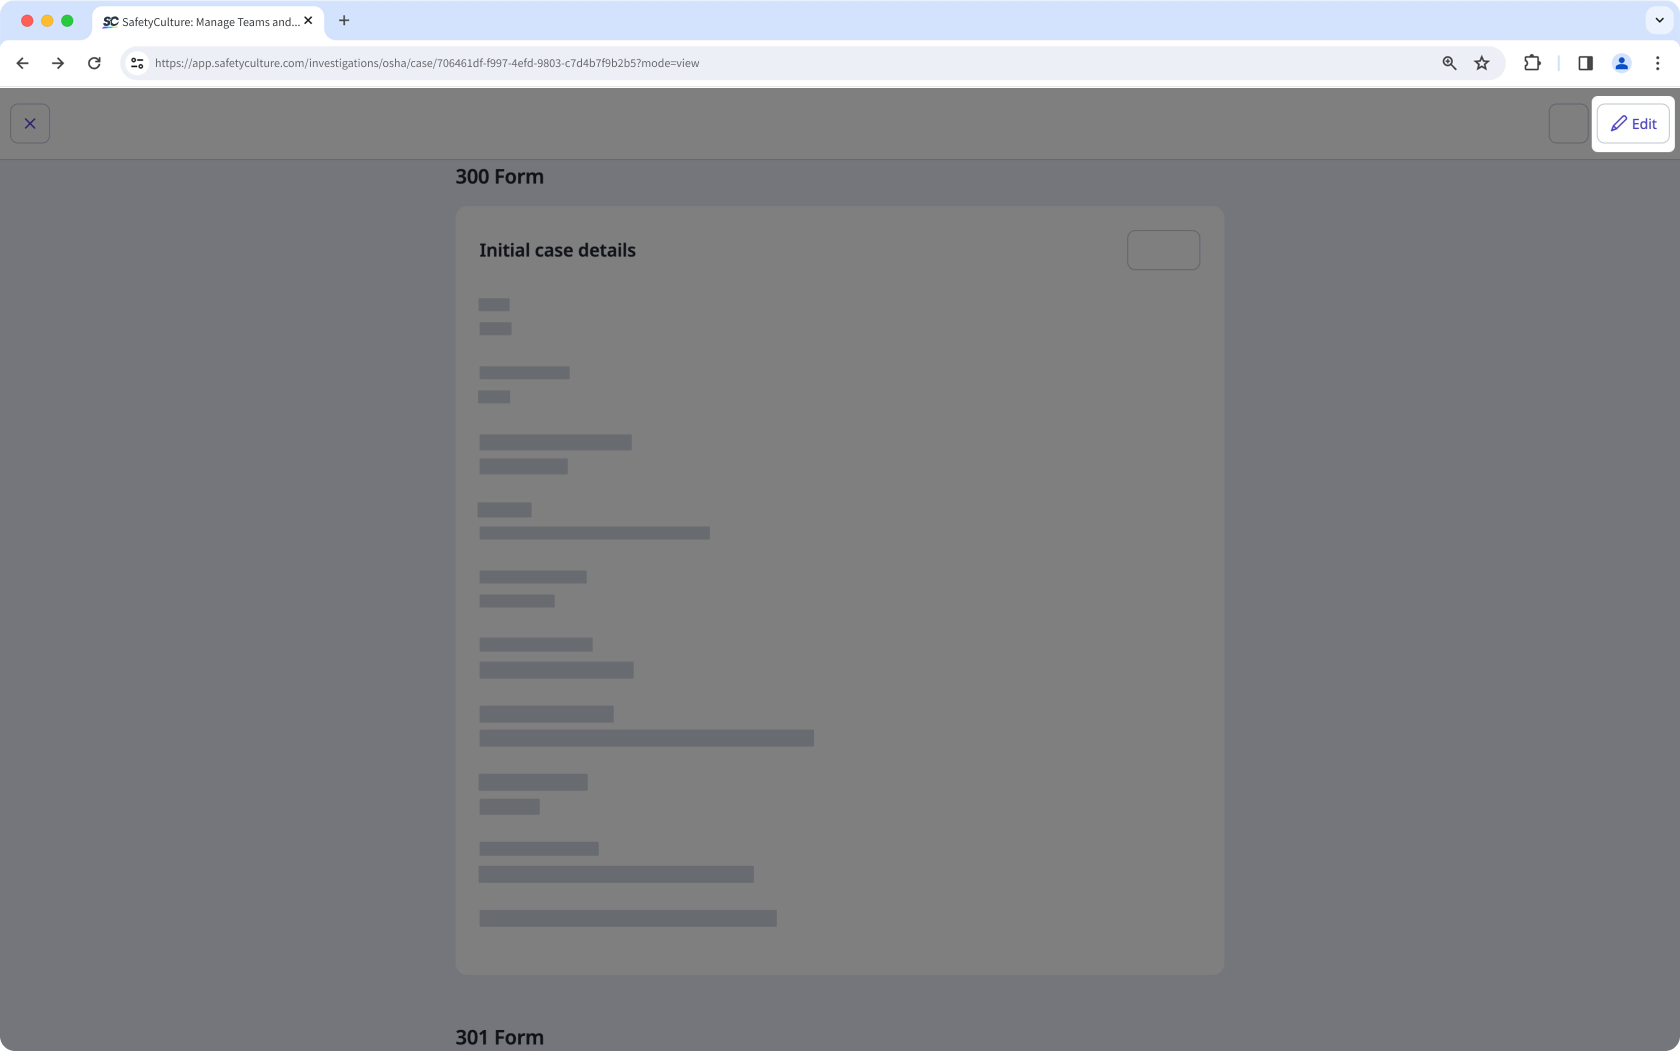
In the "300 Form" page, enter the following initial case details:
Establishment: Select the establishment name.
Year: Select the filing year in which the reported incidents occurred.
Case number: Enter the unique identifier automatically assigned to each recorded incident case.
Full name of employee: Enter the full name of the employee involved in the incident.
Job title: Enter the job title of the employee involved in the incident.
Date of incident: Enter the date when the injury or illness occurred.
Incident location: Enter the specific area or location where the incident took place.
Incident description: Enter a brief description of what happened during the incidents.
Type of incident: Select the nature of the injury or illness.
Incident outcome: Select the outcome of the incident, whether it resulted in death, days away from work, job transfer, or restricted work activity.
Click Next on the upper-right of the page.
In the "Employee" page, enter the details of the employee involved in the incident, including their address, date of birth, hire date, and sex.
Click Next on the upper-right of the page.
In the "Physician" page, enter the physician's details if applicable, including the facility name and address.
Click Next on the upper-right of the page.
In the "Case" page, enter any additional details related to the incident.
Click Done on the upper-right of the page.
Edit a case
Select Investigations in the sidebar or select it in More.
Select OSHA at the top of the page.
Select an establishment.
Select a case.
Click Edit on the upper-right of the page. Alternatively, click Edit on each section.
Update the case details accordingly.
Click Done on the upper-right of the page.
Deleting is irreversible, and we cannot restore permanently deleted items. Confirmation is always required before any deletion, so be sure you're not accidentally deleting the wrong item.
Delete a case
Select Investigations in the sidebar or select it in More.
Select OSHA at the top of the page.
Select an establishment.
Select a case.
Click on the upper-right of the page and select Delete case.
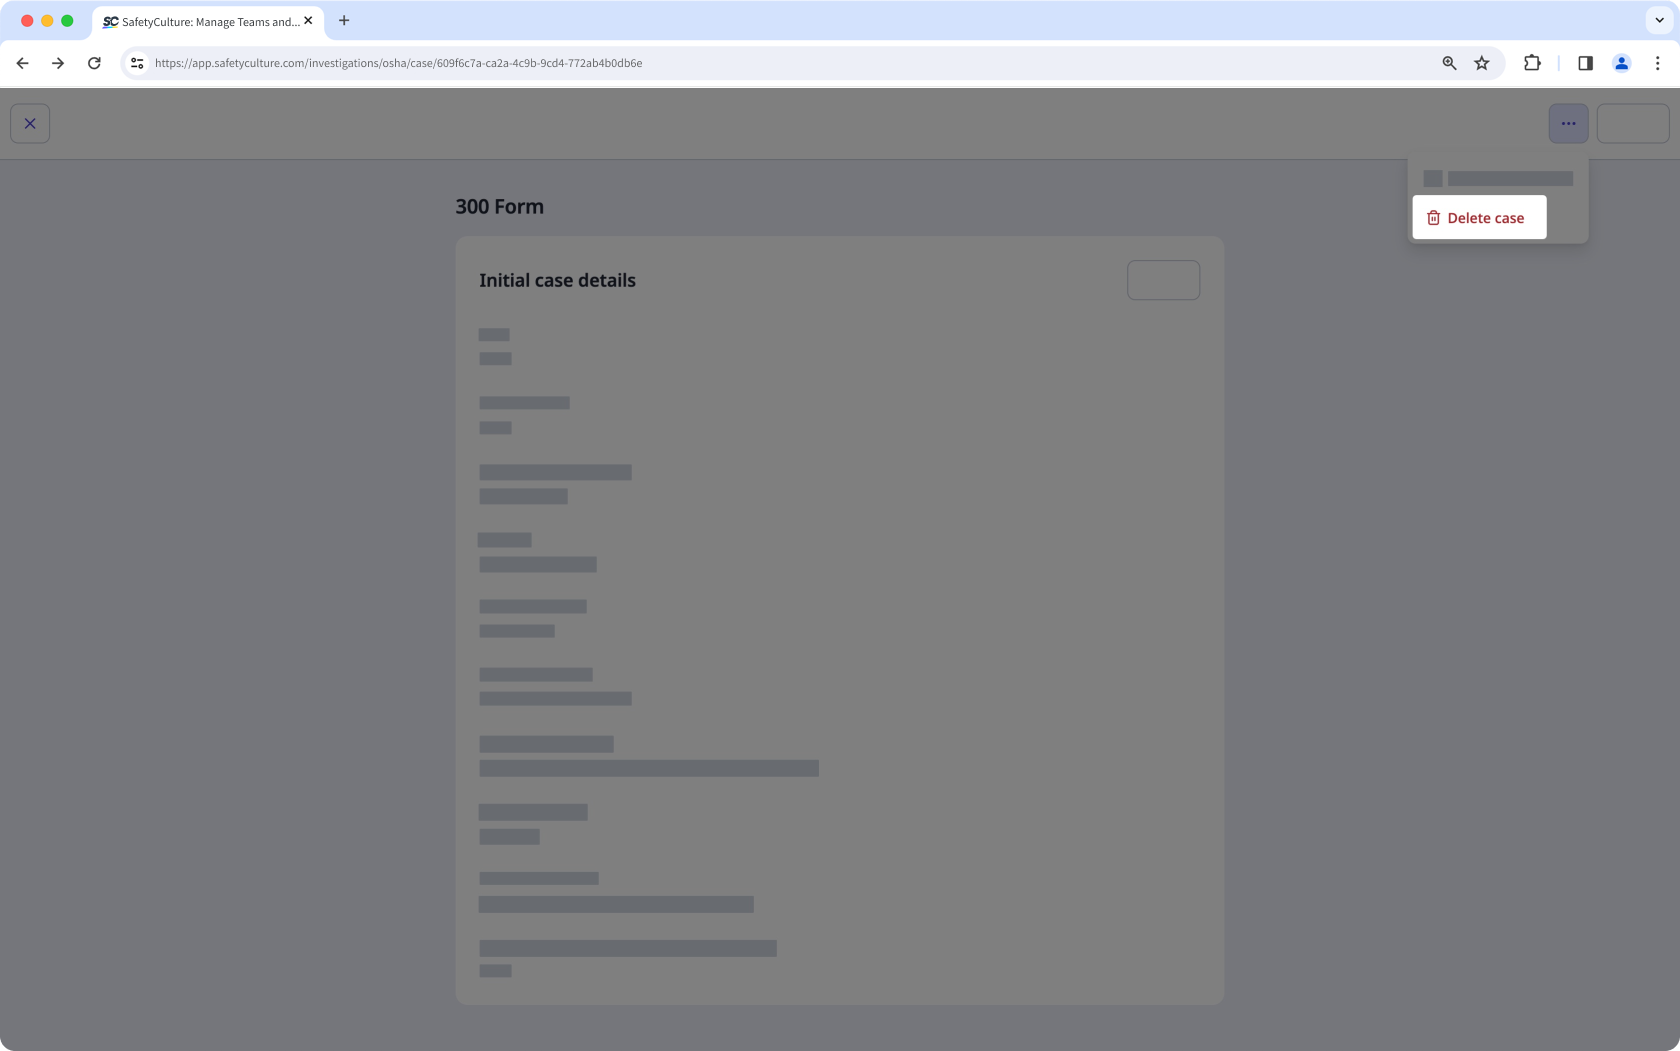
In the pop-up window, click Delete.