- Integrations
- Direct integrations
- Automatically create Caterpillar (VisionLink) assets as assets in SafetyCulture
Automatically create Caterpillar (VisionLink) assets as assets in SafetyCulture
Learn how to automatically create Caterpillar (VisionLink) assets as assets in SafetyCulture.What is VisionLink by Caterpillar?
Caterpillar is recognized as one of the world's leading manufacturers of construction and mining equipment. As part of their technology solutions, VisionLink is a cloud-based software application that receives telematics data seamlessly to desktop or mobile devices to help customers monitor and optimize the performance of their equipment.
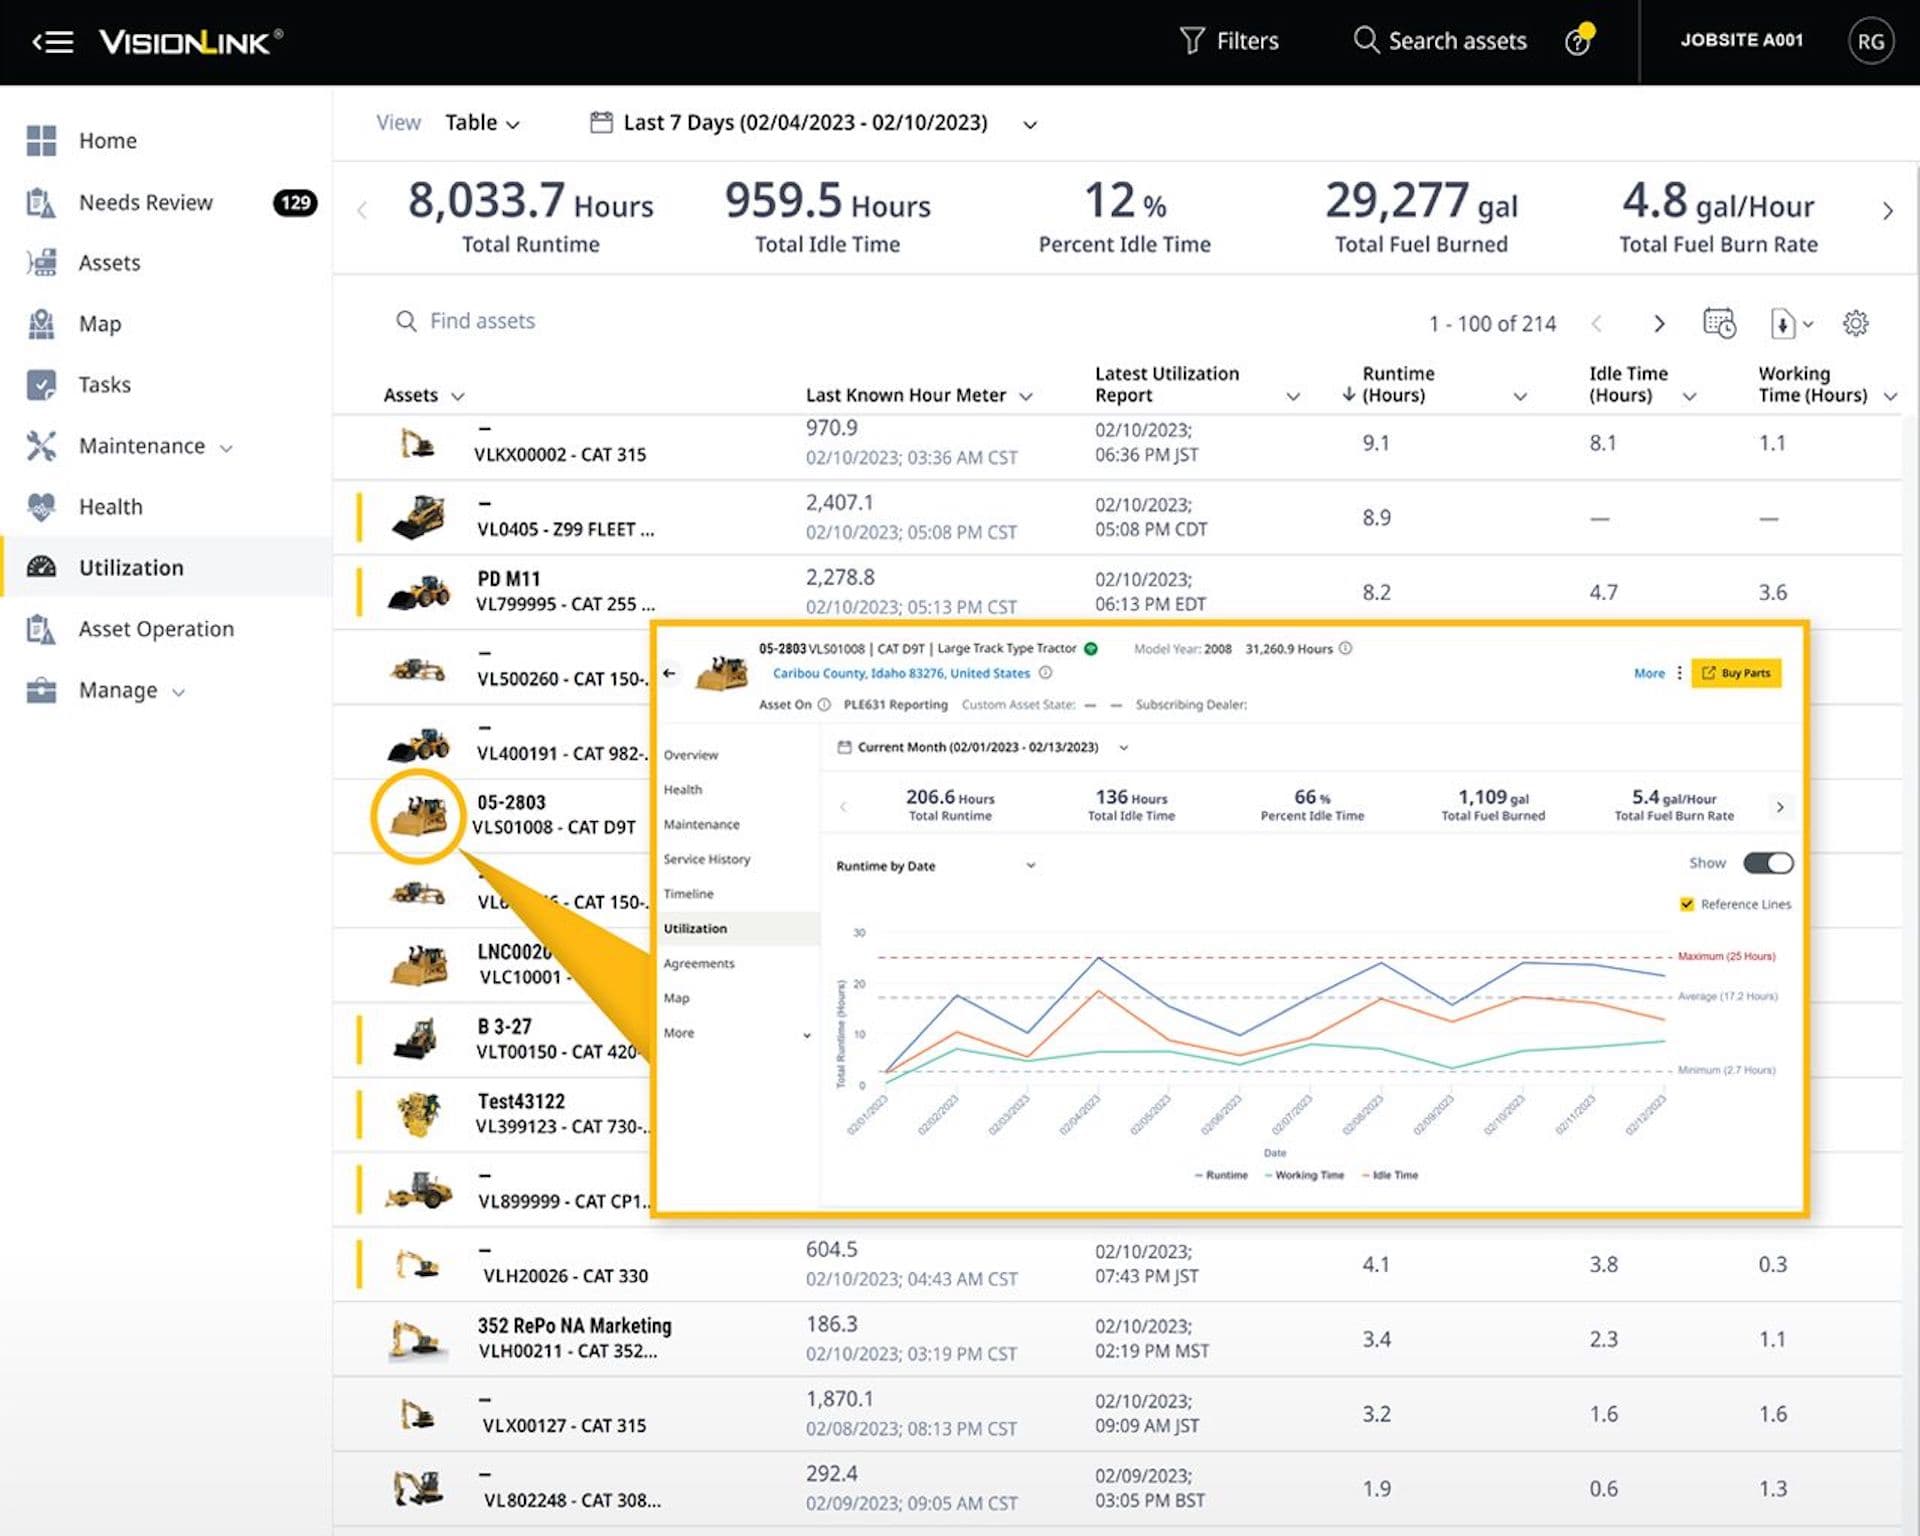
Connect VisionLink to automatically create your Caterpillar assets in your SafetyCulture organization. The integration syncs odometer, engine runtime, and GPS location altogether. These readings determine the next service for your asset maintenance, measure utilization, and show the asset’s last known location. Start with one asset to reduce manual updates and keep maintenance on track.
Automatically create Caterpillar (VisionLink) assets as assets in SafetyCulture
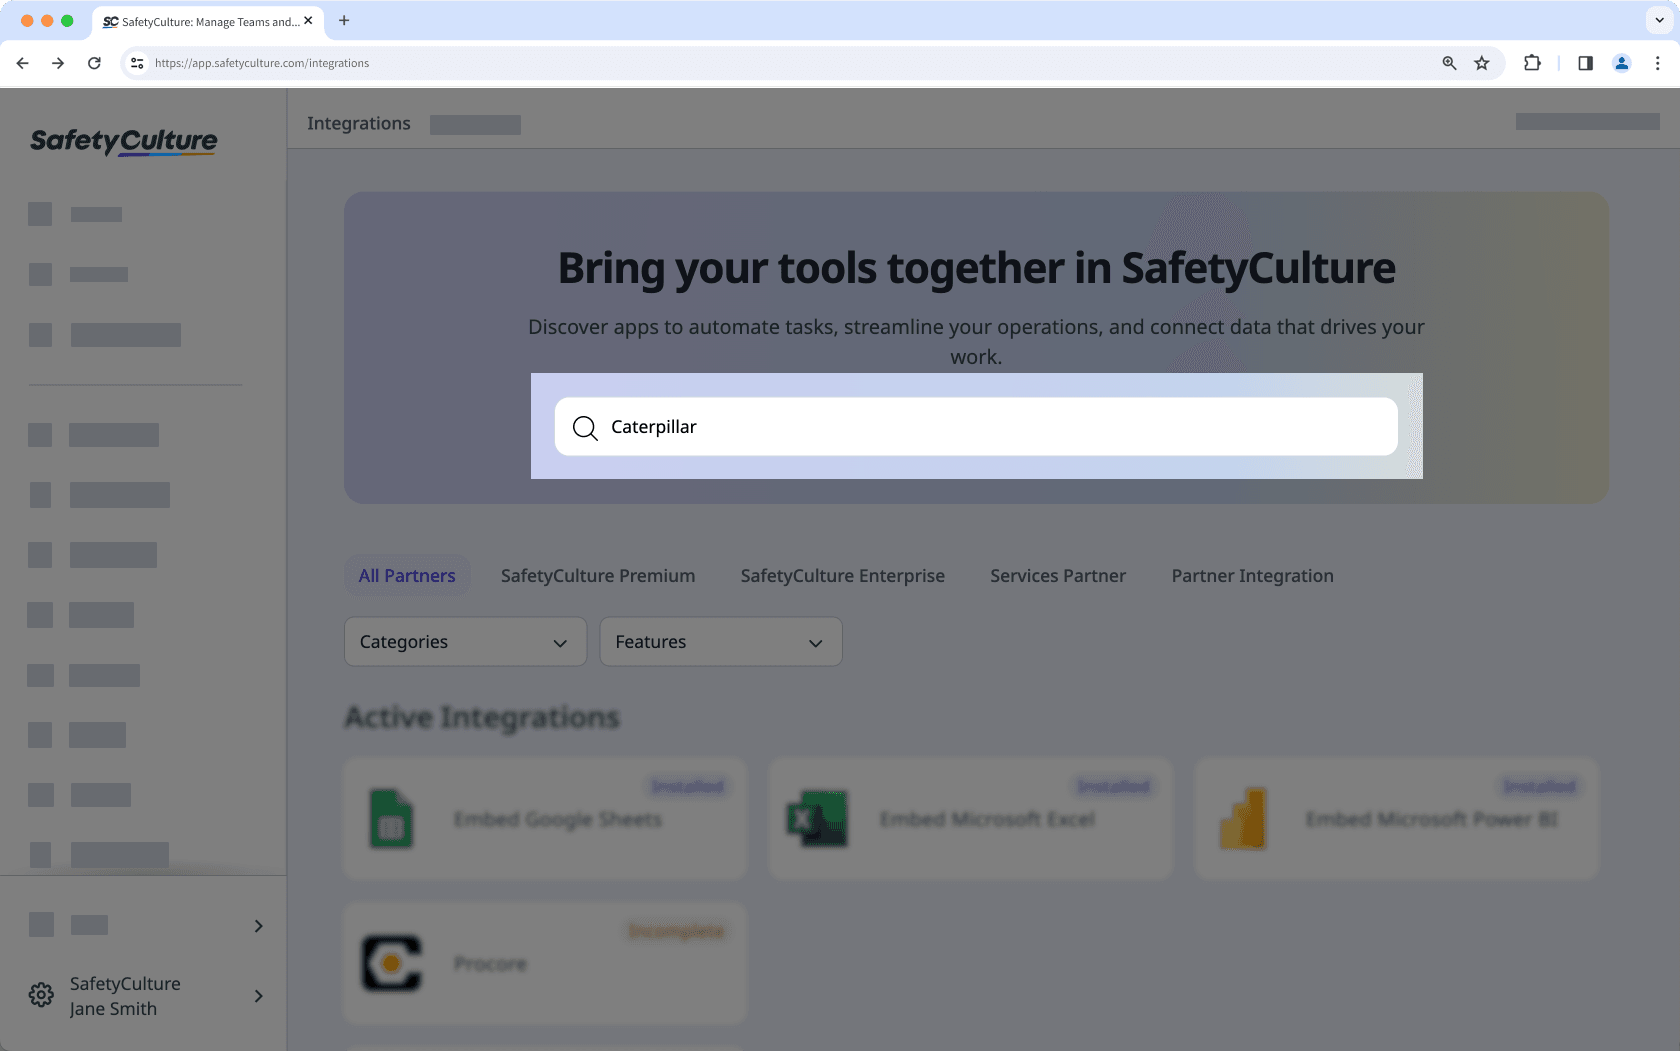
Click your organization name on the lower-left corner of the page and select Integrations.
Search for "Caterpillar" and select the integration.
Click Install at the center of the page.
In the pop-up window, click Install.
Enter your CAT client ID and client secret. Both should be provided to you as part of your ISO 15143-3 (AEMP 2.0) API subscription with Caterpillar.
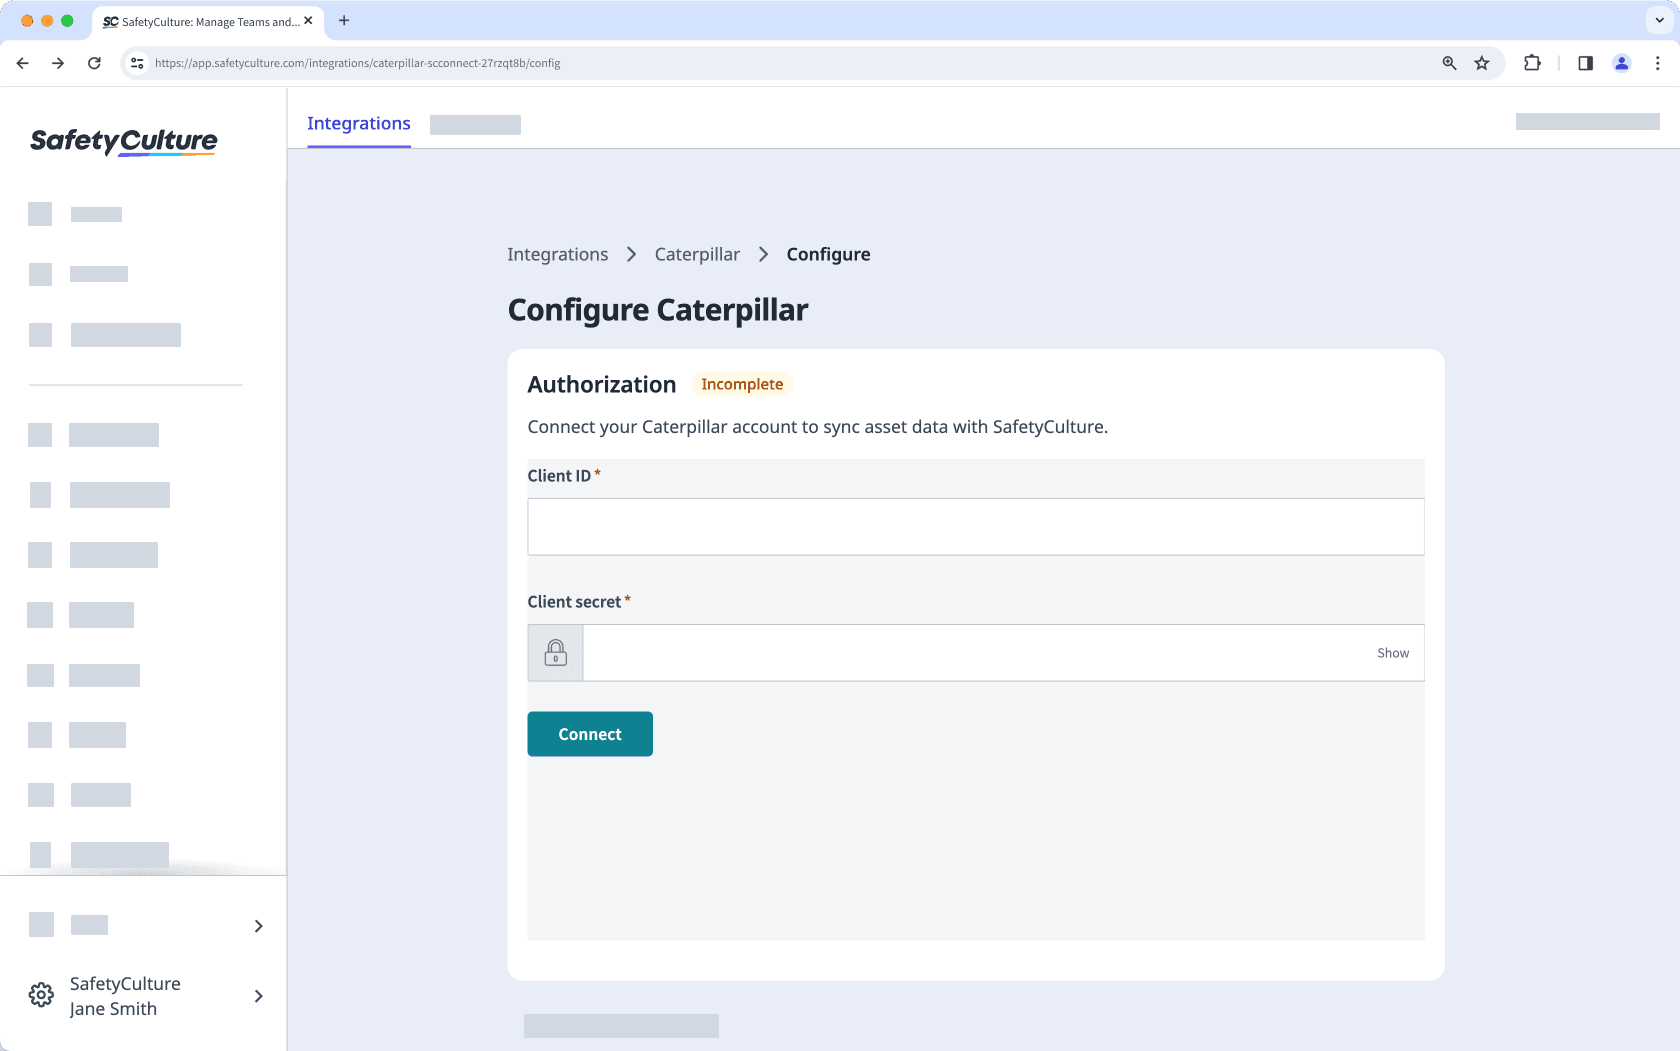
Click Connect.
The integration will now perform the following tasks:
Create a "CAT asset" asset type with all the Caterpillar asset details as custom fields. If an asset type named "CAT asset" already exists, that type will be updated with the required custom fields.
Check if each Caterpillar asset already exists in SafetyCulture by checking its "Equipment ID" against each asset's "Unique ID":
If a match is found, update the asset's type with the fields required for the integration and update the asset itself with the vehicle details.
If a match is not found, create the vehicle as a new asset.
When installing for the first time, the integration may take some time to sync data into SafetyCulture as assets.
Frequently asked questions
You can connect your existing assets to the integration by updating the "Unique ID" to match your asset management system's "Vehicle Name" (Samsara, Geotab, or AT&T) or "Equipment ID" (Caterpillar).
Please ensure you update your existing assets before installing the integration to prevent duplicates from being created.
Integrations with asset management systems sync changes to SafetyCulture every 4 hours, so changes you make might not immediately reflect in SafetyCulture.
The integration may have been turned off due to an authentication error. Either because the external account used for the integration no longer has access to the system or its permissions to make changes have been removed.
When this happens, an email would be sent to users with the "Platform management: Organization" permission to inform them about the error. To fix the problem, we recommend that you uninstall the integration and follow the instructions to install it again.
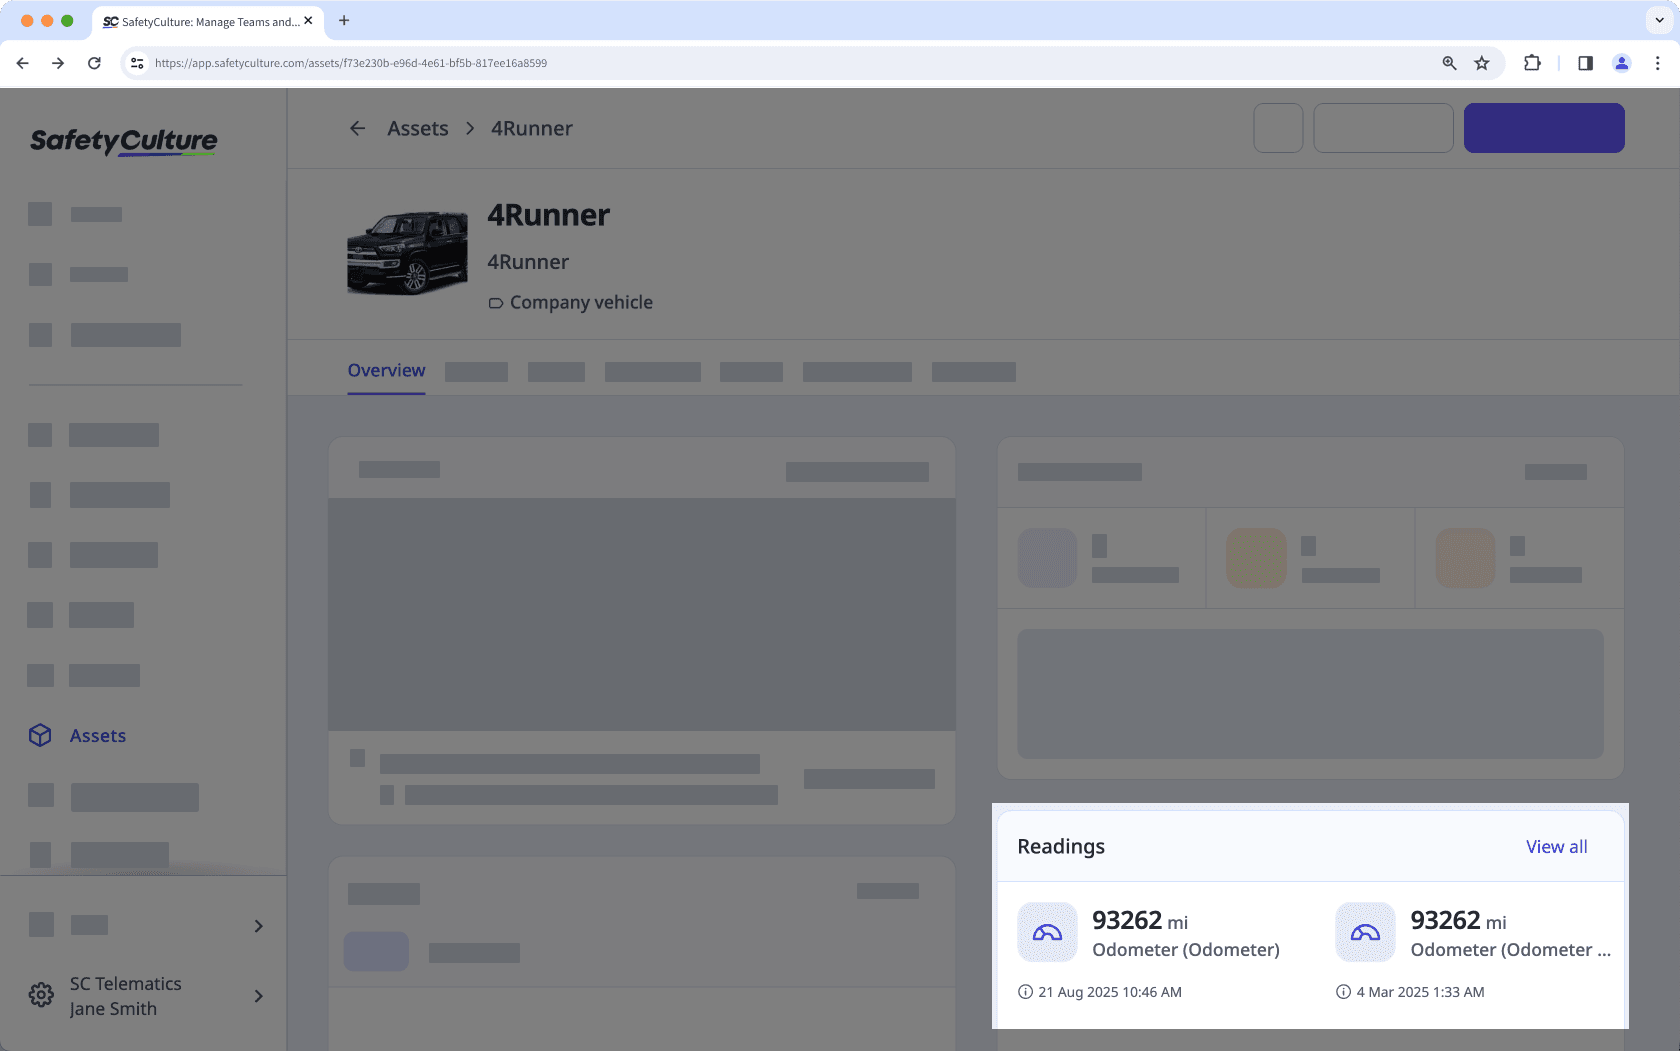
You can view your runtime and odometer readings, including the asset's location, in the asset profile. Select any reading to view its history, even the data from before you connected the integration. You can also export the history as CSV for reporting or analysis.
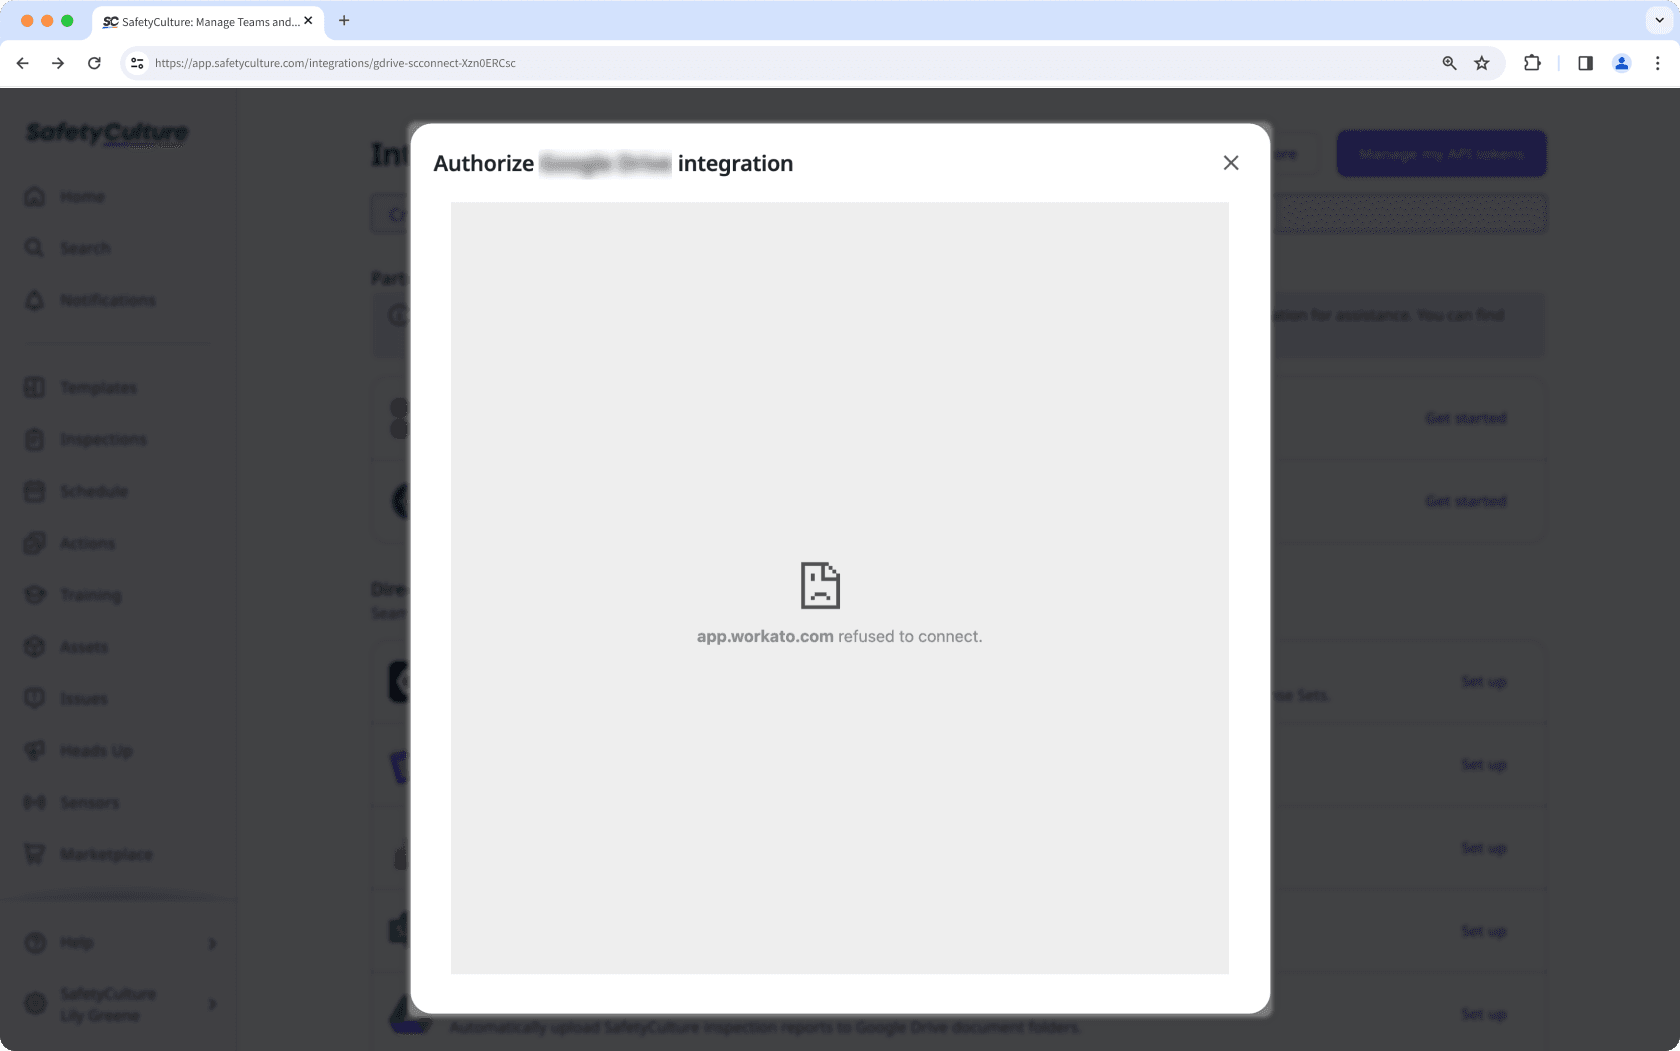
If you get a connection error while installing the integration, it's likely because your browser is blocking third-party cookies on SafetyCulture websites. To fix this, we recommend that you turn on third-party cookies in your browser settings and try installing the integration again.
Was this page helpful?
Thank you for letting us know.