Last updated:

Automatically create Geotab vehicles as assets in SafetyCulture

Learn how to automatically create Geotab vehicles as assets in SafetyCulture.

What is Geotab?

Geotab is a worldwide leader in IoT fleet management that pairs in-vehicle hardware with cloud software to capture real-time data. It helps businesses monitor vehicles and equipment, improve safety measures, and run more efficient operations.

An example of the Geotab fleet management software.

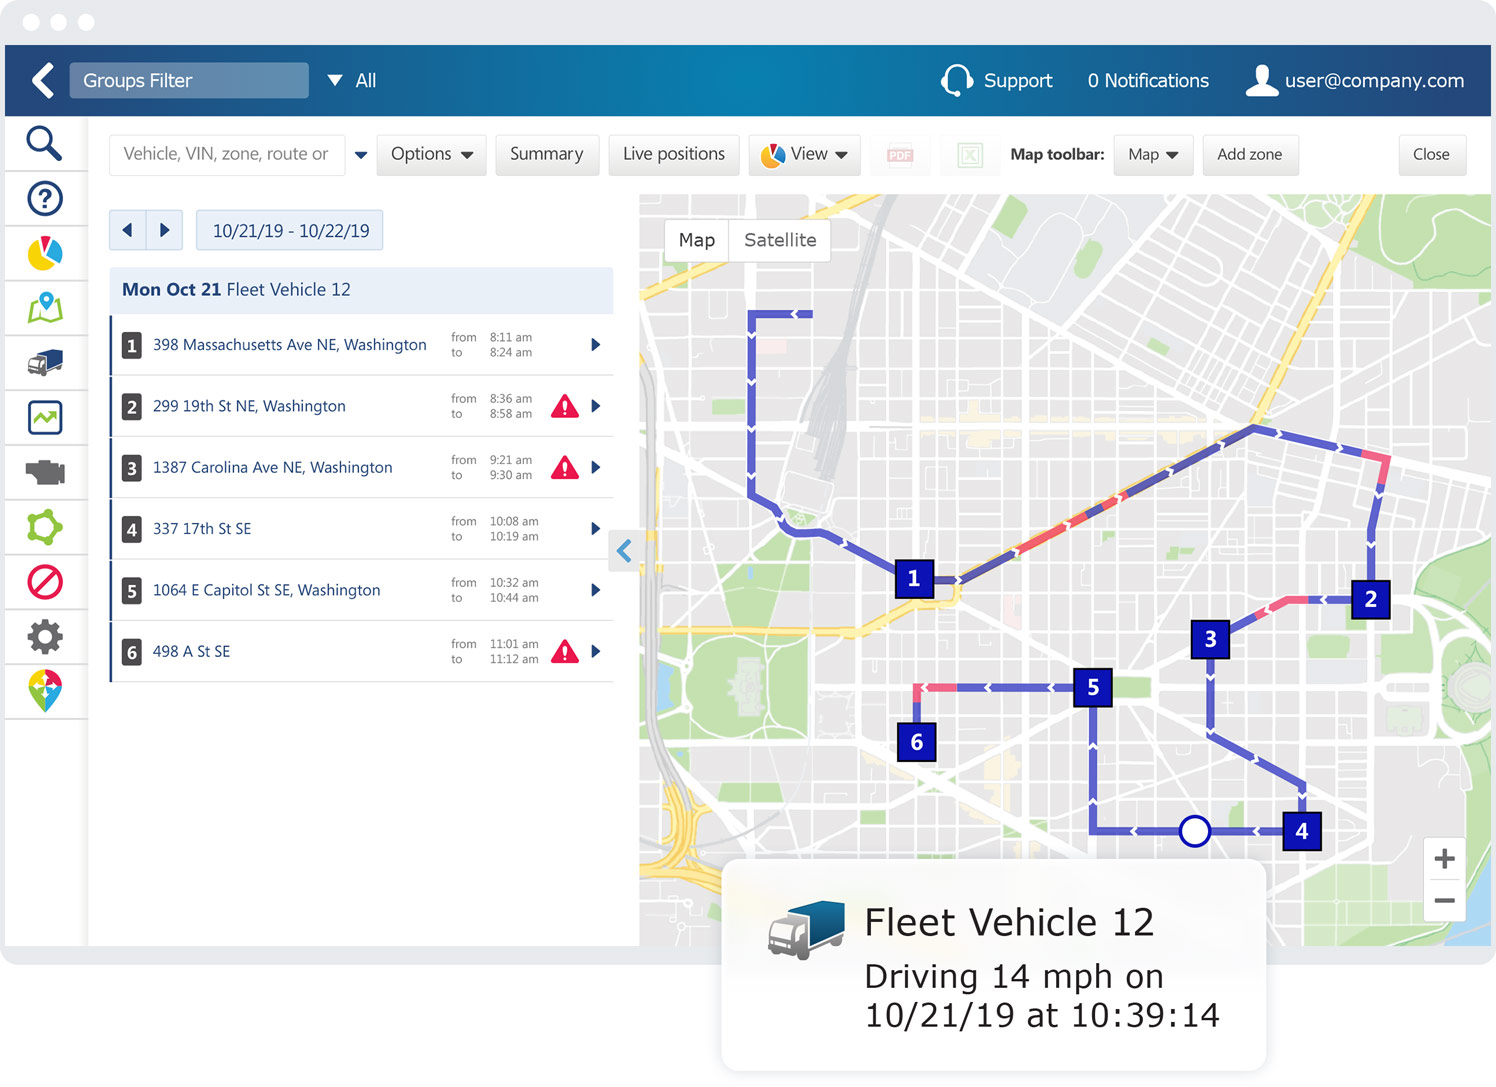
Connect Geotab to automatically create vehicles as assets in SafetyCulture. The integration brings in three data points for each vehicle: engine runtime, odometer, and GPS location. Furthermore, you can rely on automatic updates when details change in Geotab and manage your assets easily with inspection schedulesactions, preventative maintenance, and more.

This integration currently doesn't support trailers and equipment in Geotab that don't have a Geotab device installed.

Automatically create Geotab vehicles as assets in SafetyCulture

  1. Log in to the web app.

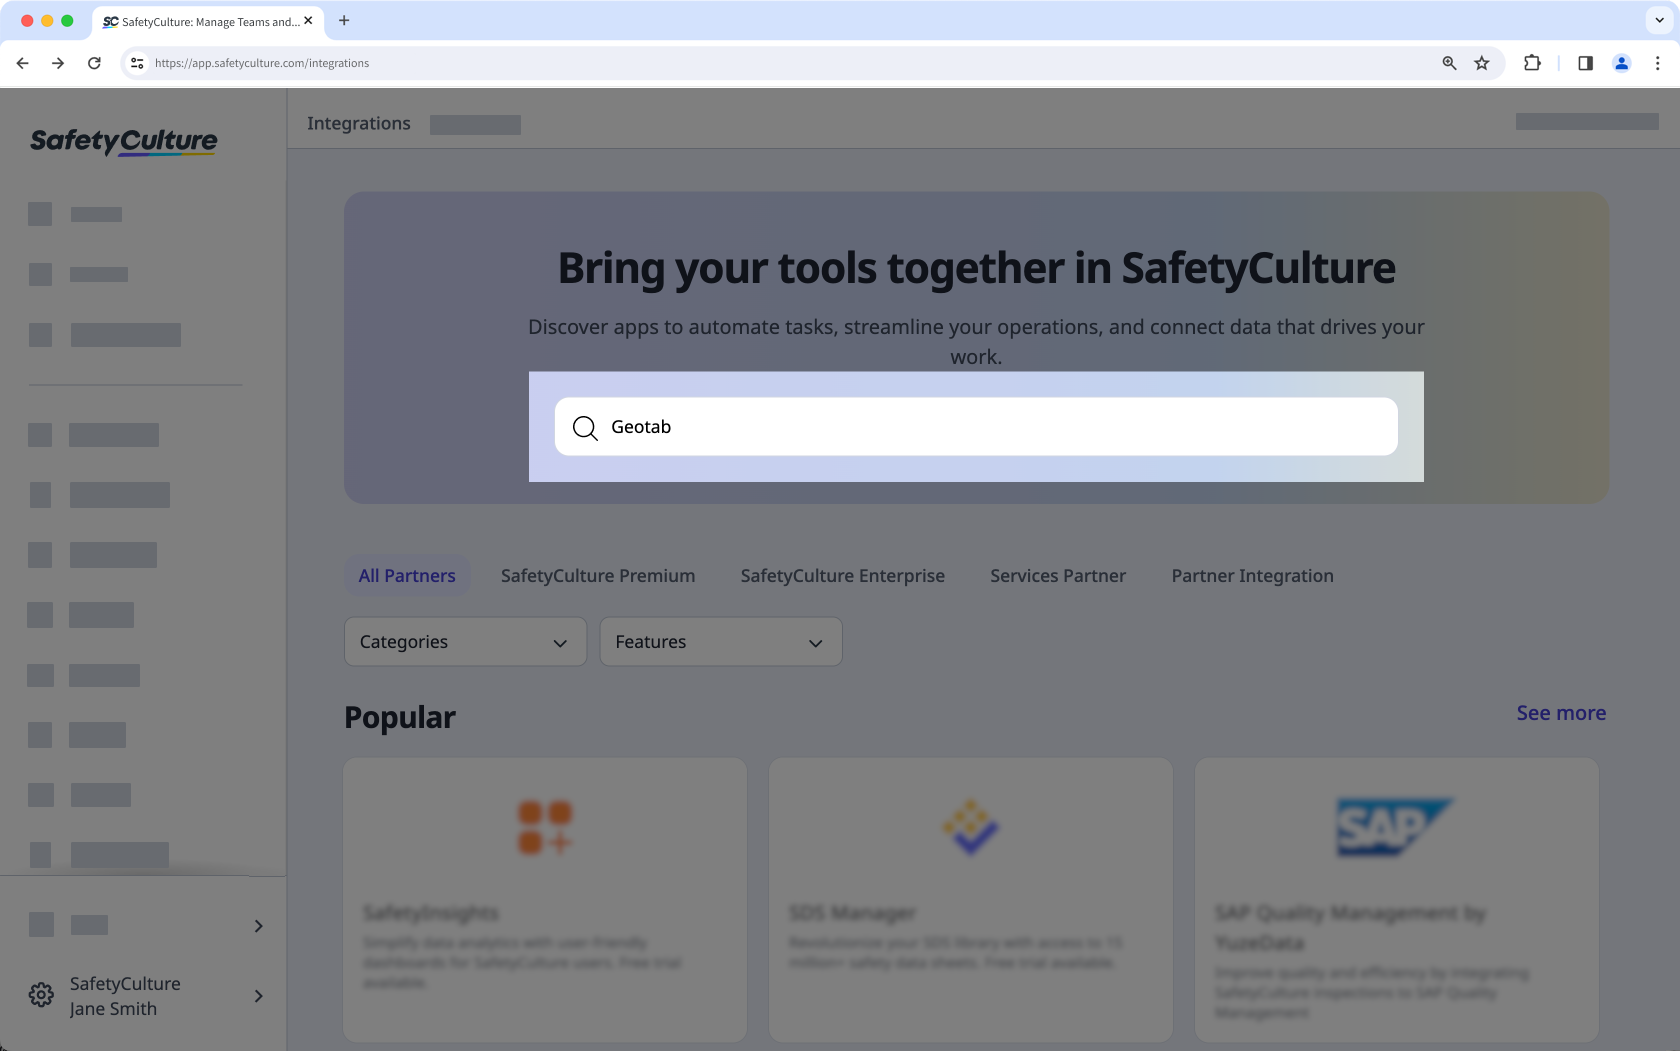
  2. Click your organization name on the lower-left corner of the page and select Integrations.

  3. Search for "Geotab" and select the integration. Search for Geotab integration via the web app.

  4. Click Install at the center of the page.

  5. In the pop-up window, click Install.

  6. Enter your Geotab account details and the database. You can find the database in your Geotab app's URL. For example, if your URL is "https://my.geotab.com/assets/", then your database is "assets".
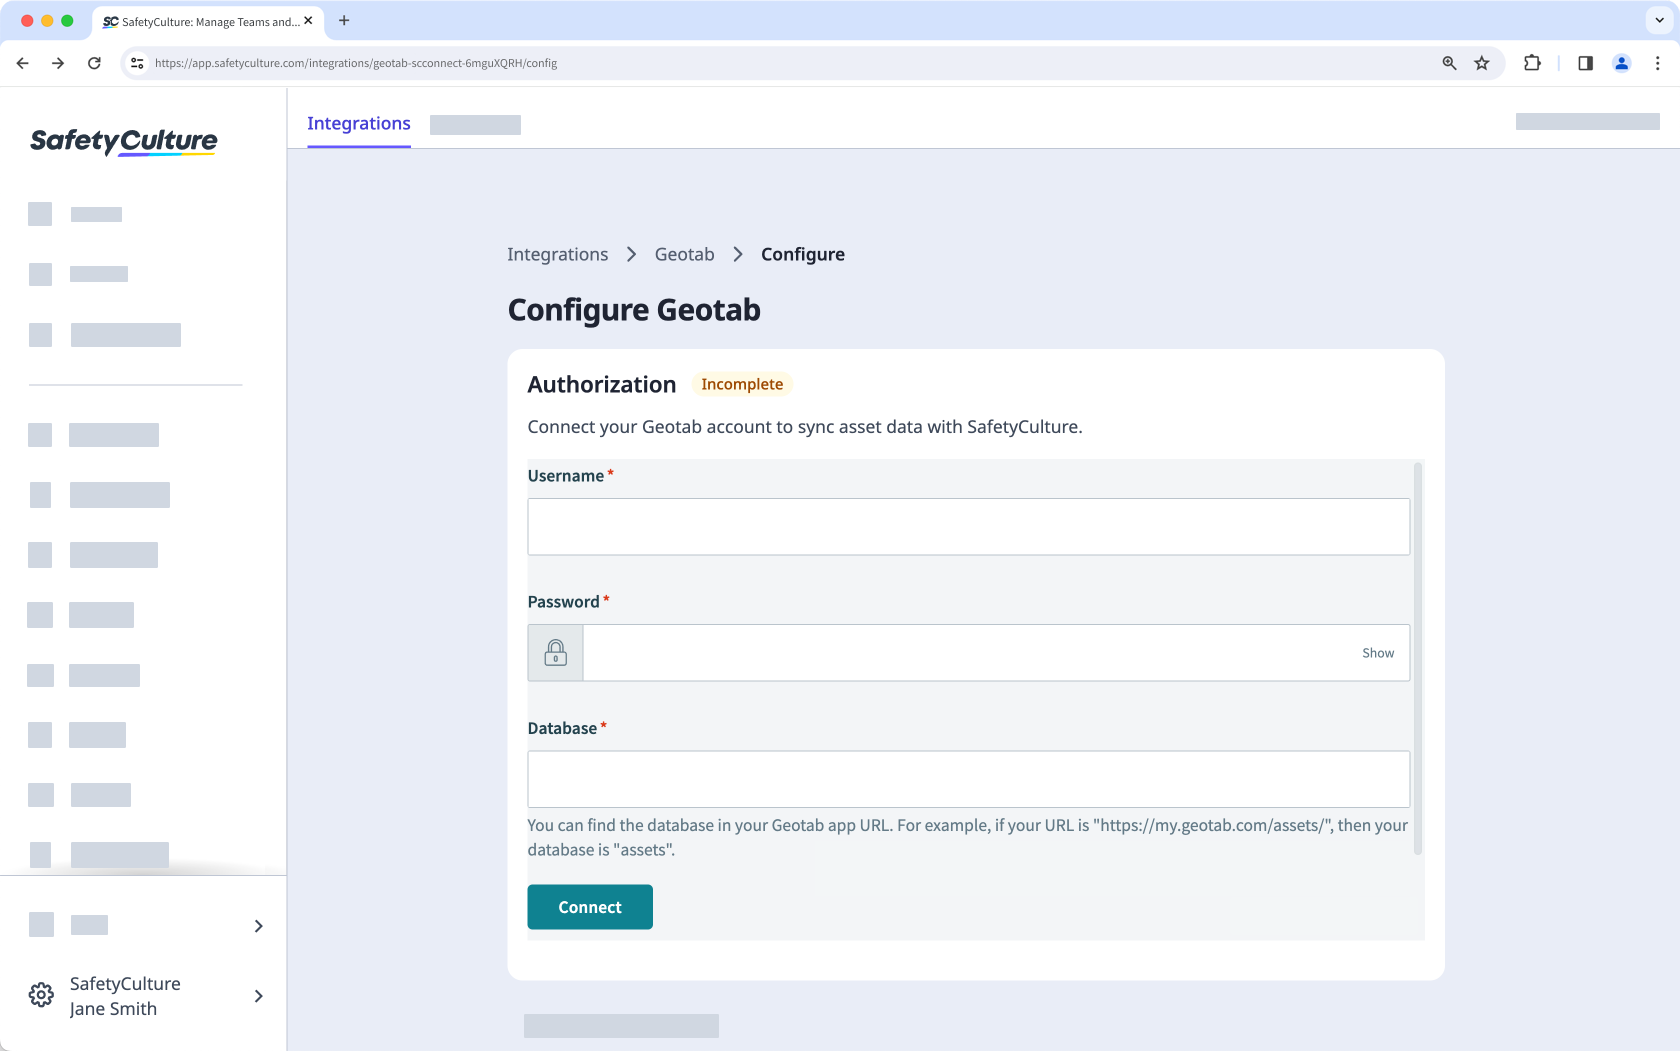
 Install and configure Geotab integration via the web app.

  7. Click Connect.

  8. The integration will now perform the following tasks:

    • Create a "Geotab vehicle" asset type with all the Geotab vehicle details as custom fields. If an asset type named "Geotab vehicle" already exists, that type will be updated with the required custom fields.

    • Check if each Geotab vehicle already exists in SafetyCulture by checking its "Vehicle Name" against each asset's "Unique ID":

      • If a match is found, update the asset's type with the fields required for the integration and update the asset itself with the vehicle details.

      • If a match is not found, create the vehicle as a new asset.

When installing for the first time, the integration may take some time to sync data into SafetyCulture as assets.

Frequently asked questions

You can connect your existing assets to the integration by updating the "Unique ID" to match your asset management system's "Vehicle Name" (Samsara, Geotab, or AT&T) or "Equipment ID" (Caterpillar).

Please ensure you update your existing assets before installing the integration to prevent duplicates from being created.

Integrations with asset management systems sync changes to SafetyCulture every 4 hours, so changes you make might not immediately reflect in SafetyCulture.

If an asset created from an asset management system integration has been archived, the asset will remain archived and no longer receive updates from the integration.

If an asset has been deleted, a new asset will be created the next time the integration syncs.

The integration may have been turned off due to an authentication error. Either because the external account used for the integration no longer has access to the system or its permissions to make changes have been removed.

When this happens, an email would be sent to users with the "Platform management: Organization" permission to inform them about the error. To fix the problem, we recommend that you uninstall the integration and follow the instructions to install it again.

You can view your runtime and odometer readings, including the asset's location, in the asset profile. Select any reading to view its history, even the data from before you connected the integration. You can also export the history as CSV for reporting or analysis.

View telematic readings for your asset via the web app.

If you get a connection error while installing the integration, it's likely because your browser is blocking third-party cookies on SafetyCulture websites. To fix this, we recommend that you turn on third-party cookies in your browser settings and try installing the integration again.

Example of a connection error when installing an integration via the web app.

Need more help?
In this article